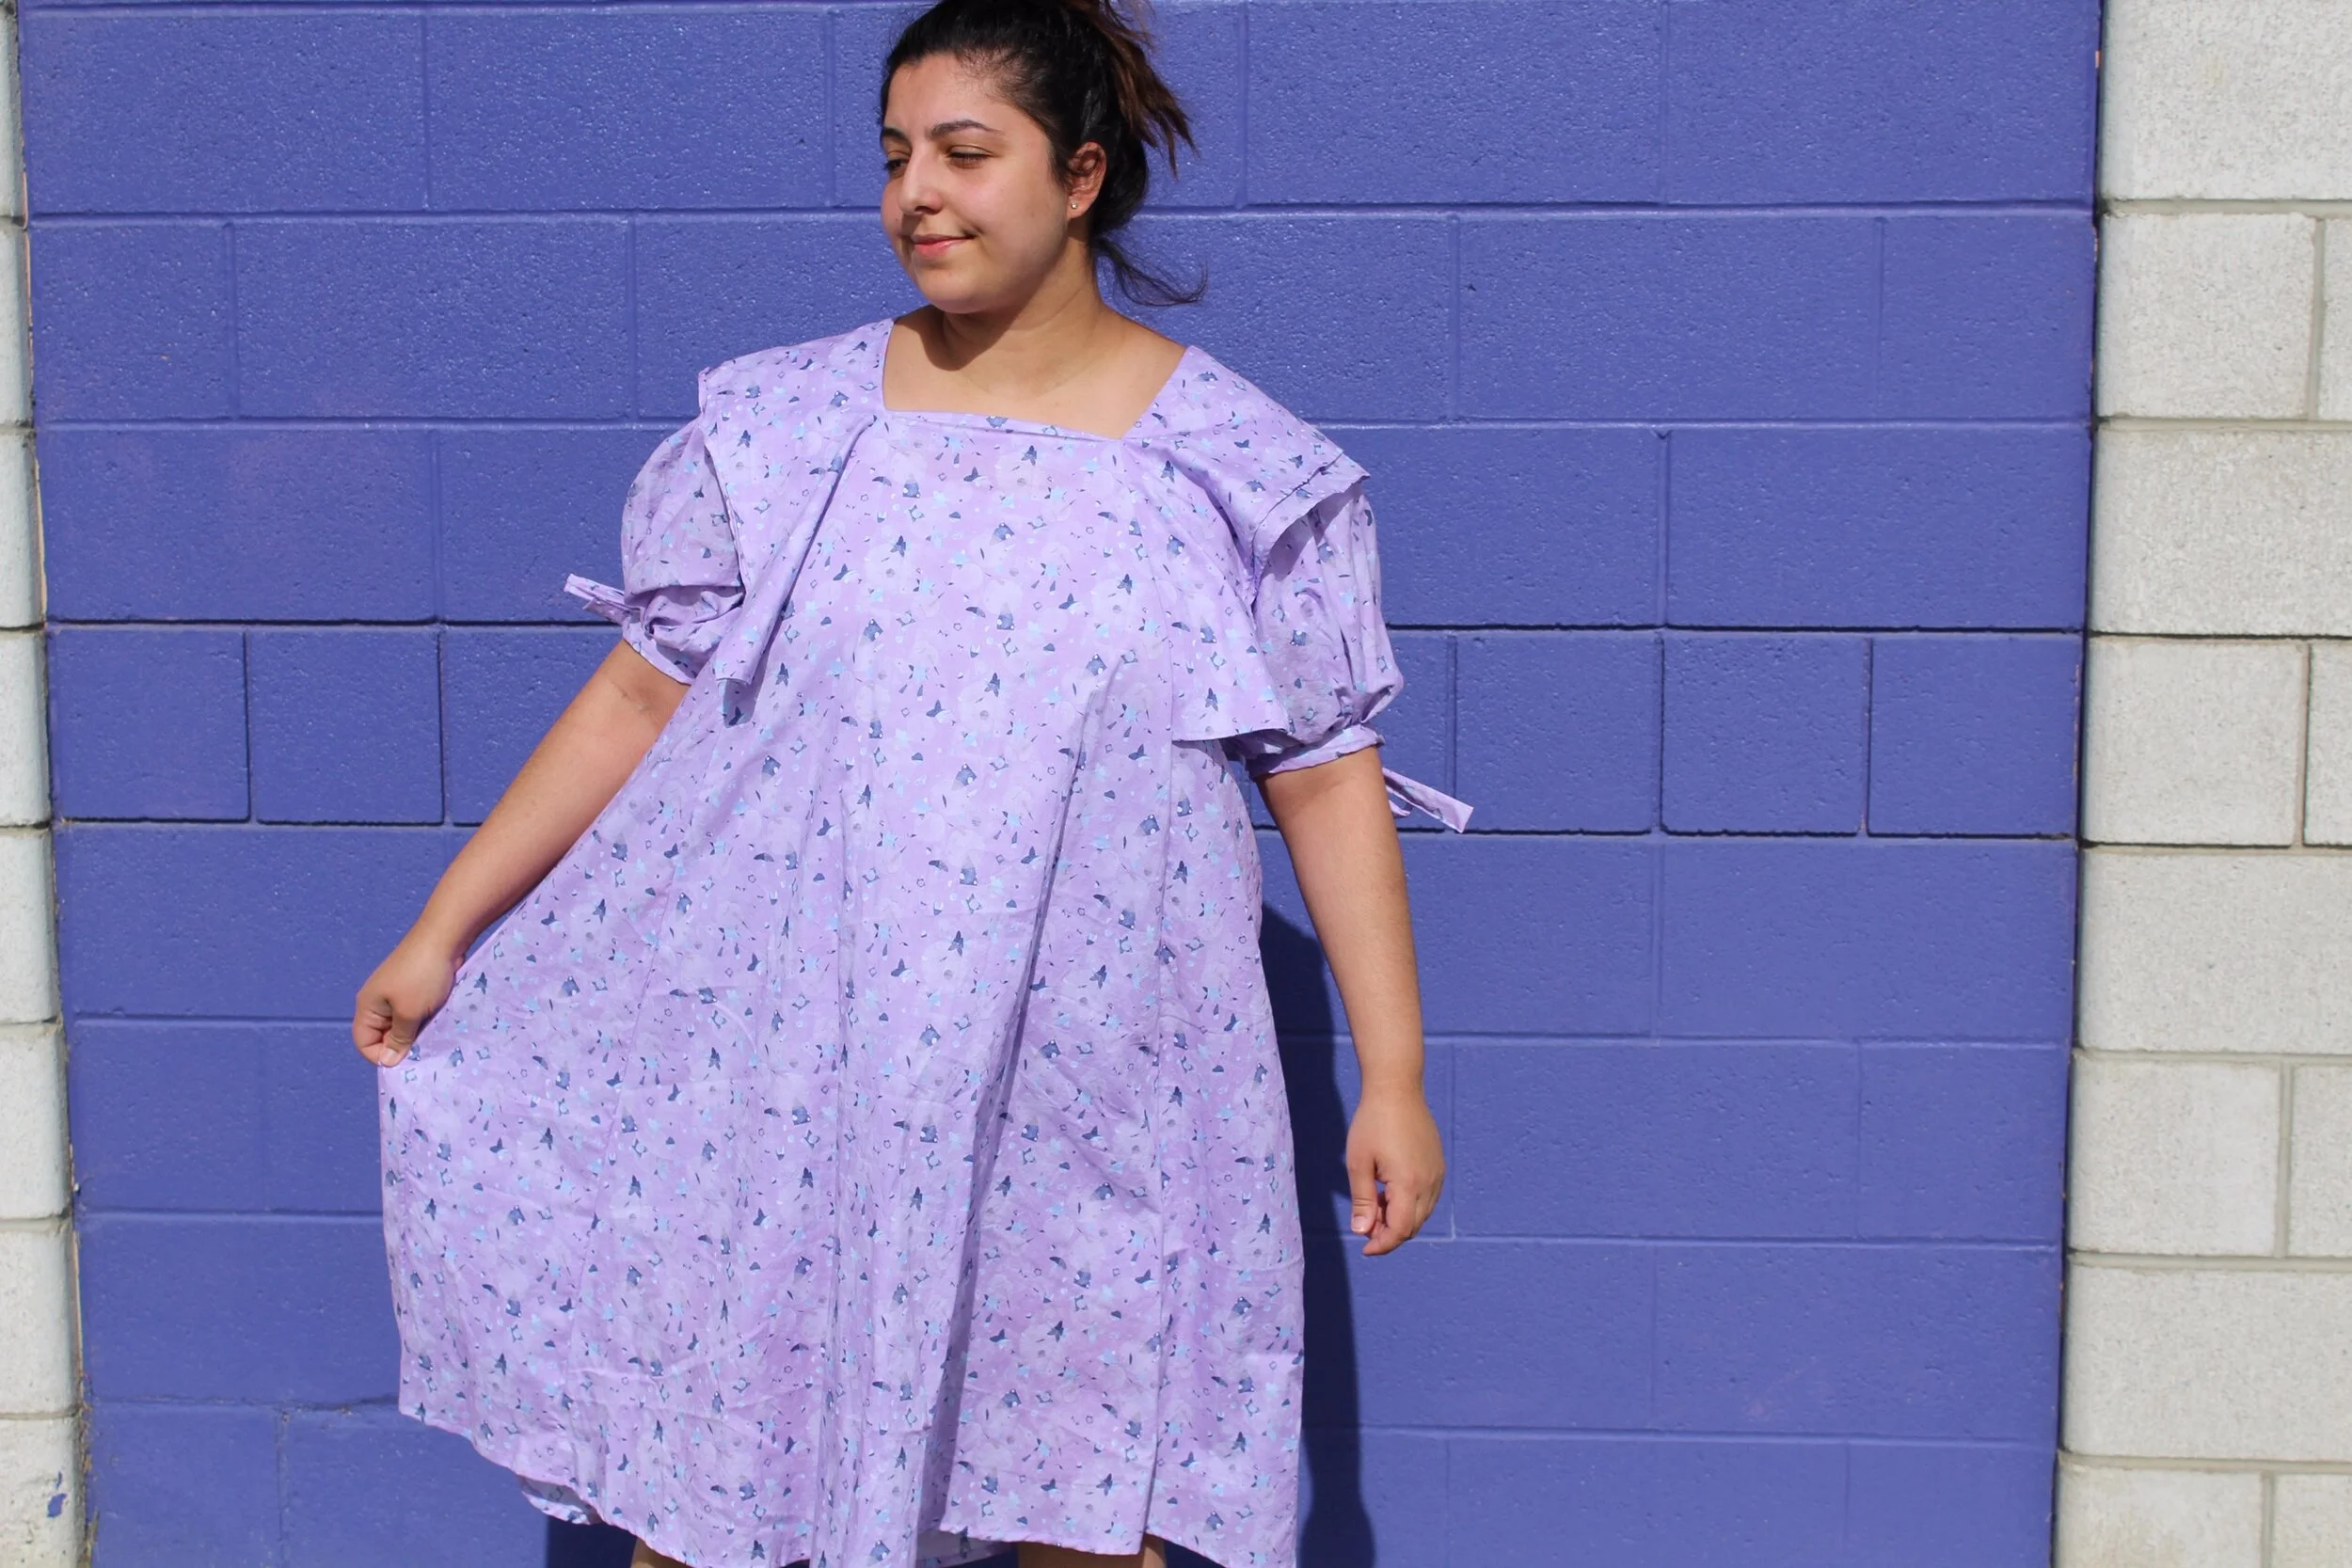
Introducing: The Paquerette Pattern by Lysimaque
Today I'll be reviewing the new pattern from French Pattern Company Lysimaque. Although a stunning top pattern, I'll be sharing my hack on making it into a dress.
One thing I've loved about being a member of the Instagram Sewing Community is discovering new pattern companies. So when my friend Emily was showing me a top pattern she was testing I immediately went to the Lysimaque site and fell in love with all of Floriane's creations. Something so wildly feminine, yet super strong, that I just couldn't help but love every, single, little detail. It's like I found what I had been dreaming of all in one place. And yes, I have sewing dreams. Are you really an at home, sewing hobbyist if you don't?
Now to the fabric choices. From looking at the pictures of all the pattern testers on Instagram, it became apparent that using a lightweight cotton or a "drapey" fabric was the best way to go. So of course when I picked up this rainbow, plaid goodness from Joann I knew immediately this was it. Well, then I went on to make 3 in just as gorgeous of fabrics (one in Minerva fabric and the other in a fabric from Lizzy House that I had in my stash, which can only be described as coming down from the heavens), but let's not get distracted. I applied the same hack to all three so let's get to it!
Now the hack is pretty simple. Add length. There's quite a few pieces that make up this top. So I took all the pieces that make the top itself and I placed my sleeve, sleeve ties, ruffles and facing pieces to the side. That left me with the four pattern pieces (the front and back fronts and the front and back sides). I then traced these patterns with my trusty Pellon 830. I then pinned these together to check where they fell on my body and then measured from there to my desired length. I had my hubby help me out here but when he hasn't been around in the past I've used a dress I already own and compared the lengths there. Then I merely added the extra length to my traced pattern pieces. For reference I made the largest size in the pattern and added 28" in length. But the sky's the limit! I also used my french rule to ensure I kept all curves aligned when adding the length. The top pattern has a slight flair that creates that amazing drape so you want to keep that in the dress.
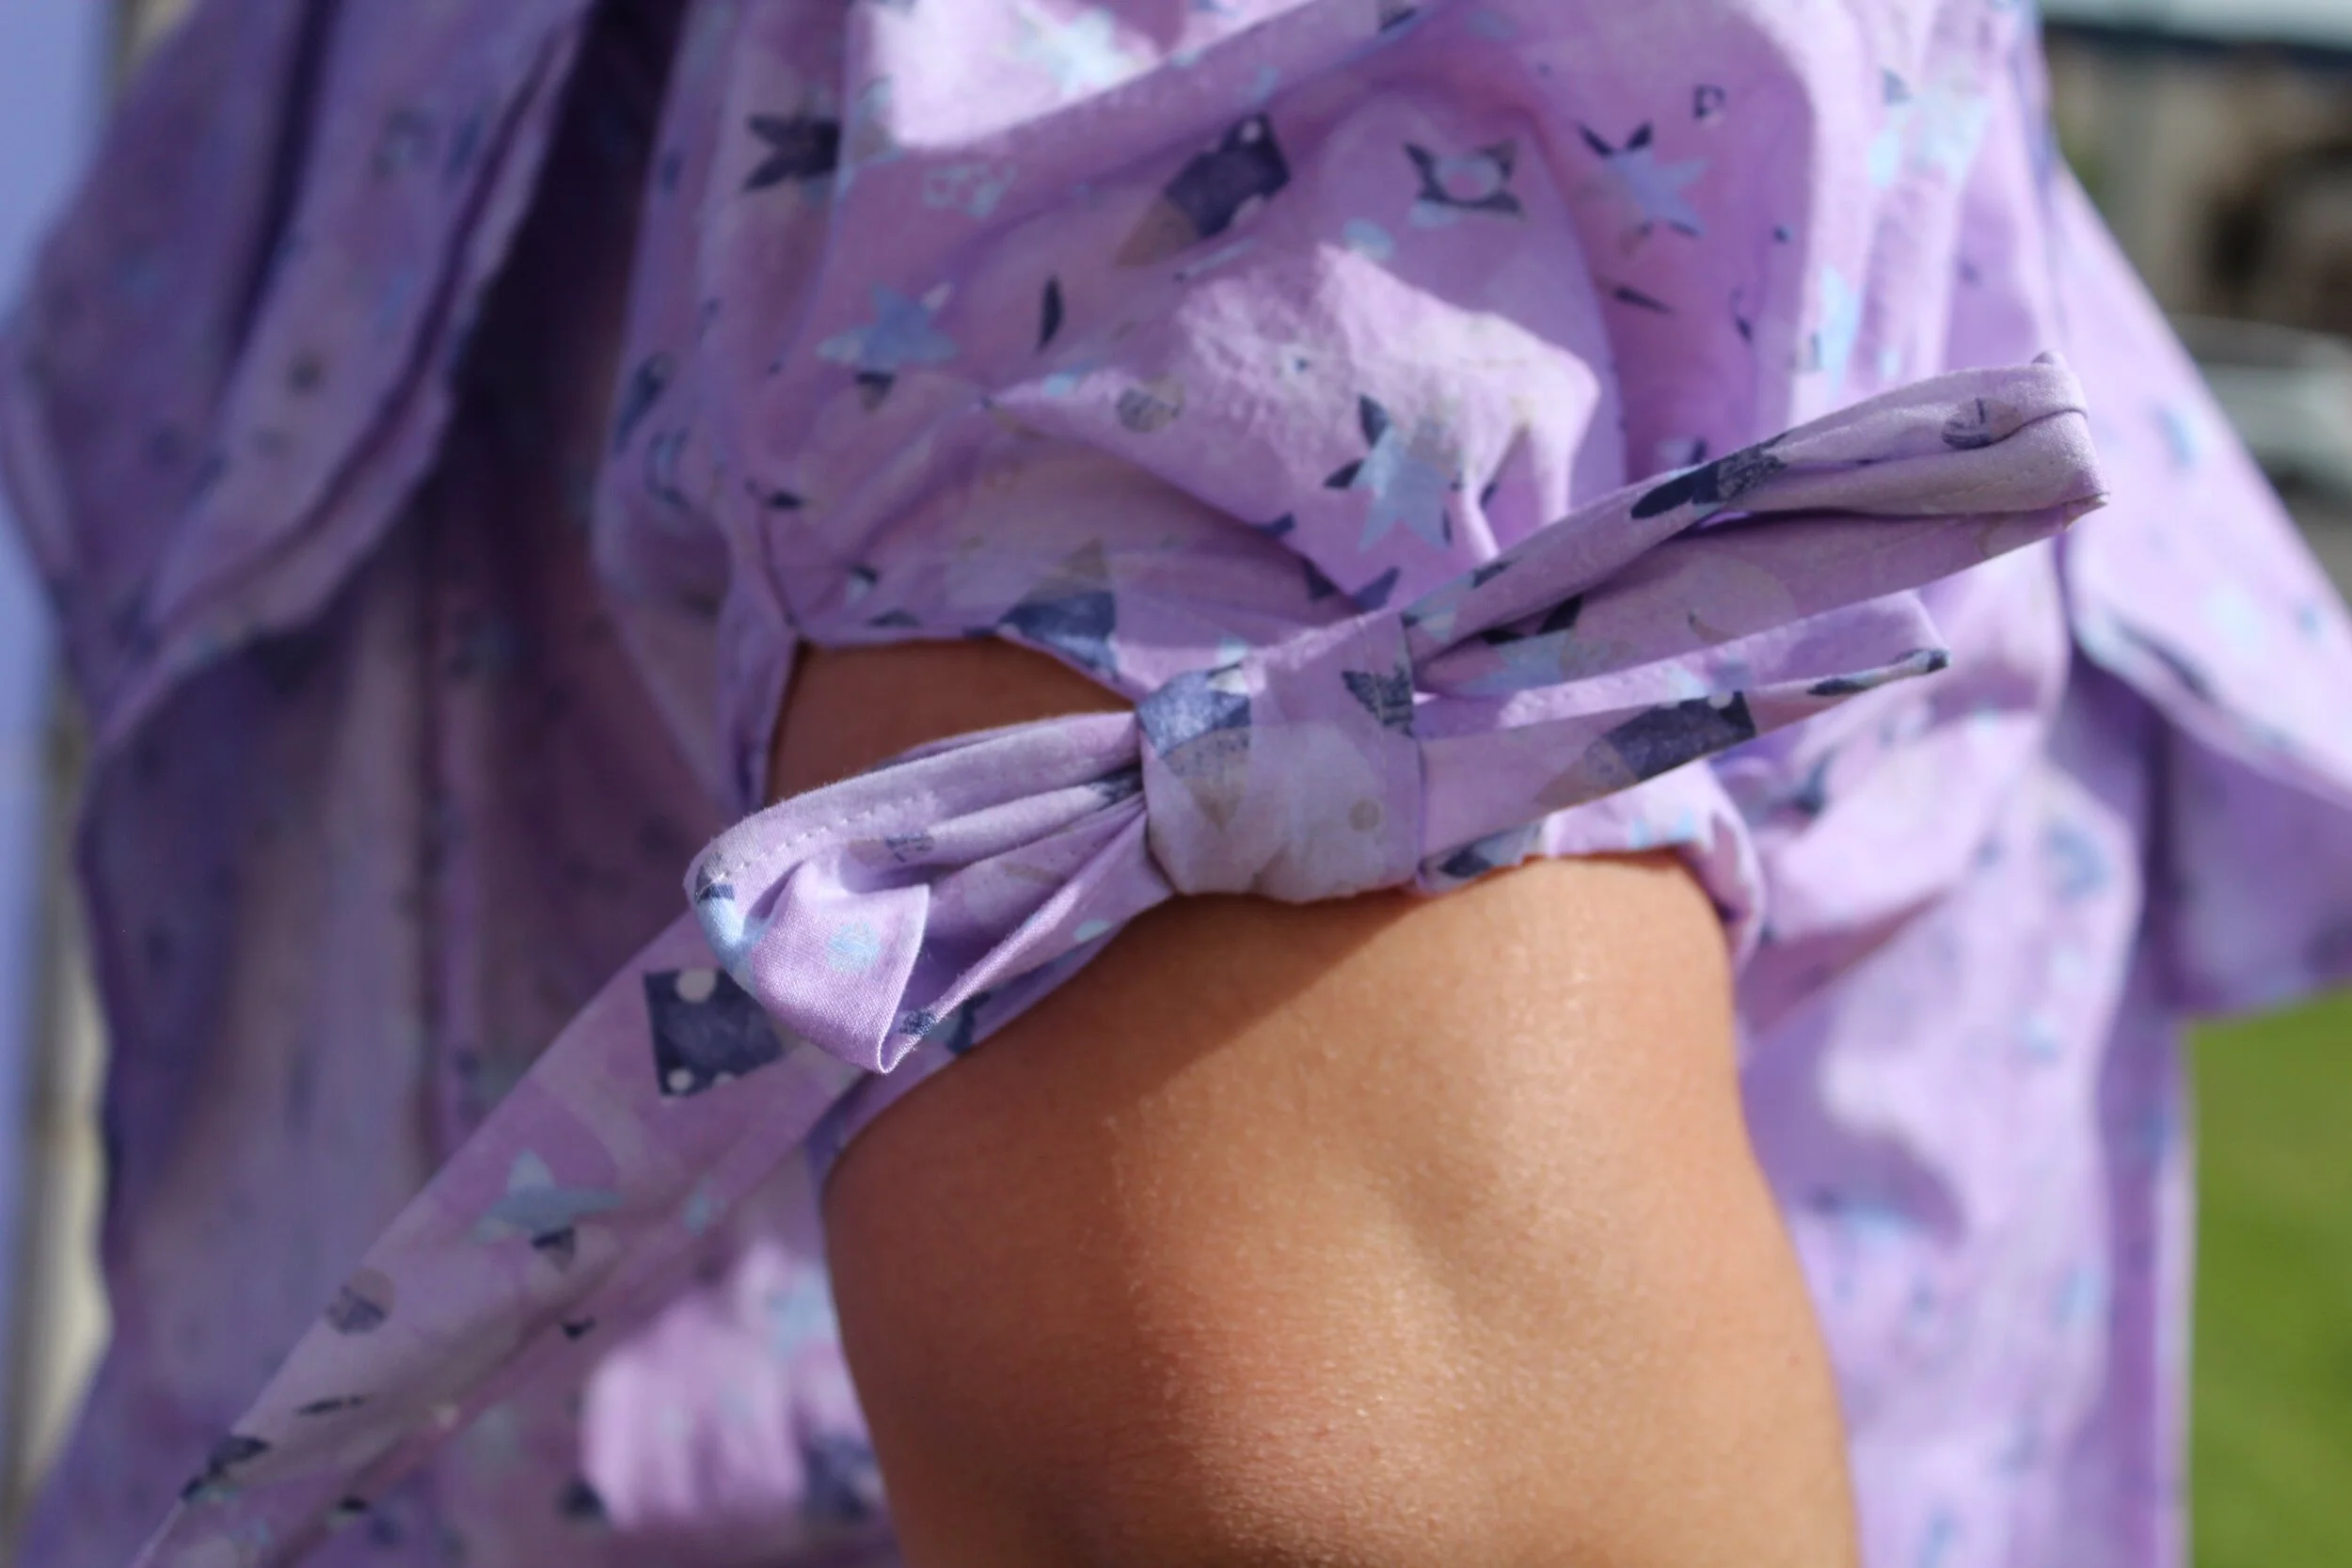
The last hack I made was to the sleeve ties. I wanted them longer so I added length here as well. I believe I added 20" total (10 on each side of the tie, keeping it symmetrical). Now all the hacks are done for my particular dress, it's time to cut out. I followed the instructions exactly for cutting out and for sewing it out. The only variation was the yardage from the dress. I ended up needing just over 4 yards total for each dress I made.
Sewing up this pattern is actually really straight forward, it's just fiddly. Little parts that you need to pay attention too. The ruffles look AH-MAZING in drapey fabrics, but it also took all my concentration to hem them as it was slipping here and there when I was ironing it. The neckline as well. Attaching the front and back bodice requires precision, if not, the facings won't fit and hem length will be off. And lastly, the sleeve ties. Don't do what I did and not secure my basting stitches properly. So when I was attaching my sleeve ties my basting stitches came loose and I had to do it again. If you pay close attention to those three elements the rest is so, so easy! And these parts are easy too but don't do it half asleep at midnight like I did. Just don't. Haha.
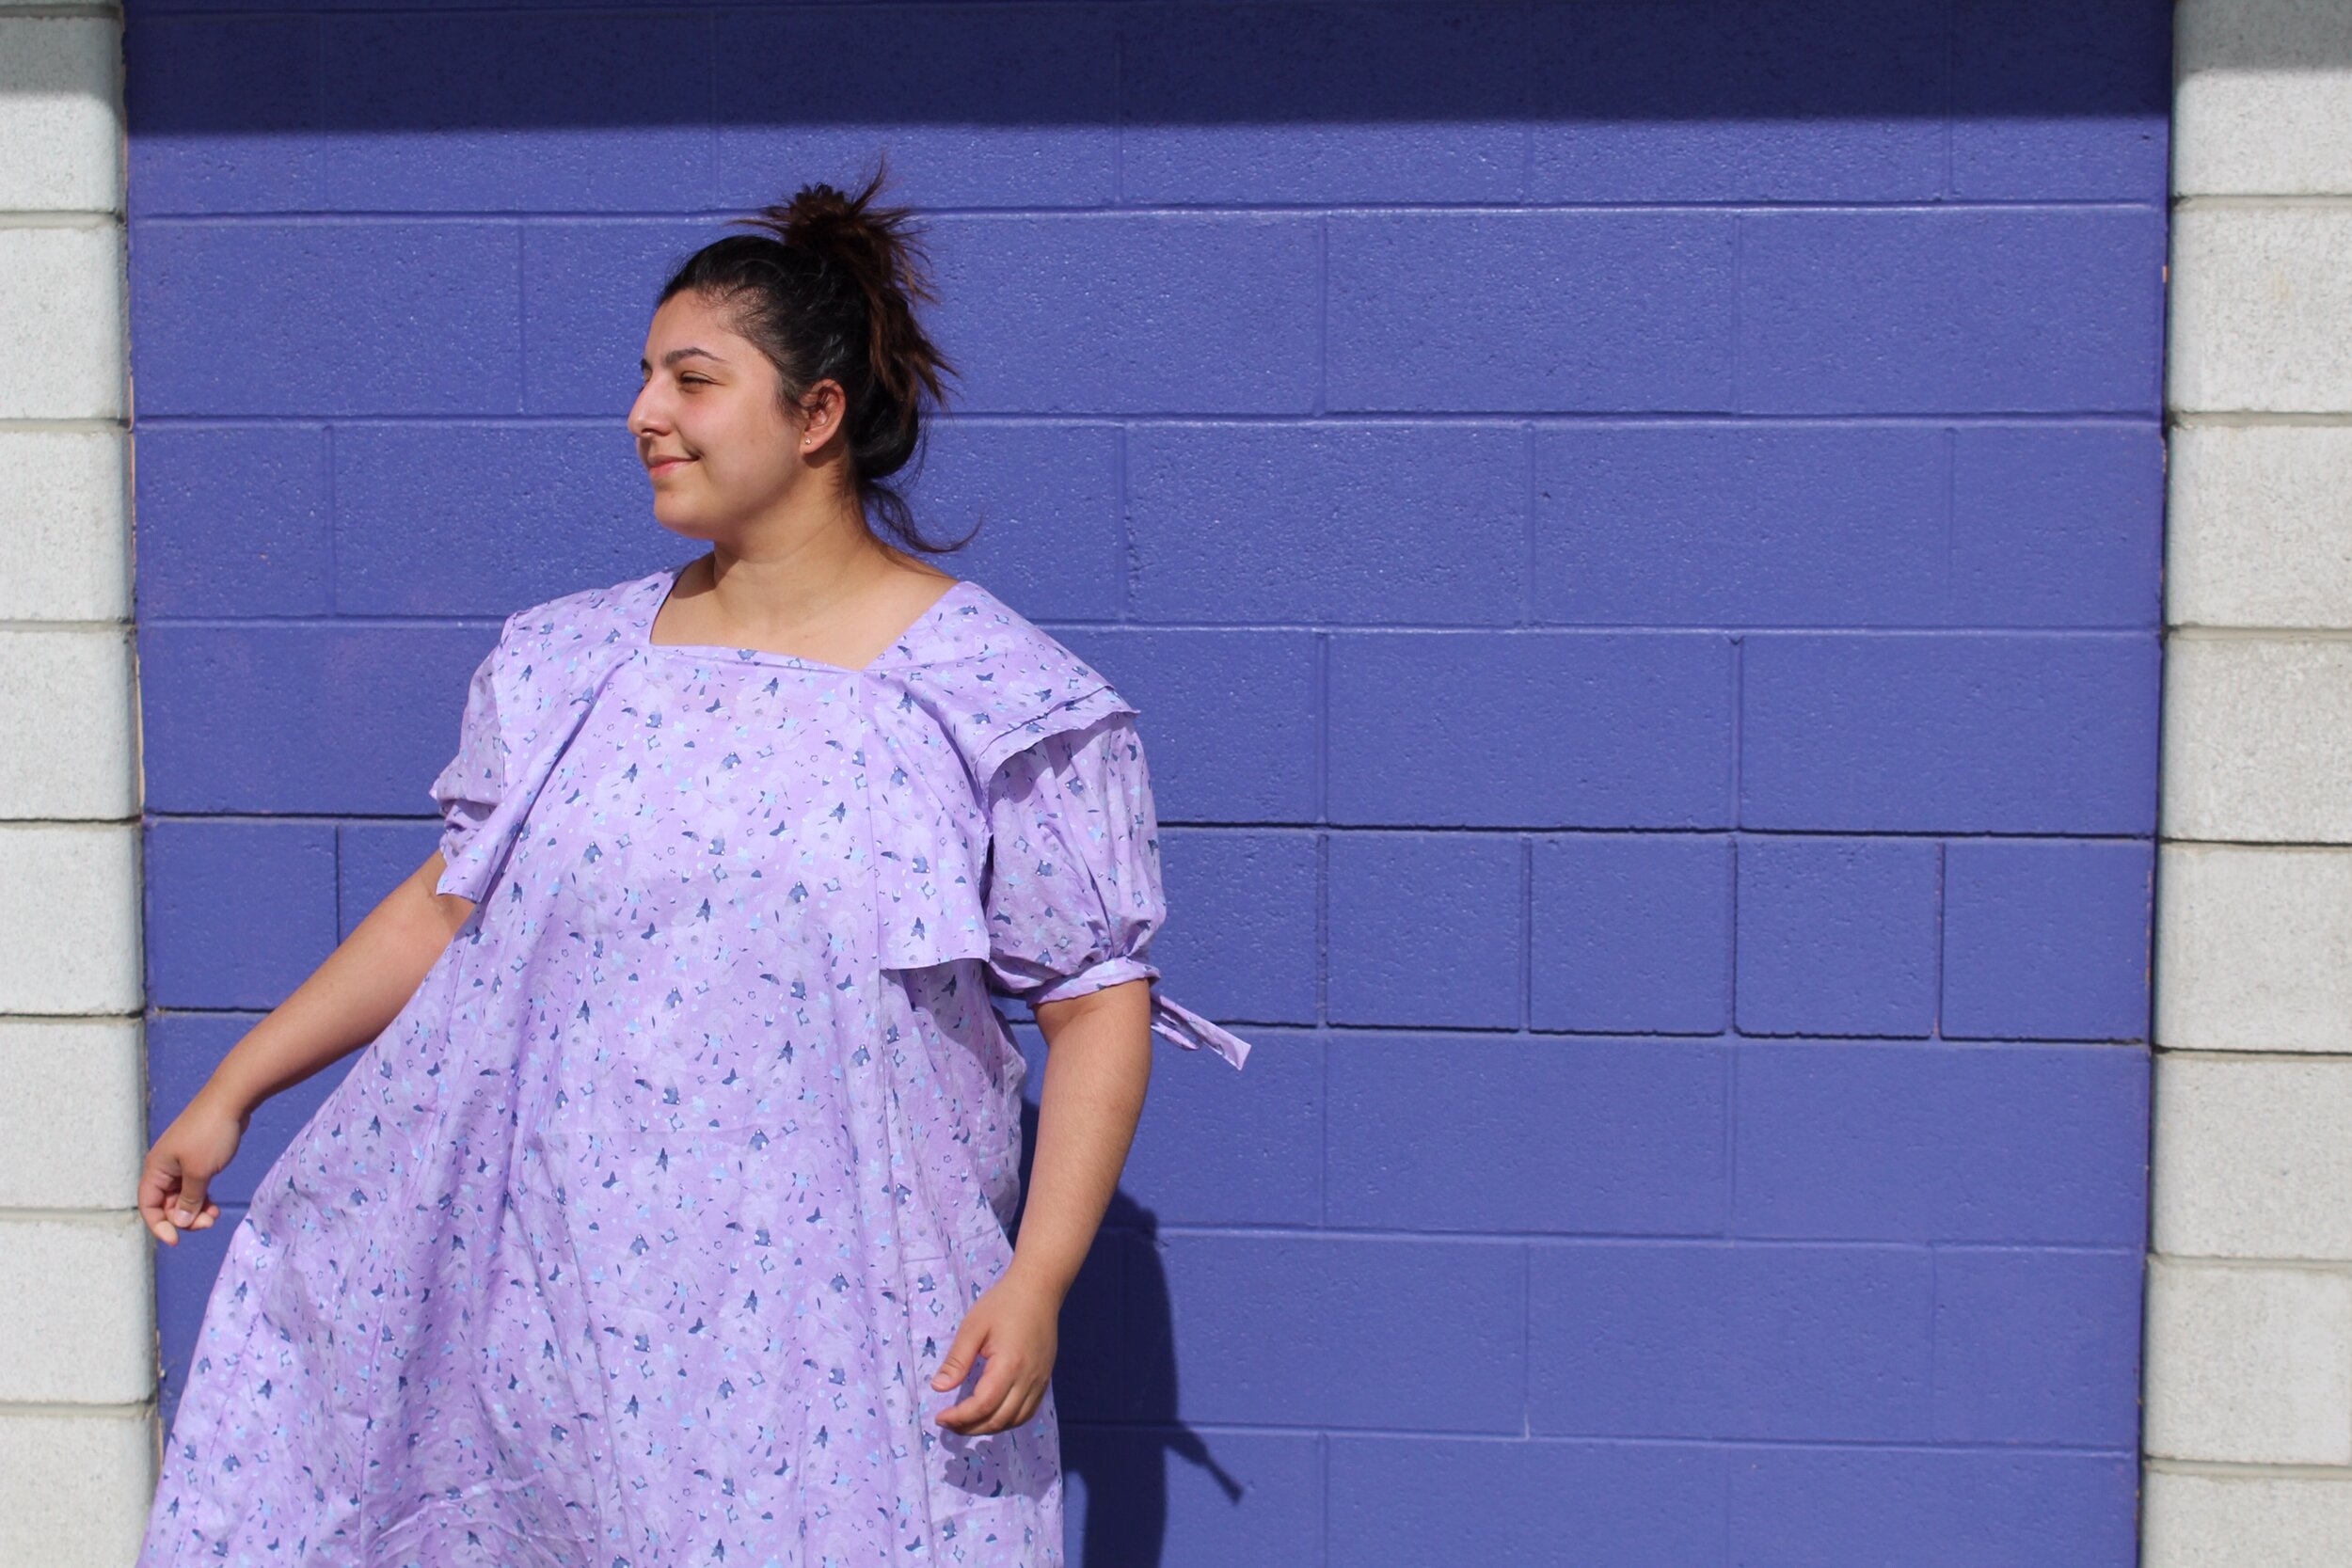
From cutting to construction the dress took me two nights. One night to cut and one to sew. Great turnaround time considering the end result. Would I recommend this pattern? Yes. Have I made 3 and am planning more? Definitely. Also, Floriane from Lysimaque has also included a tutorial on Instagram as well. It's in French but so easy to follow without understanding the language. She's also so lovely and if you encounter any issues or need any help you can message her.
Overall, I couldn't be happier with how my dresses turned out. I achieved the looks of my dreams and it was a lot easier than I hoped. I cannot wait to do more patterns from Lysimaque but for now I'll keep making more Paquerettes.