Beginner's Guide to Easy Knitting
So late last year I got really burnt out with sewing. The pandemic, having kids home, having a husband working from home and living in the USA where cases were just continually on the rise, I had reached a point where I was tapped out of sewing juice. It has happened to me once before, and I took a week off. Well this time I took 2 months off! It was needed and in that time I decided to finally start knitting.

Before I go into what I learned, I want there to be complete transparency. My Abuela (grandmother) is a knitter. She’s a damn good one. I grew up with her knitting me all sorts of stuff and I still have all of it. So when I was little she taught me what I now know as Stockinette stitch. Meaning I know how to knit and purl. In conjunction with that I know how to do a long tail cast on. That’s as far as my skill set went. I did not know how to read a pattern, any other stitches, or any other cast on methods, or how to bind off and the list goes on and on. So this was very daunting for me, but I had a secret weapon: I’m surrounded by many friends that are incredible knitters and one in particular was more than happy to show me the ropes. Hello Mel if you’re reading this. Also if you don’t know Mel, she’s @thrifted on Instagram and someone that you must follow.
So even though I’m putting this very simple guide together, it is all possible because of Mel and her knowledge and sublime talent of teaching me to knit. And she did so through Instagram chat. So you know she’s talented when we haven’t been able to knit together even once in person. So let’s dive into what I’ve learnt. Another note, this is not at all written with me knowing what I'm doing. This is merely what I learnt from asking a lot of questions to my dear friend Mel. So I figured why not write a blog post as a complete beginner and what I found helpful for my knitting journey which is still in the beginner stages.

Reading a pattern:
At first glance it looked like a foreign language, but it was all in English with a lot of numbers. So the way you read a knitting pattern is the way you read a book left to right and down. It’s filled with abbreviations. There’s a lot that are industry standard and there’s some that the pattern will include in a glossary. Here are the most common ones:
CO: Cast on
K or k: Knit
P or p: Purl
RS: Right side
WS: Wrong side
St or Sts: Stitch or Stitches
Your pattern will also tell you what yarn to use and needle size. More on that later. Also when in doubt google!
Cast On:
Casting on is starting your project by putting your yarn onto your needles. There’s various methods to do this and it can change depending on your project. To start, I’d google “long tail cast on” on YouTube and you’re good to go!
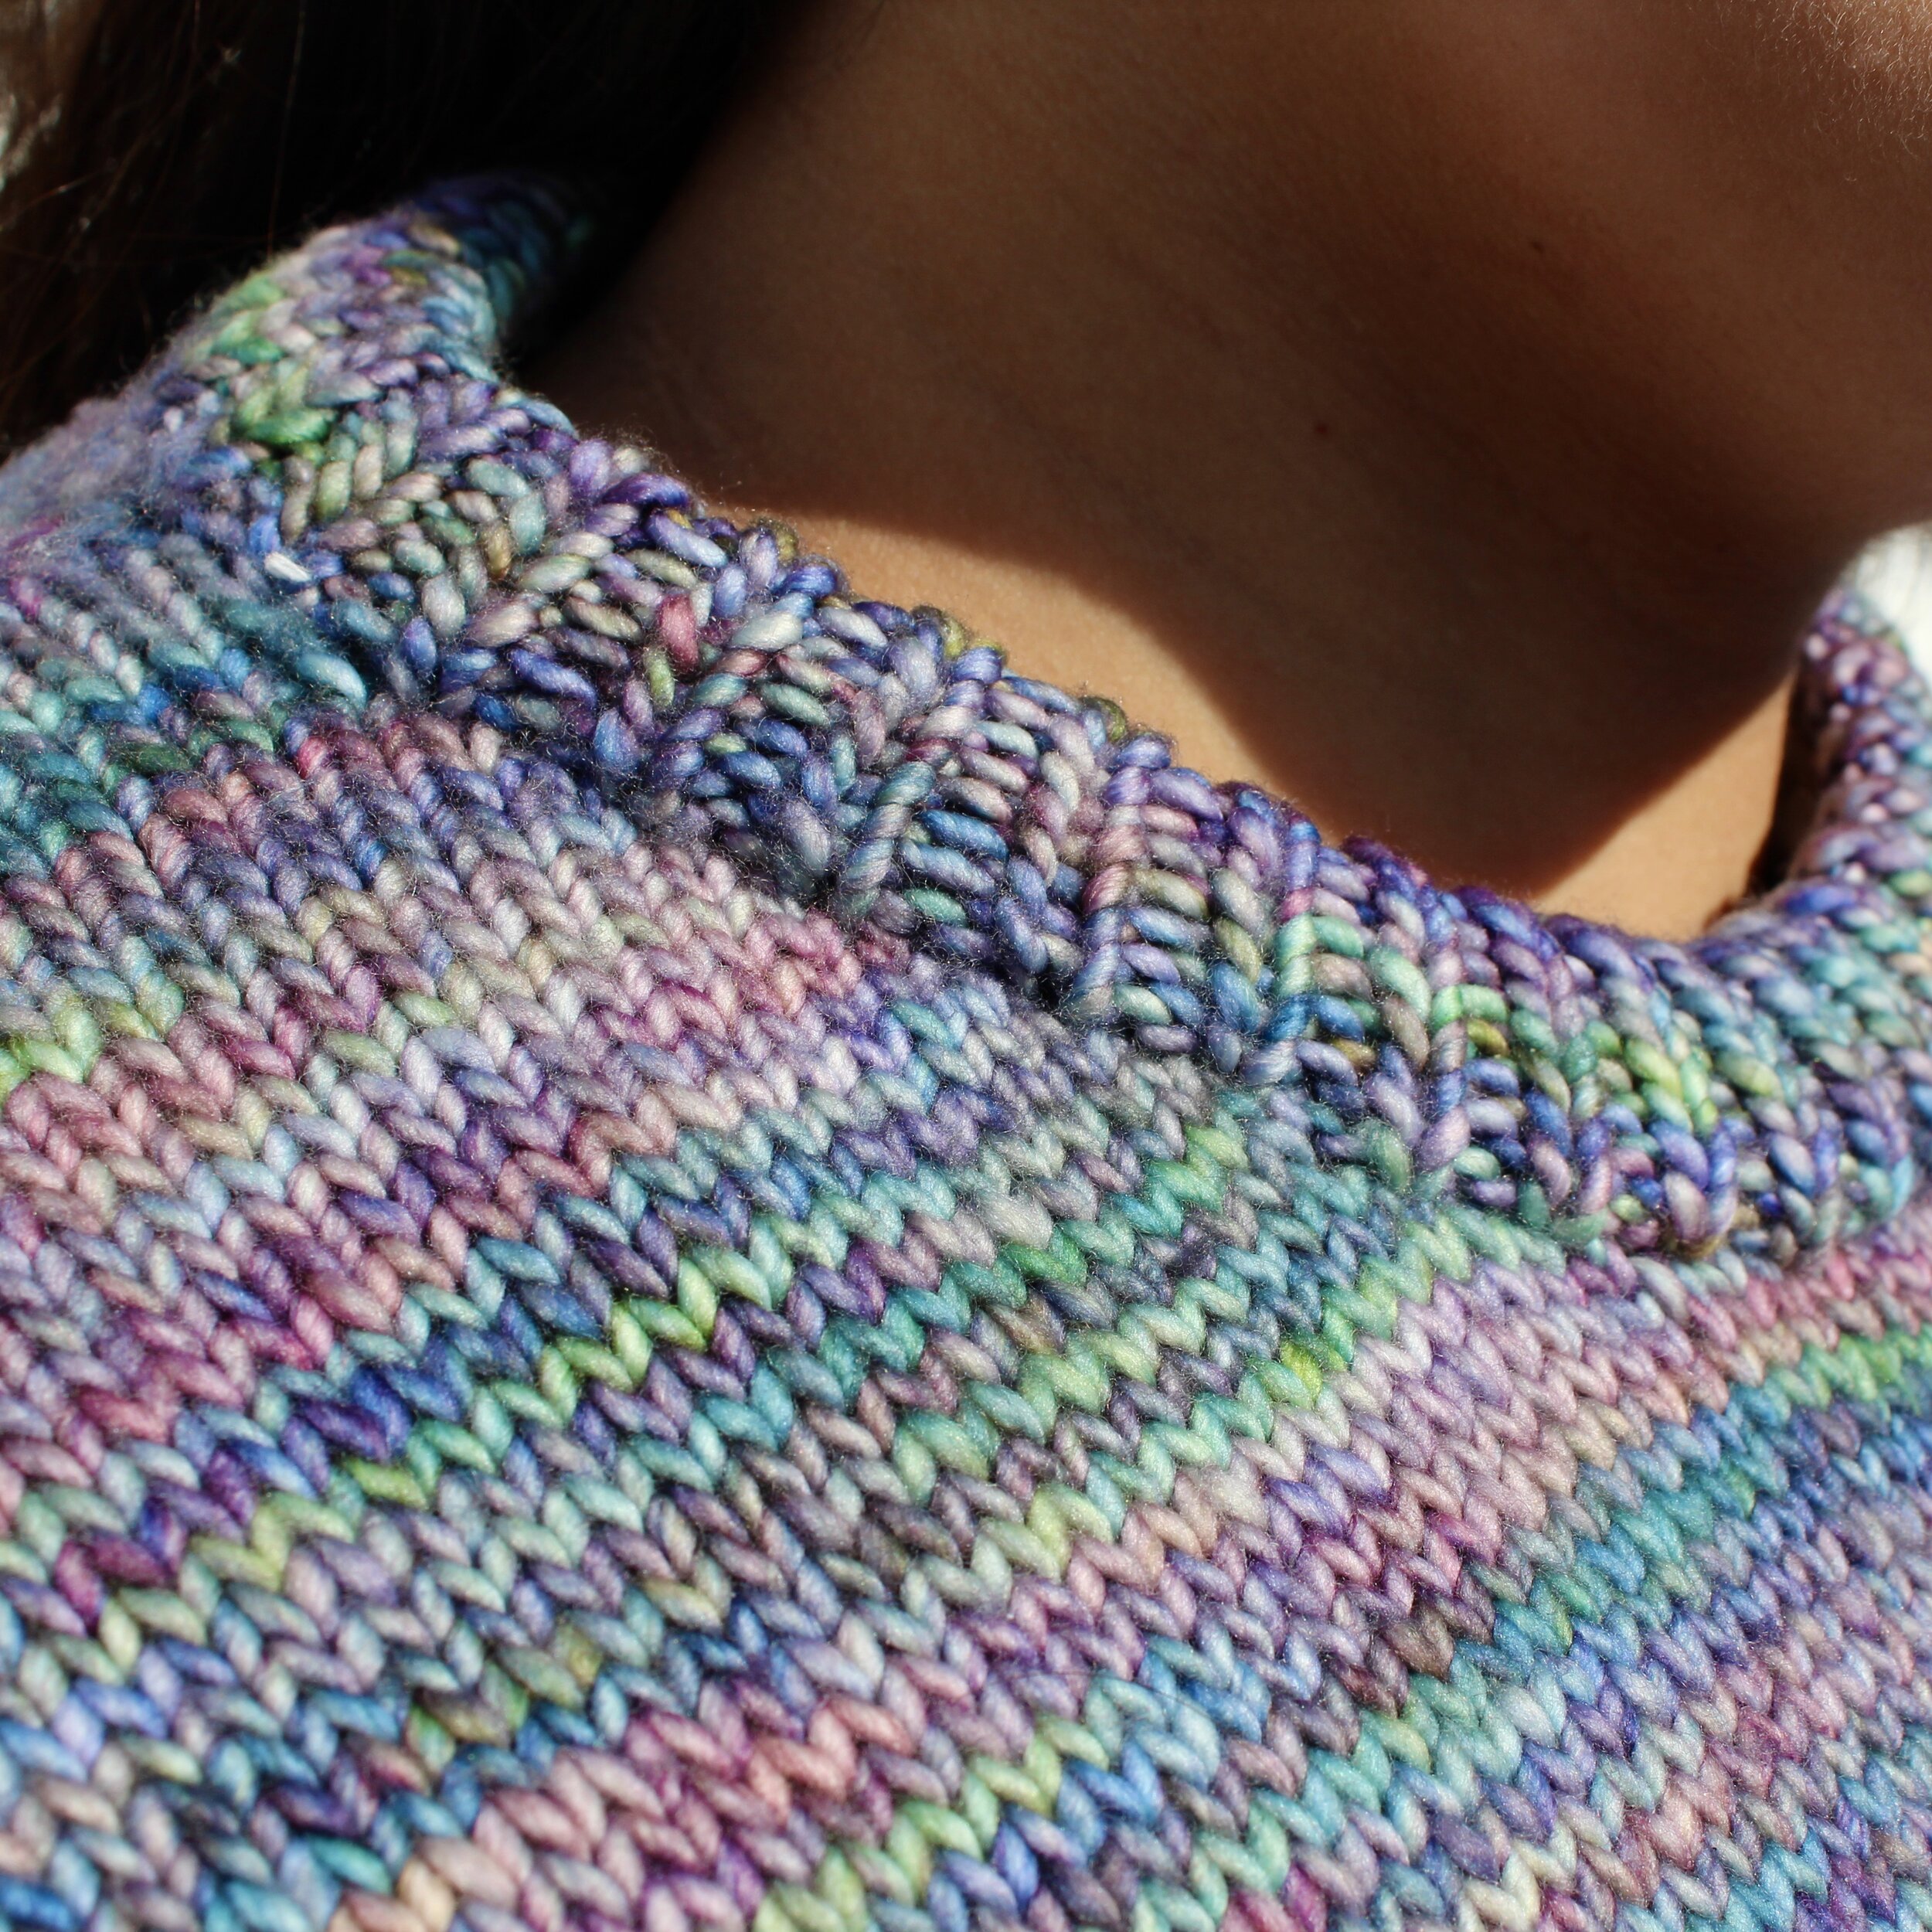
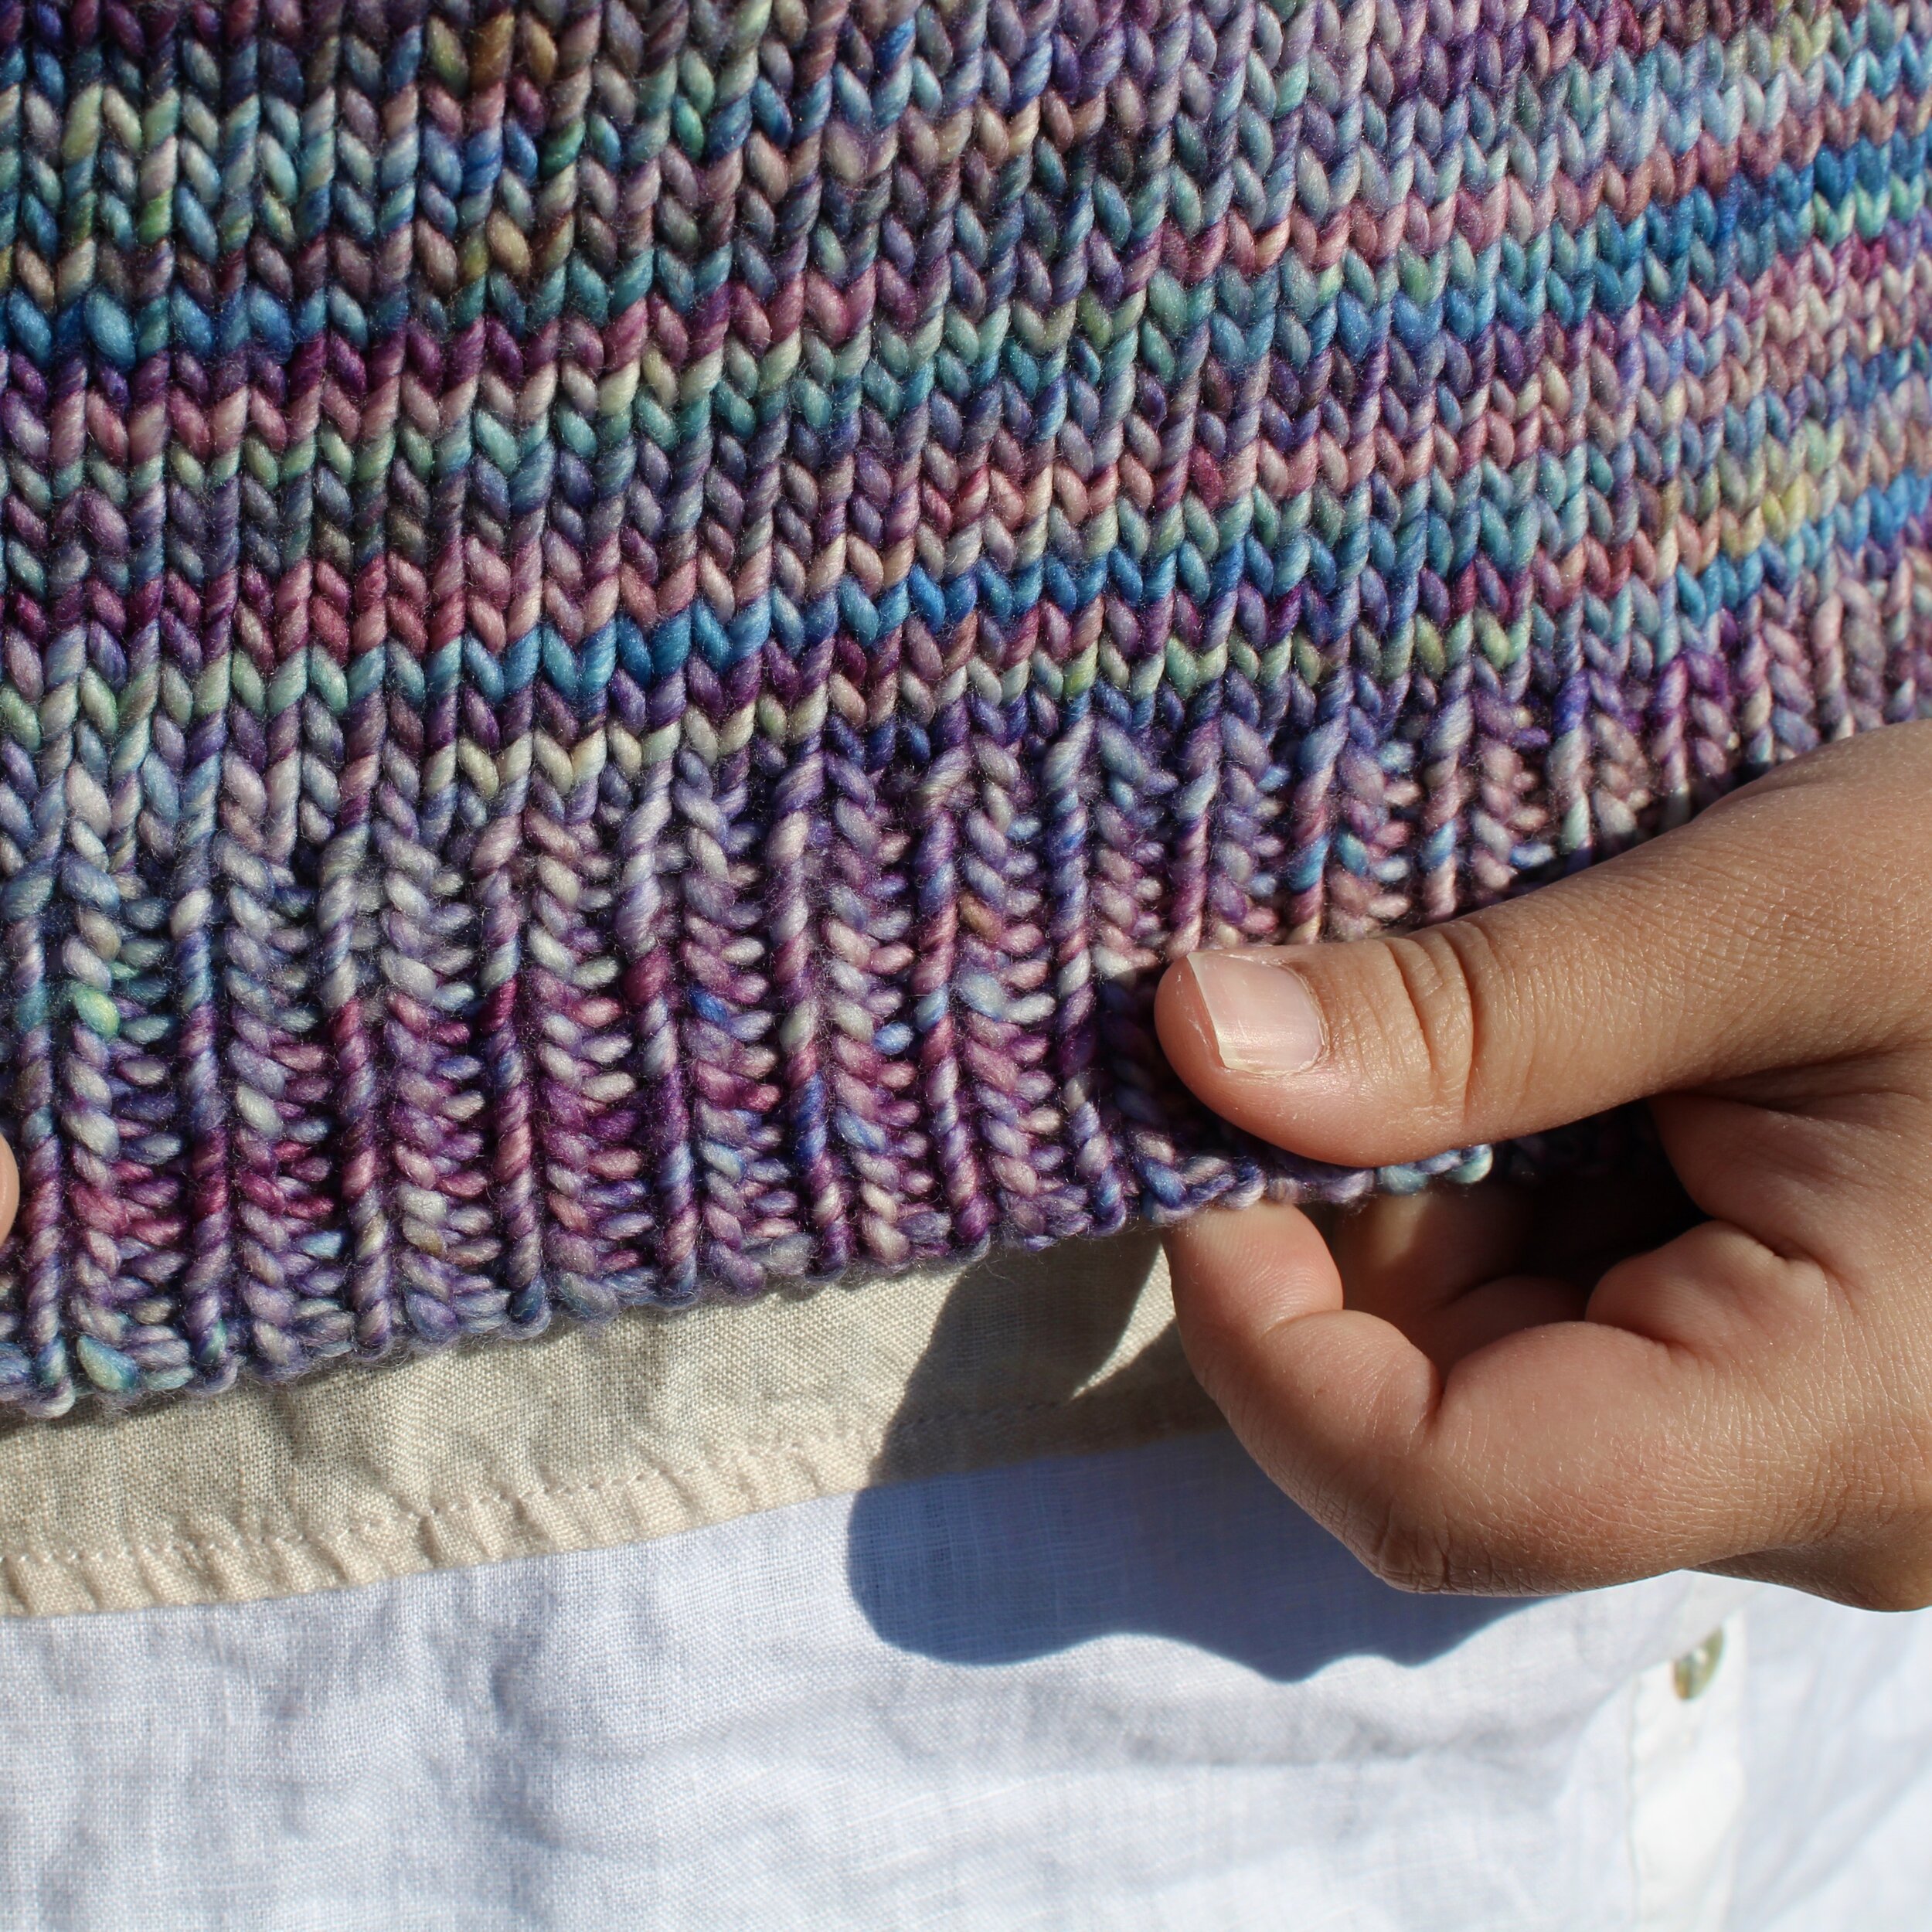
Types of Stitches:
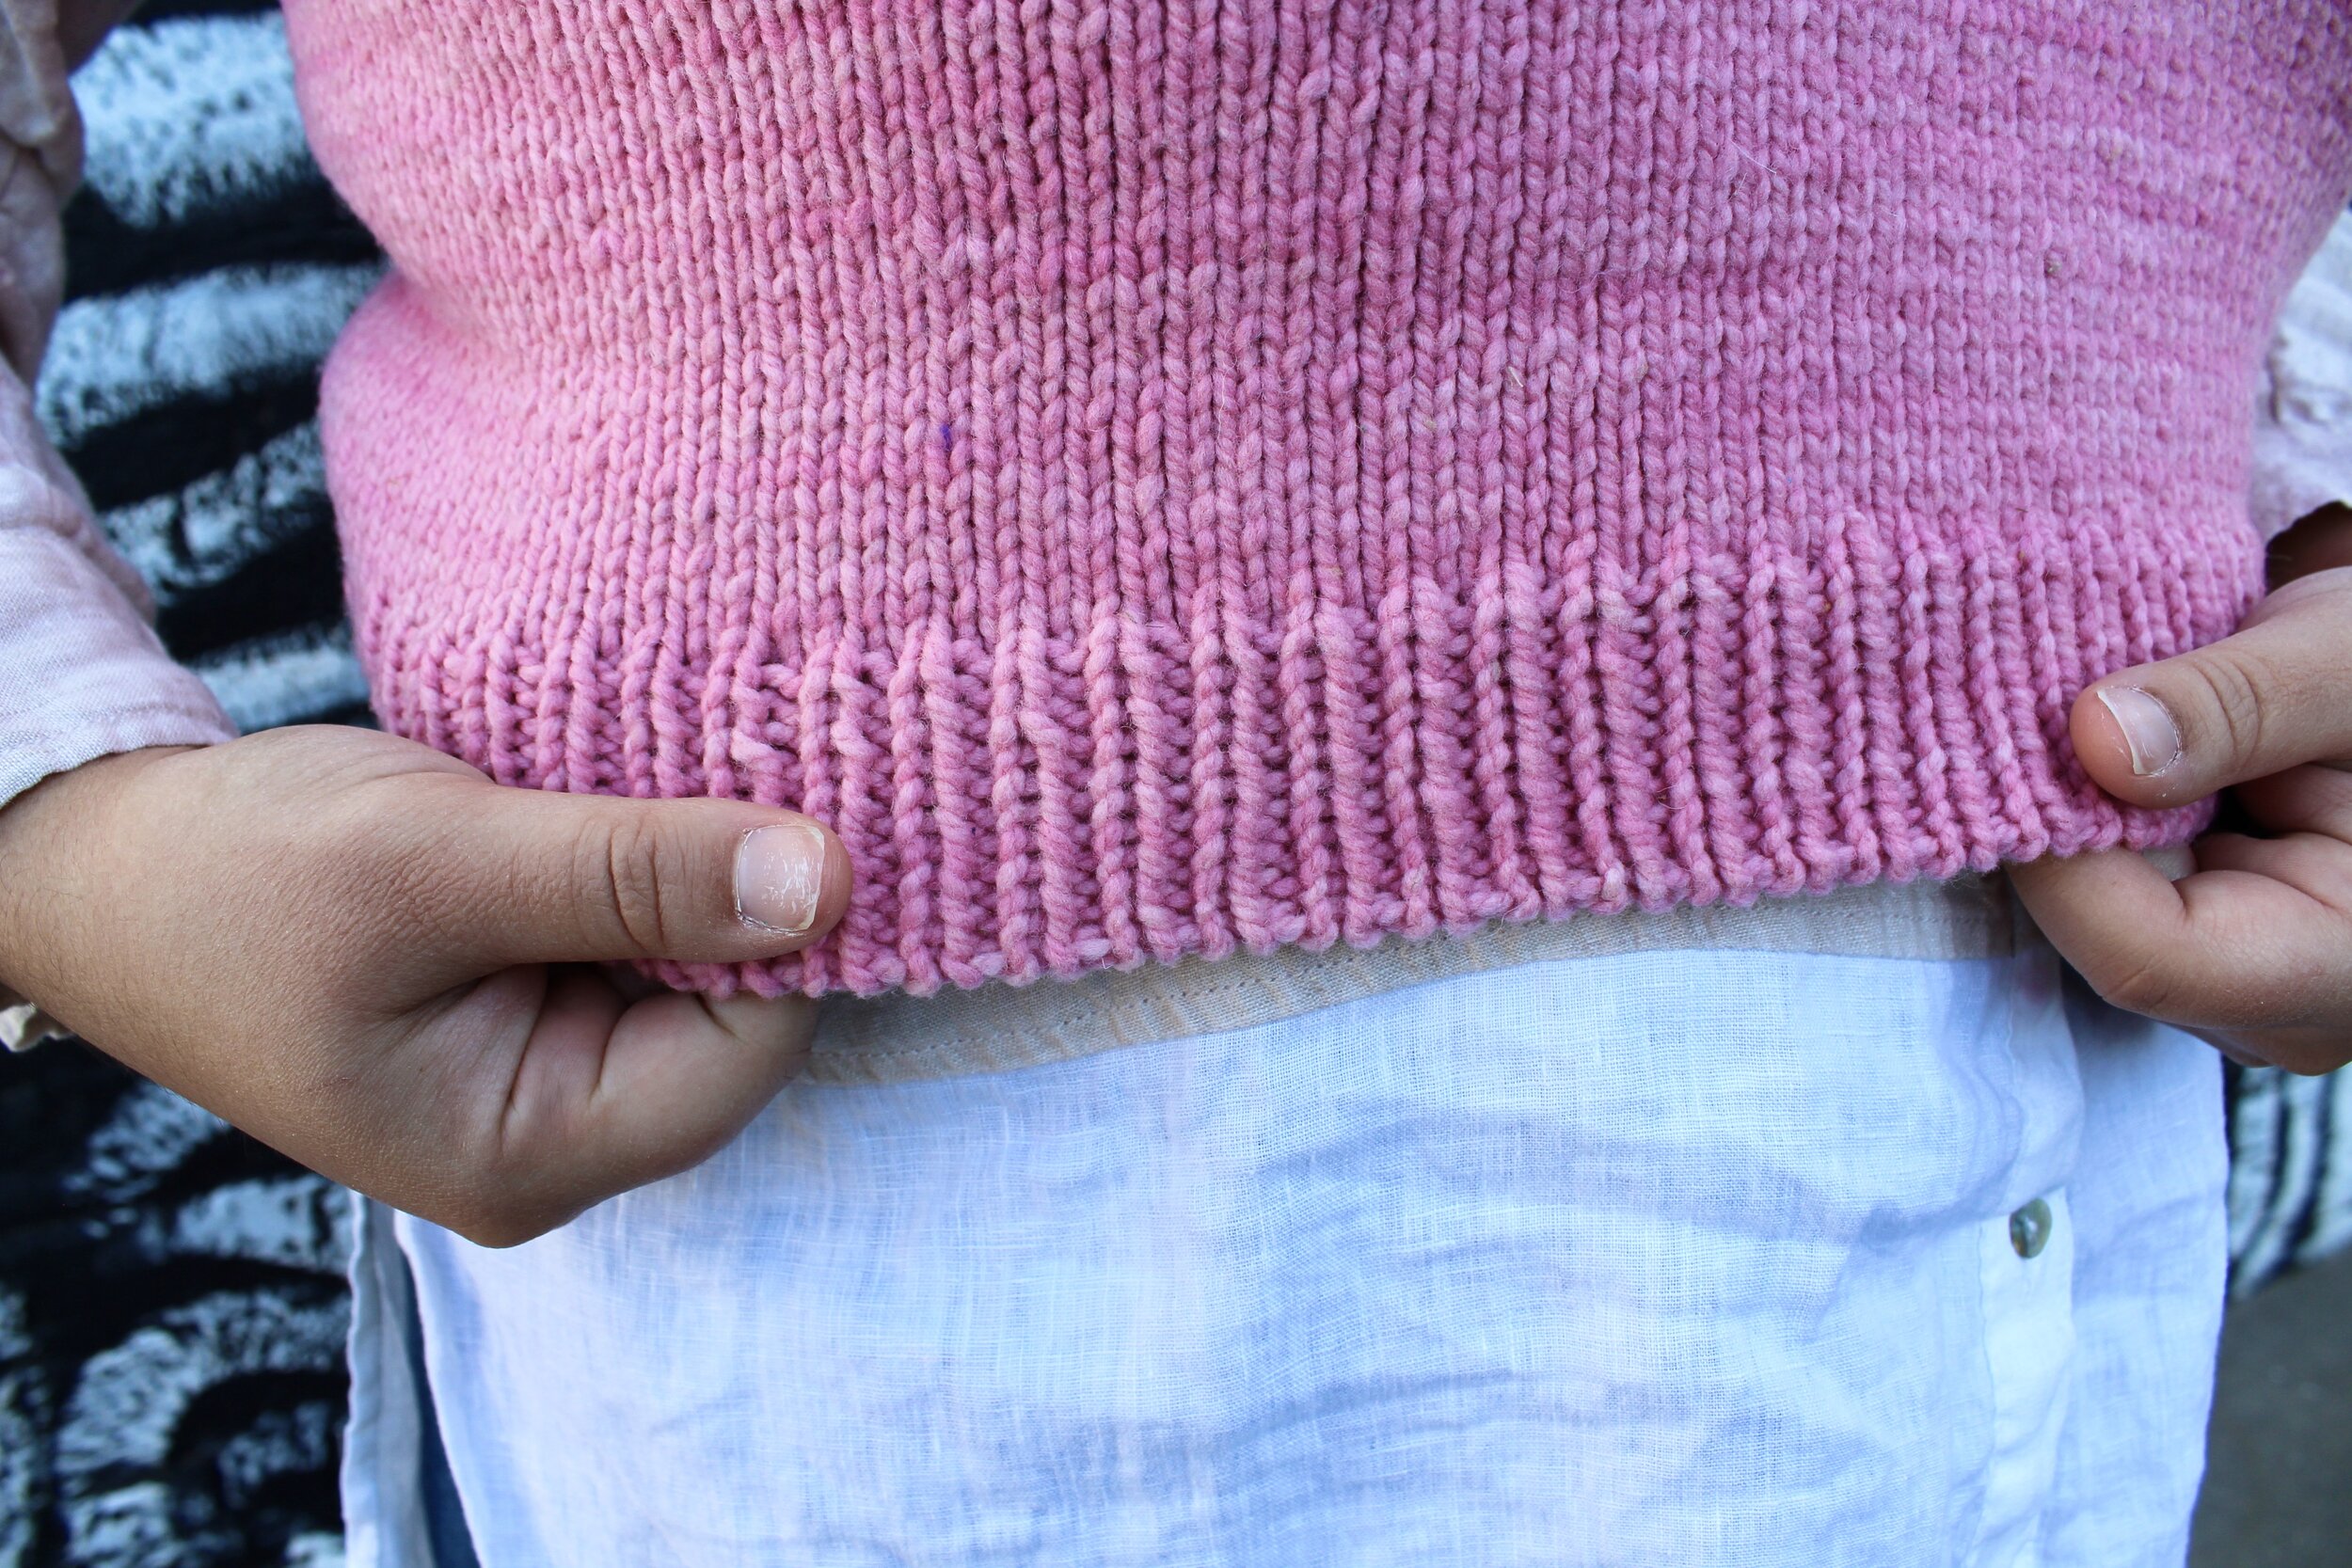
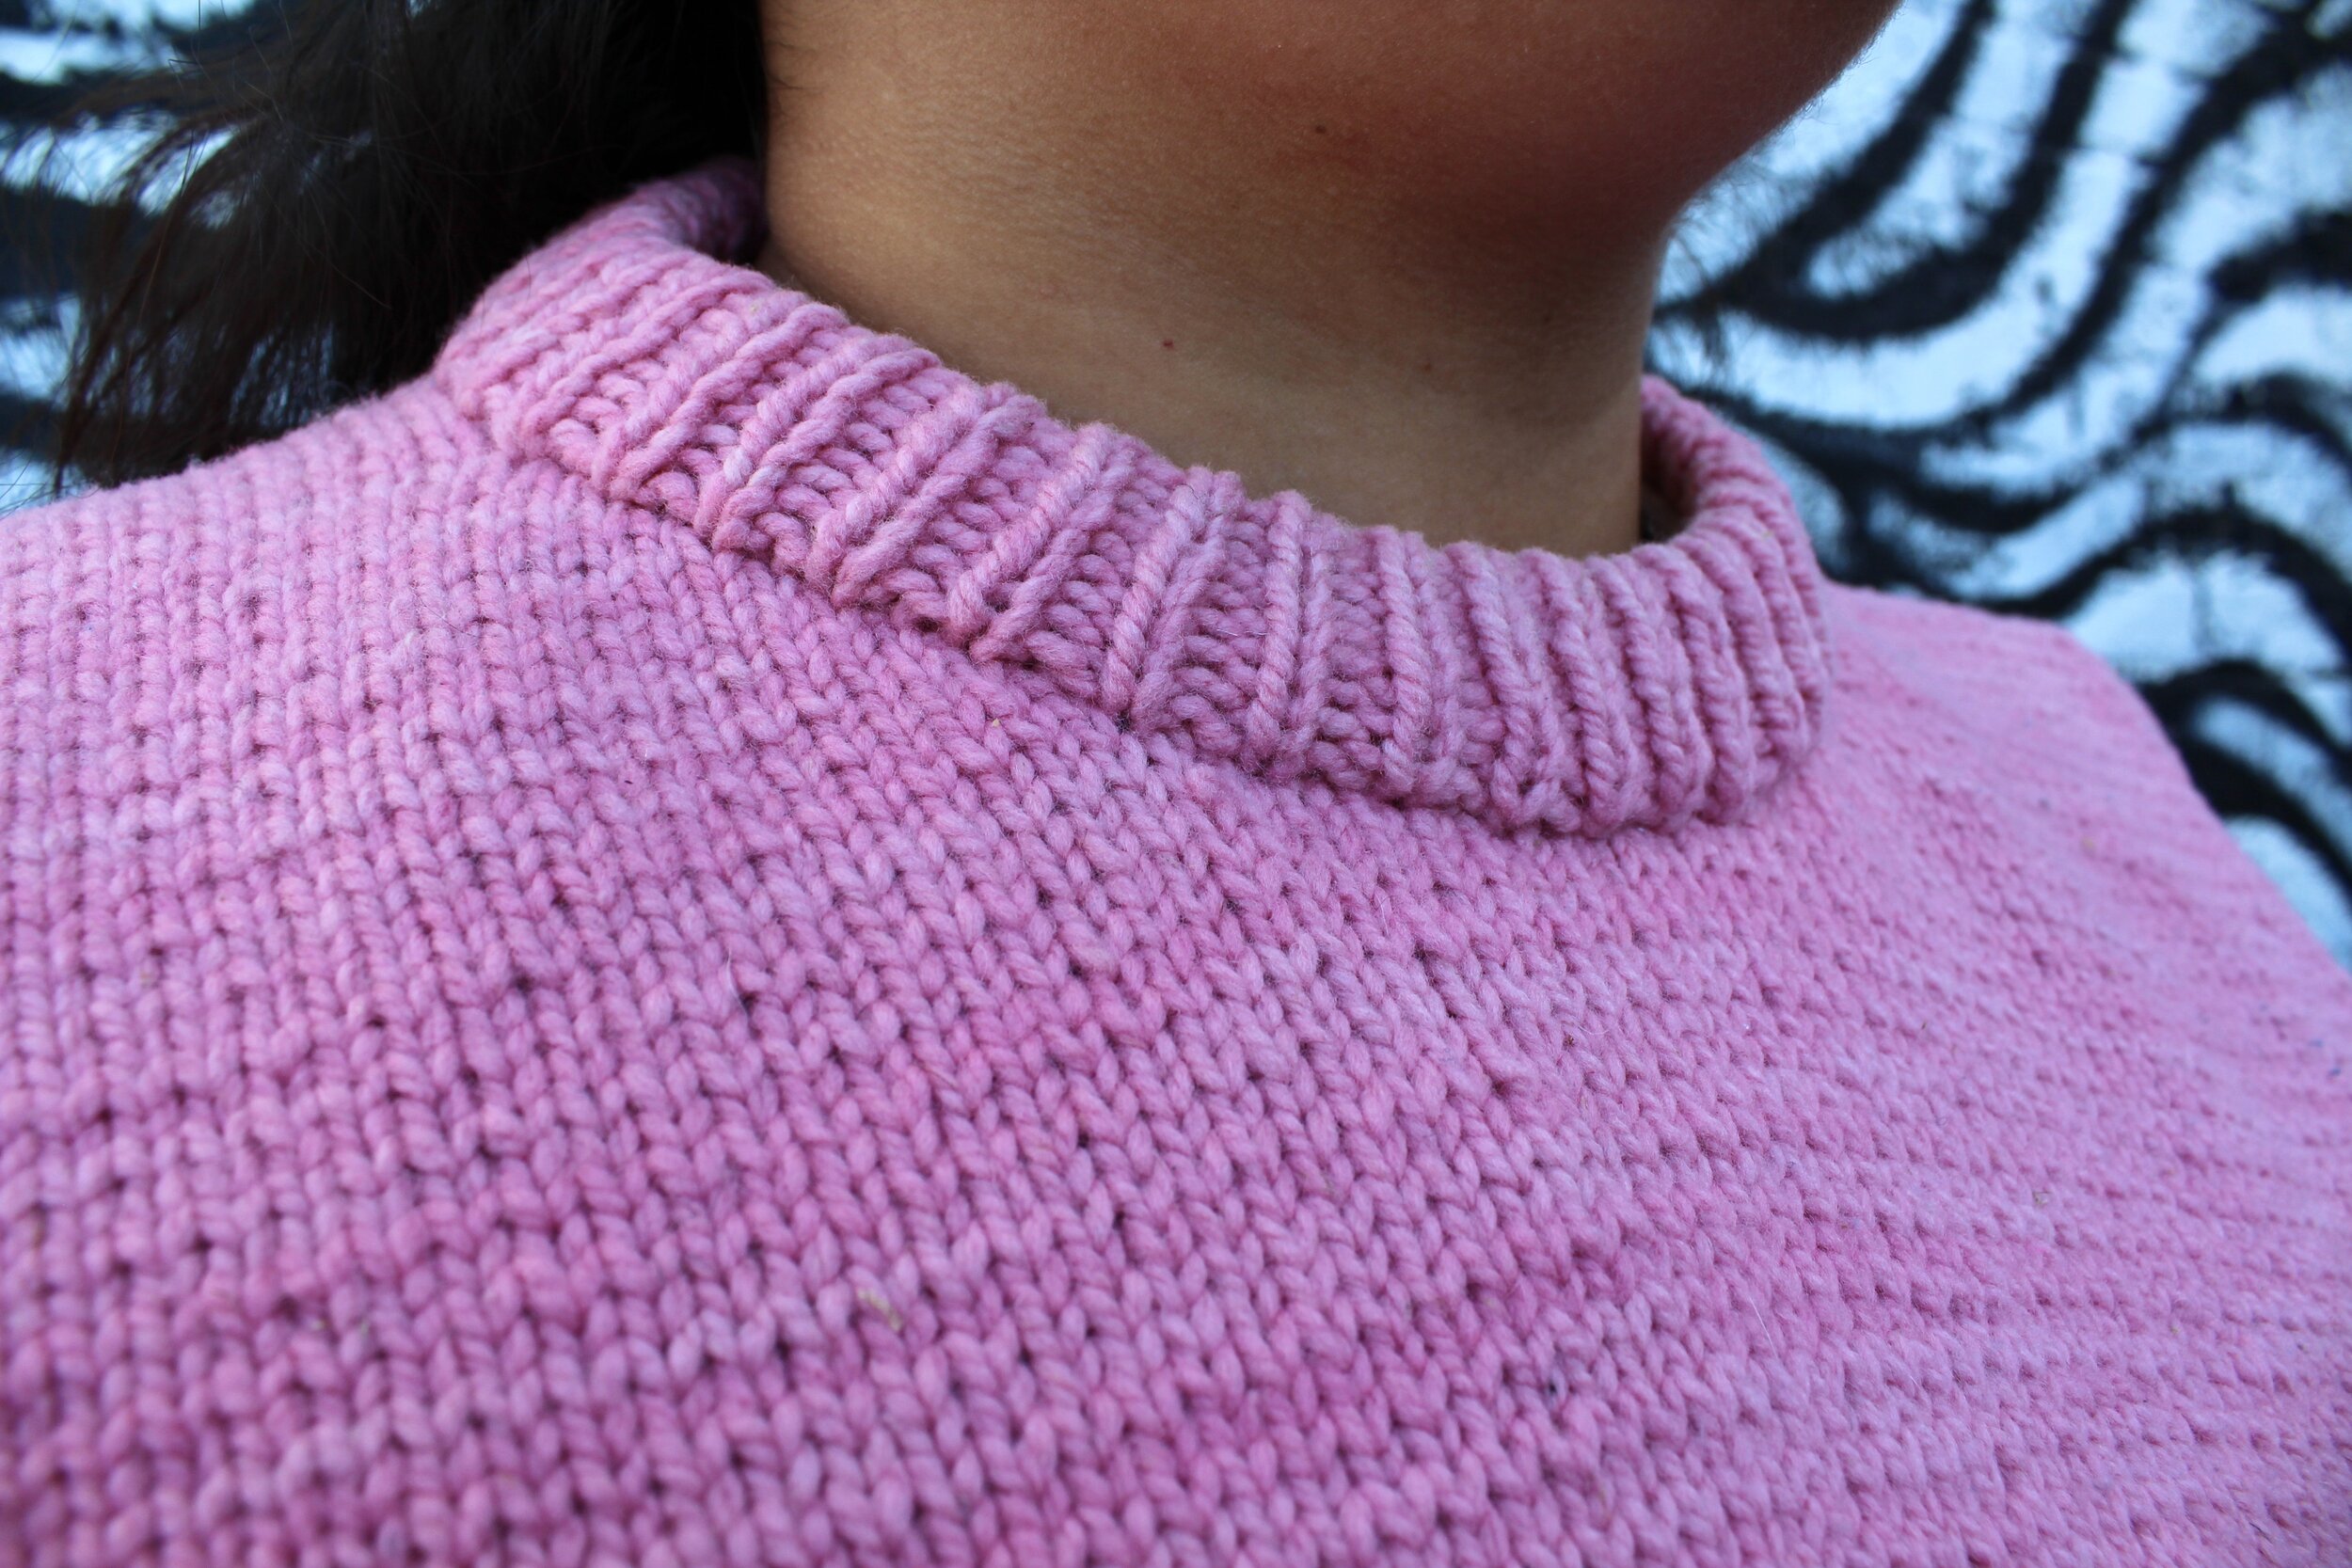
This is actually the way you knit. Your pattern will tell you what stitch to do. The basic, and most common, is Stockinette stitch with alternate rows of knit and purl. Googling stockinette stitch is a great starting base. The others I have encountered in the beginner patterns I have done are garter stitch and rib knit. Check those basics out and then work from there. Use YouTube if you’re a visual learner, like myself.

Bind off:
This is how you end your projects. Finish it off so you can cut the yarn and weave in your ends. Like casting on, there’s different ways to cast off. Some are scary to a beginner like the Italian method. Don’t be like me and choose a pattern that’s not for beginners first. That being said most beginner projects I’ve come across have one of these 3 methods: Purl bind off, knit bind off or rib. Once again use YouTube for all the examples you need.
Ravelry:
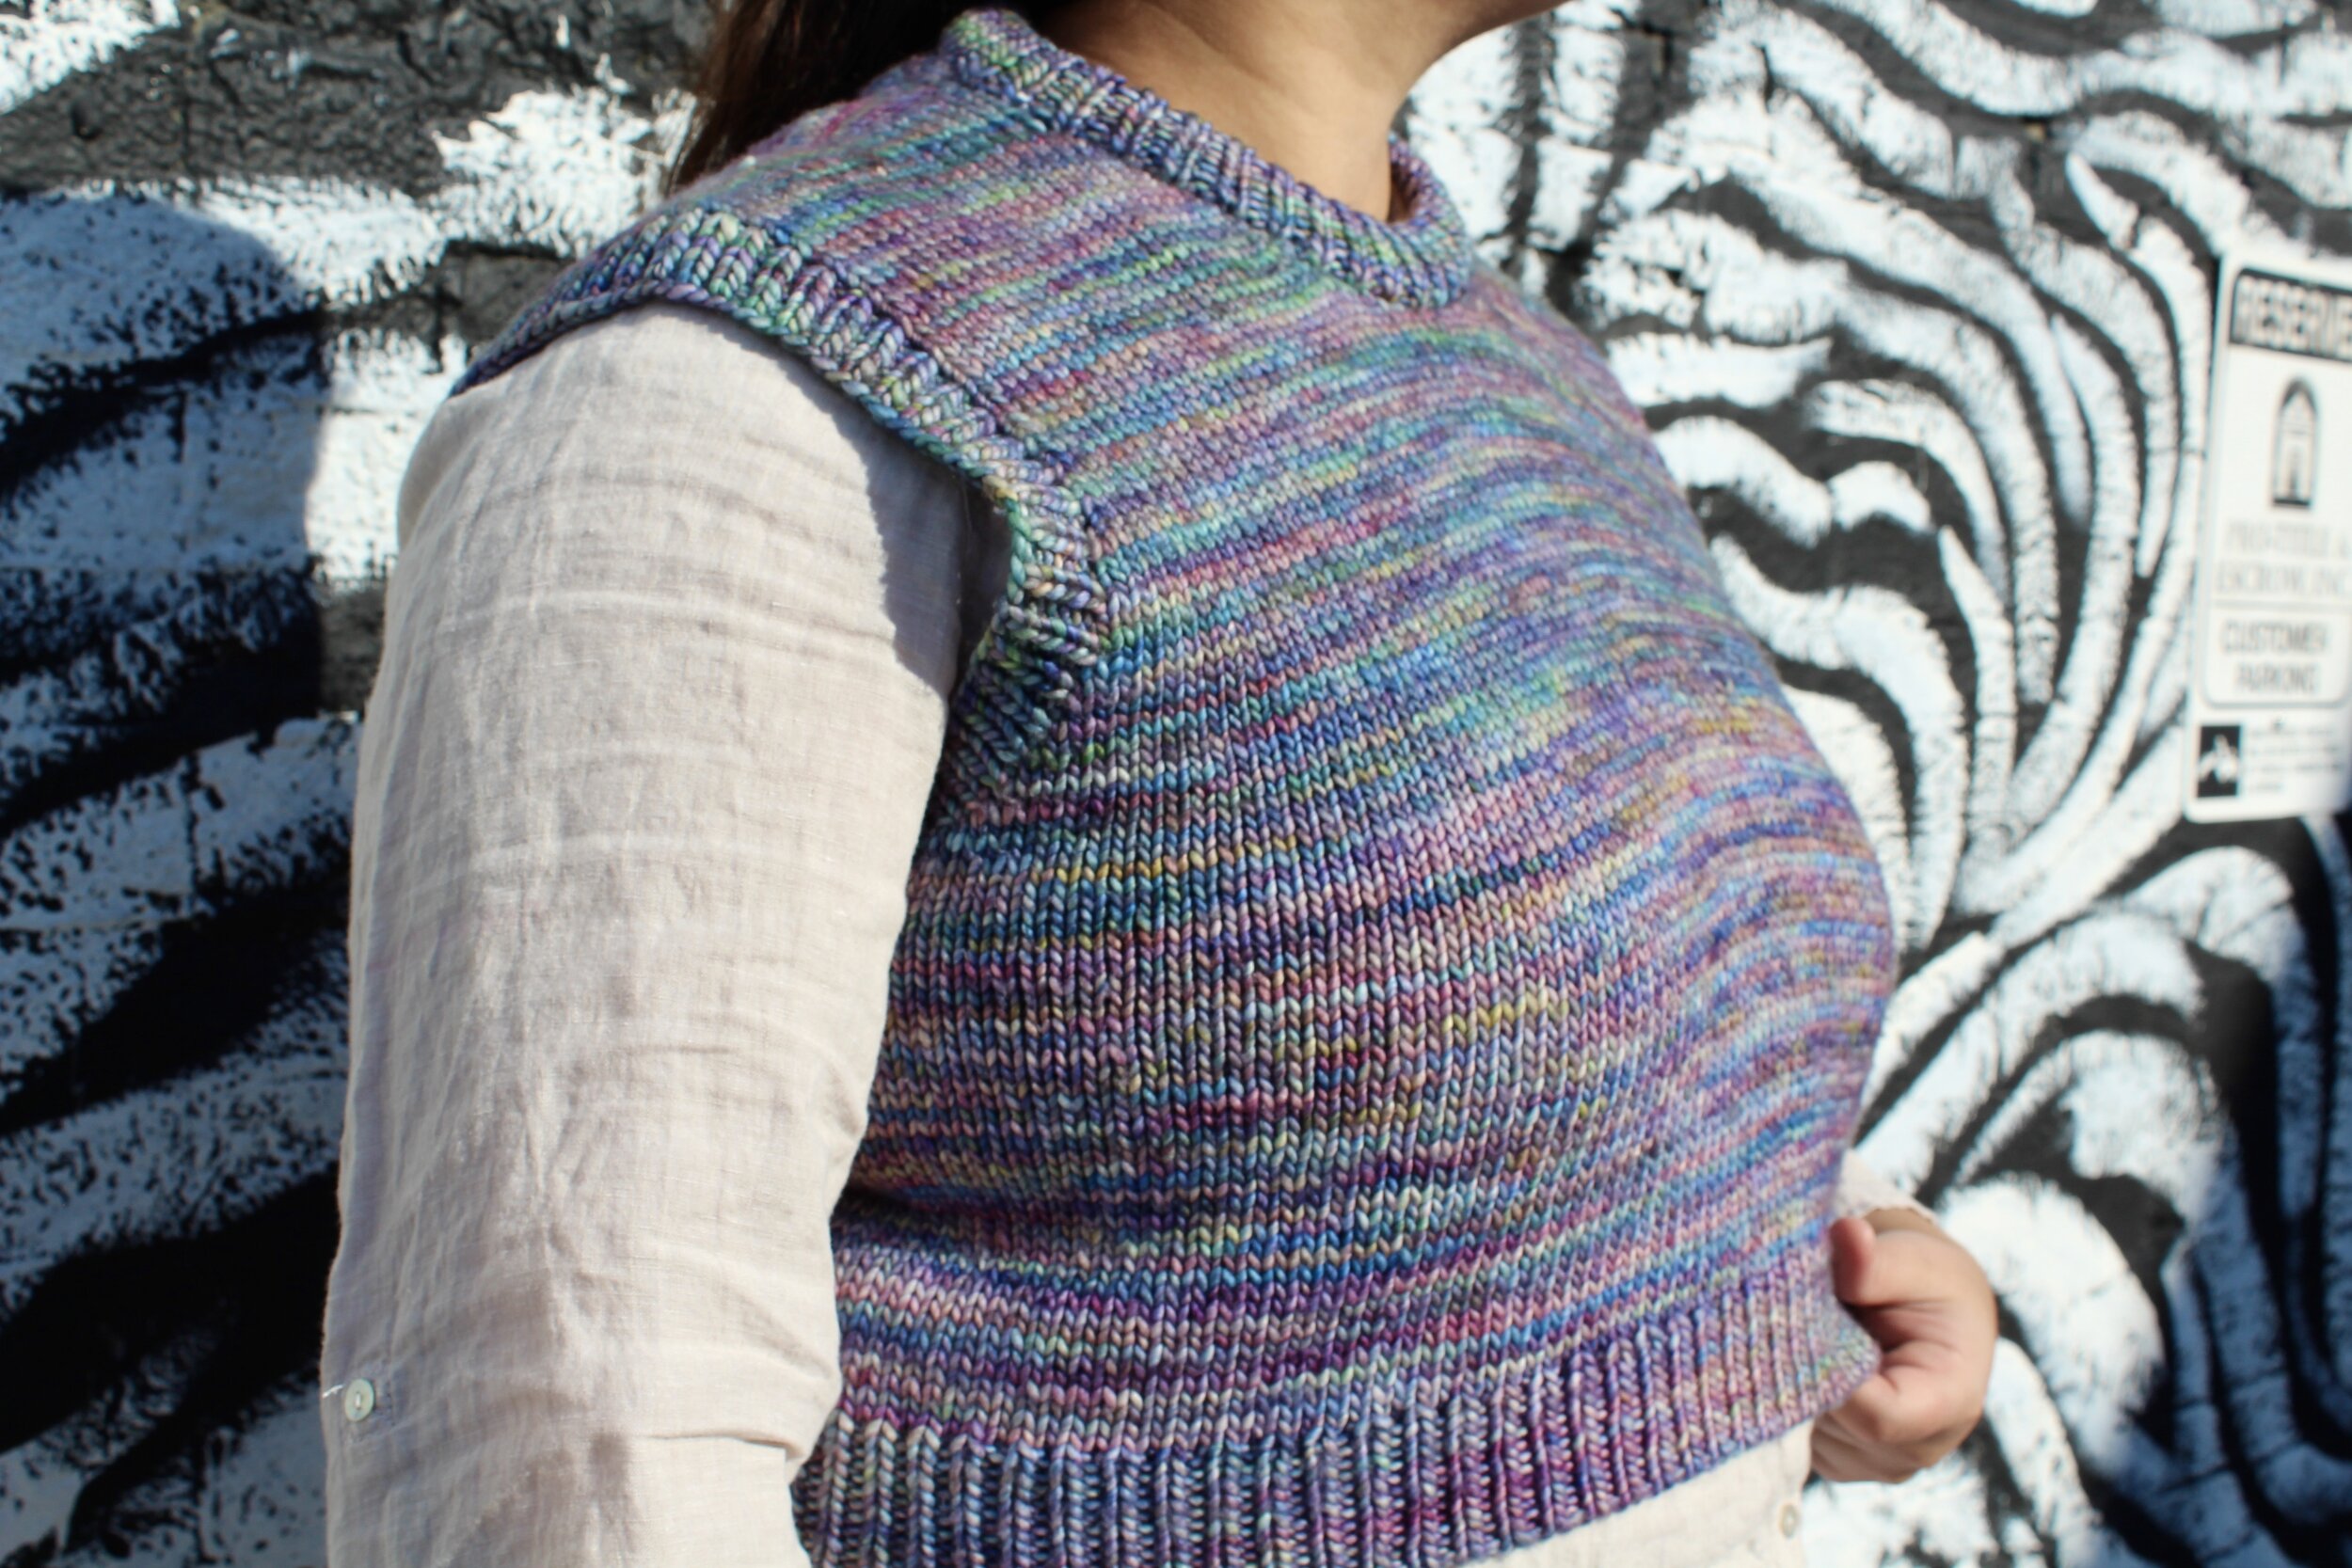
How I wish there was a Ravelry for the sewing community. If you’re in fiber arts this is where you go. This is the holy grail. You can find everything on here. Patterns, reviews, people’s creations, yarn colourways, yarn details etc. You name it, it’s on there. I’ve actually used this for looking for patterns in my skill range. You use the filters and it comes right up. I’ve even looked up yarns that have colours throughout and i don’t know what it’s going to knit up to look like. Guess what? I can use Ravelry to look at other’s projects and it shows me! Like how amazing is that!? I have barely scratched the surface of it’s functionality, but if you’re looking to get into knitting go there!!!!!
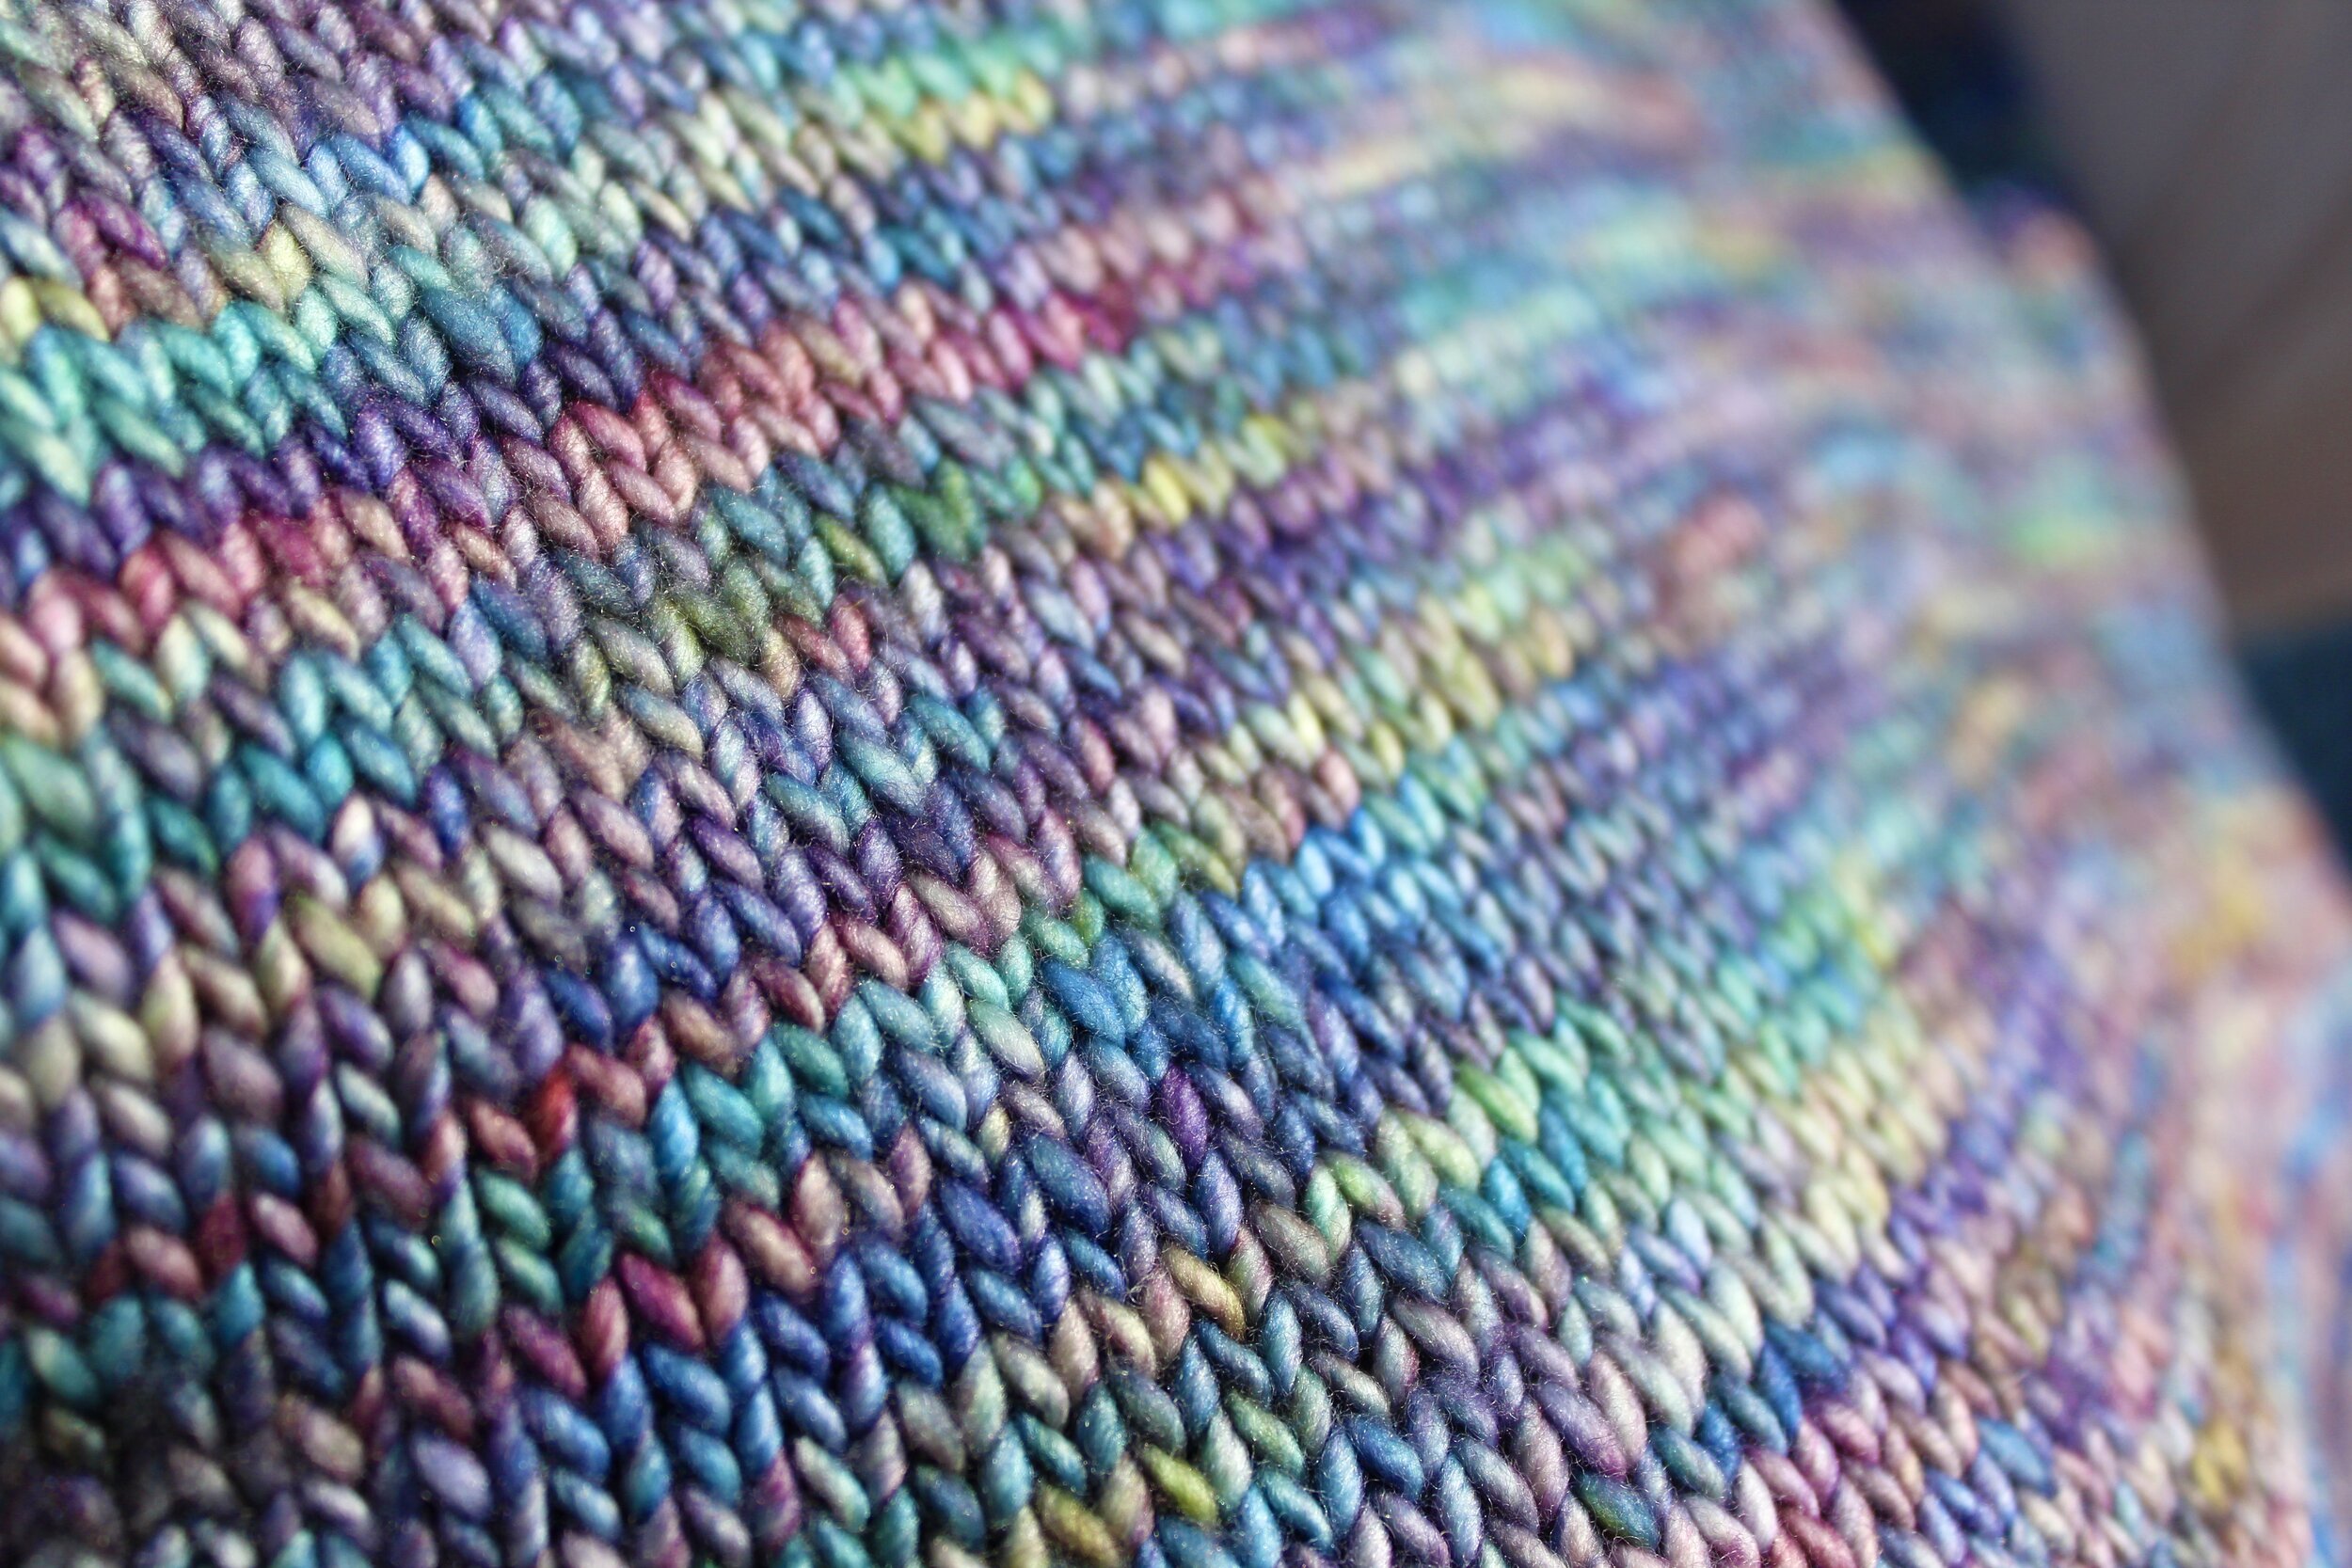
Yarn Types:
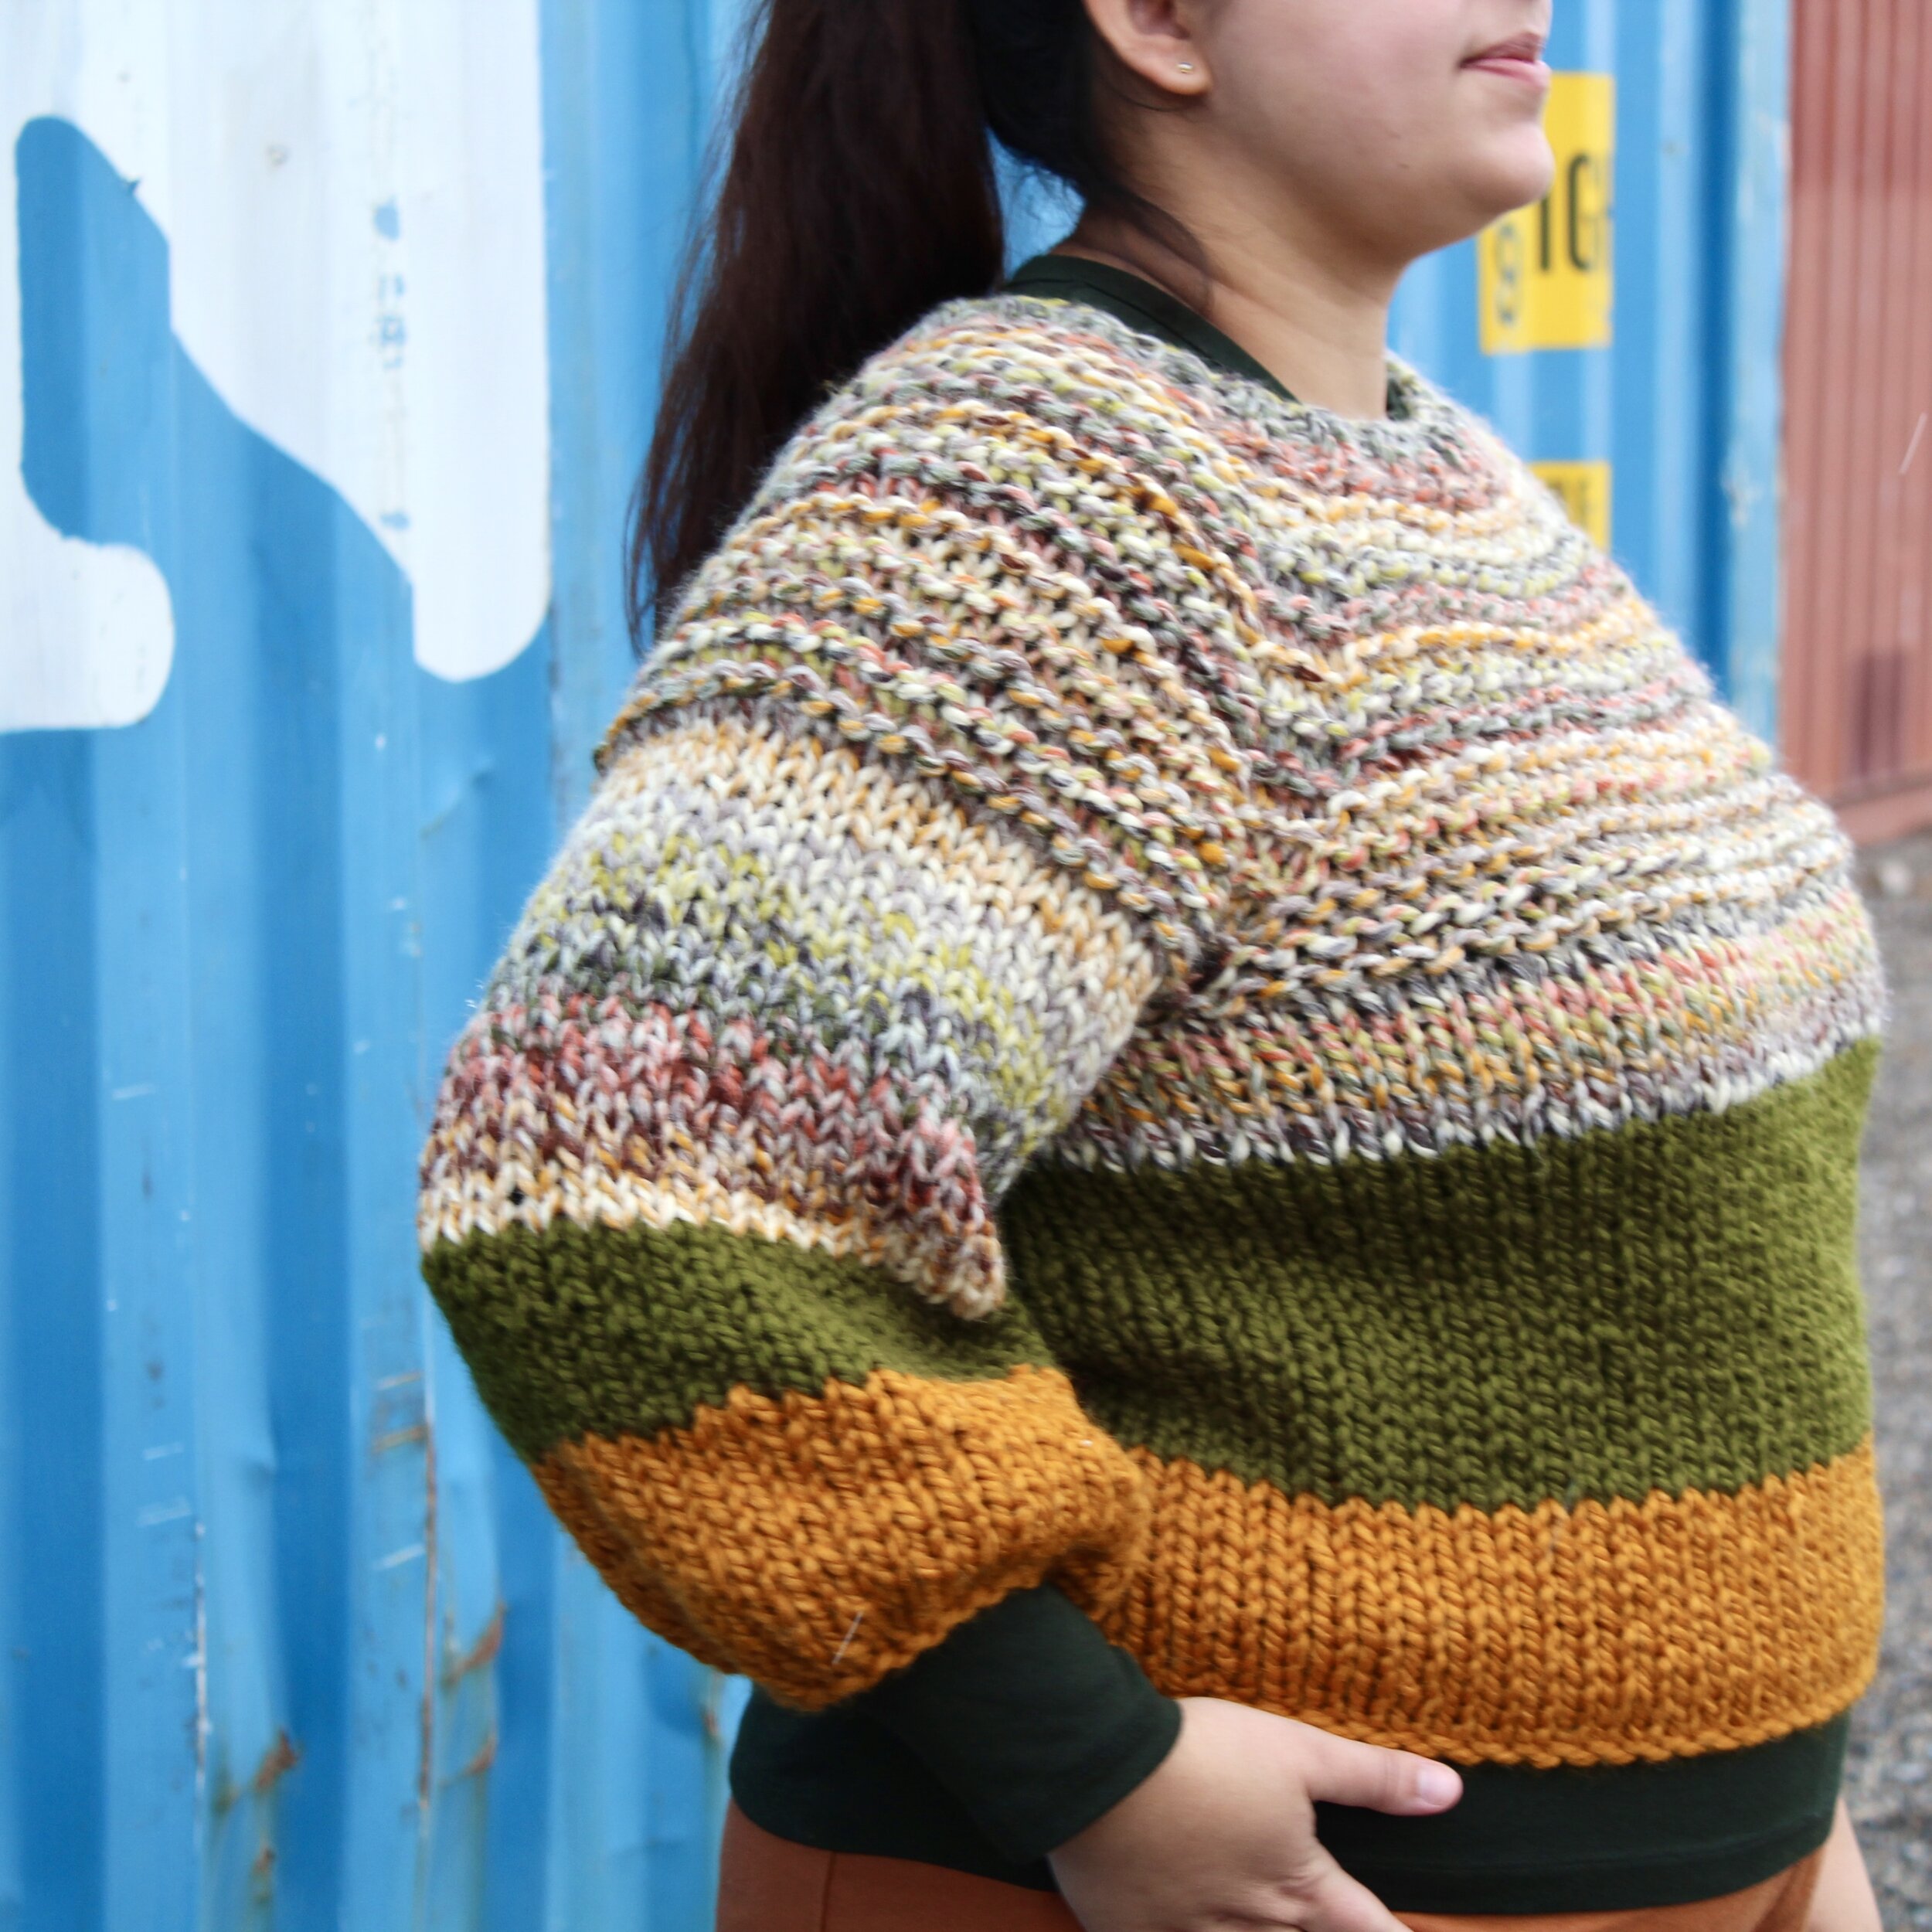
This is where the addiction begins. There so much, SO MUCH! The compositions vary, the weights vary and the yardage vary. I still don’t have my head fully wrapped around all this, but I can tell you what I’ve used. Bigger is easier. If you’re new to knitting, the super bulky and chunky yarn is where you want to start. It’s easier to sew your stitches, and these projects go quick and make you feel so accomplished. It’s also easier to catch and fix mistakes in bigger yarn. You can also combine smaller weight yarns together and hold them together as you knit and create bulky yarn! Like seriously, there are endless possibilities in fibre arts and I am here for it.
Now for composition. Yarn can be wool, alpaca, acrylic etc. There’s so many, and on top of that they can be mixed. It’s quite the rabbit hole, but it’s the type of rabbit hole I love to get stuck in!

Blocking:
Okay, so from what I’ve gathered, some people block and some don’t. General rule of thumb though, do the blocking. So what’s the point of blocking? Well in a nutshell, it’s to set your final size and even out your stitches.
Blocking varies depending on the type of yarn you’ve used. These are the tips for each composition:
Wool: Soak in room temperature water for 15 minutes. Don’t agitate in water. Gently take out of water and squeeze a little, then lay flat on a towel. Don’t stretch it more than you have too. Roll the towel up like a burrito and step on it to squeeze out extra water. Unroll and remove from towel. Lay flat on table to dry.
Acrylic: Lay flat on ironing board. Hover your iron over it using the steam function or use a steamer. DO NOT let the iron get too close though!
Blends: Can do either of the above options.
Well, that’s all I can remember right now. It’s nice to have it all in one place because I asked poor Mel so many questions. So many questions and she somehow still likes me. I have good friends guys. So hopefully this helps some of you beginner’s like me and also helps your knitting friends not hear a bunch of questions from you. You’re welcome seasoned knitters. Also, a note for the seasoned knitter’s about this post, please be nice about what I’ve written. I’m very much a beginner too and I still don’t know very much in the knitting world, but I’m excited to keep learning!