A Hinterland Dress Hack
There’s certain aesthetics that don’t tend to leave us. For me it’s anything scandinavian in print. That whole aesthetic just speaks to me and makes my heart so, so happy. It’s difficult to explain, but even though I have no connection to Scandinavian countries I feel so connected to the aesthetic. Strange but true! So when I first saw this pattern it reminded me of some vintage Marimekko pieces I have pinned in my Pinterest. The way scandi prints do florals is my absolute favourite. There’s nothing I love more, so I knew this had to come home with me.
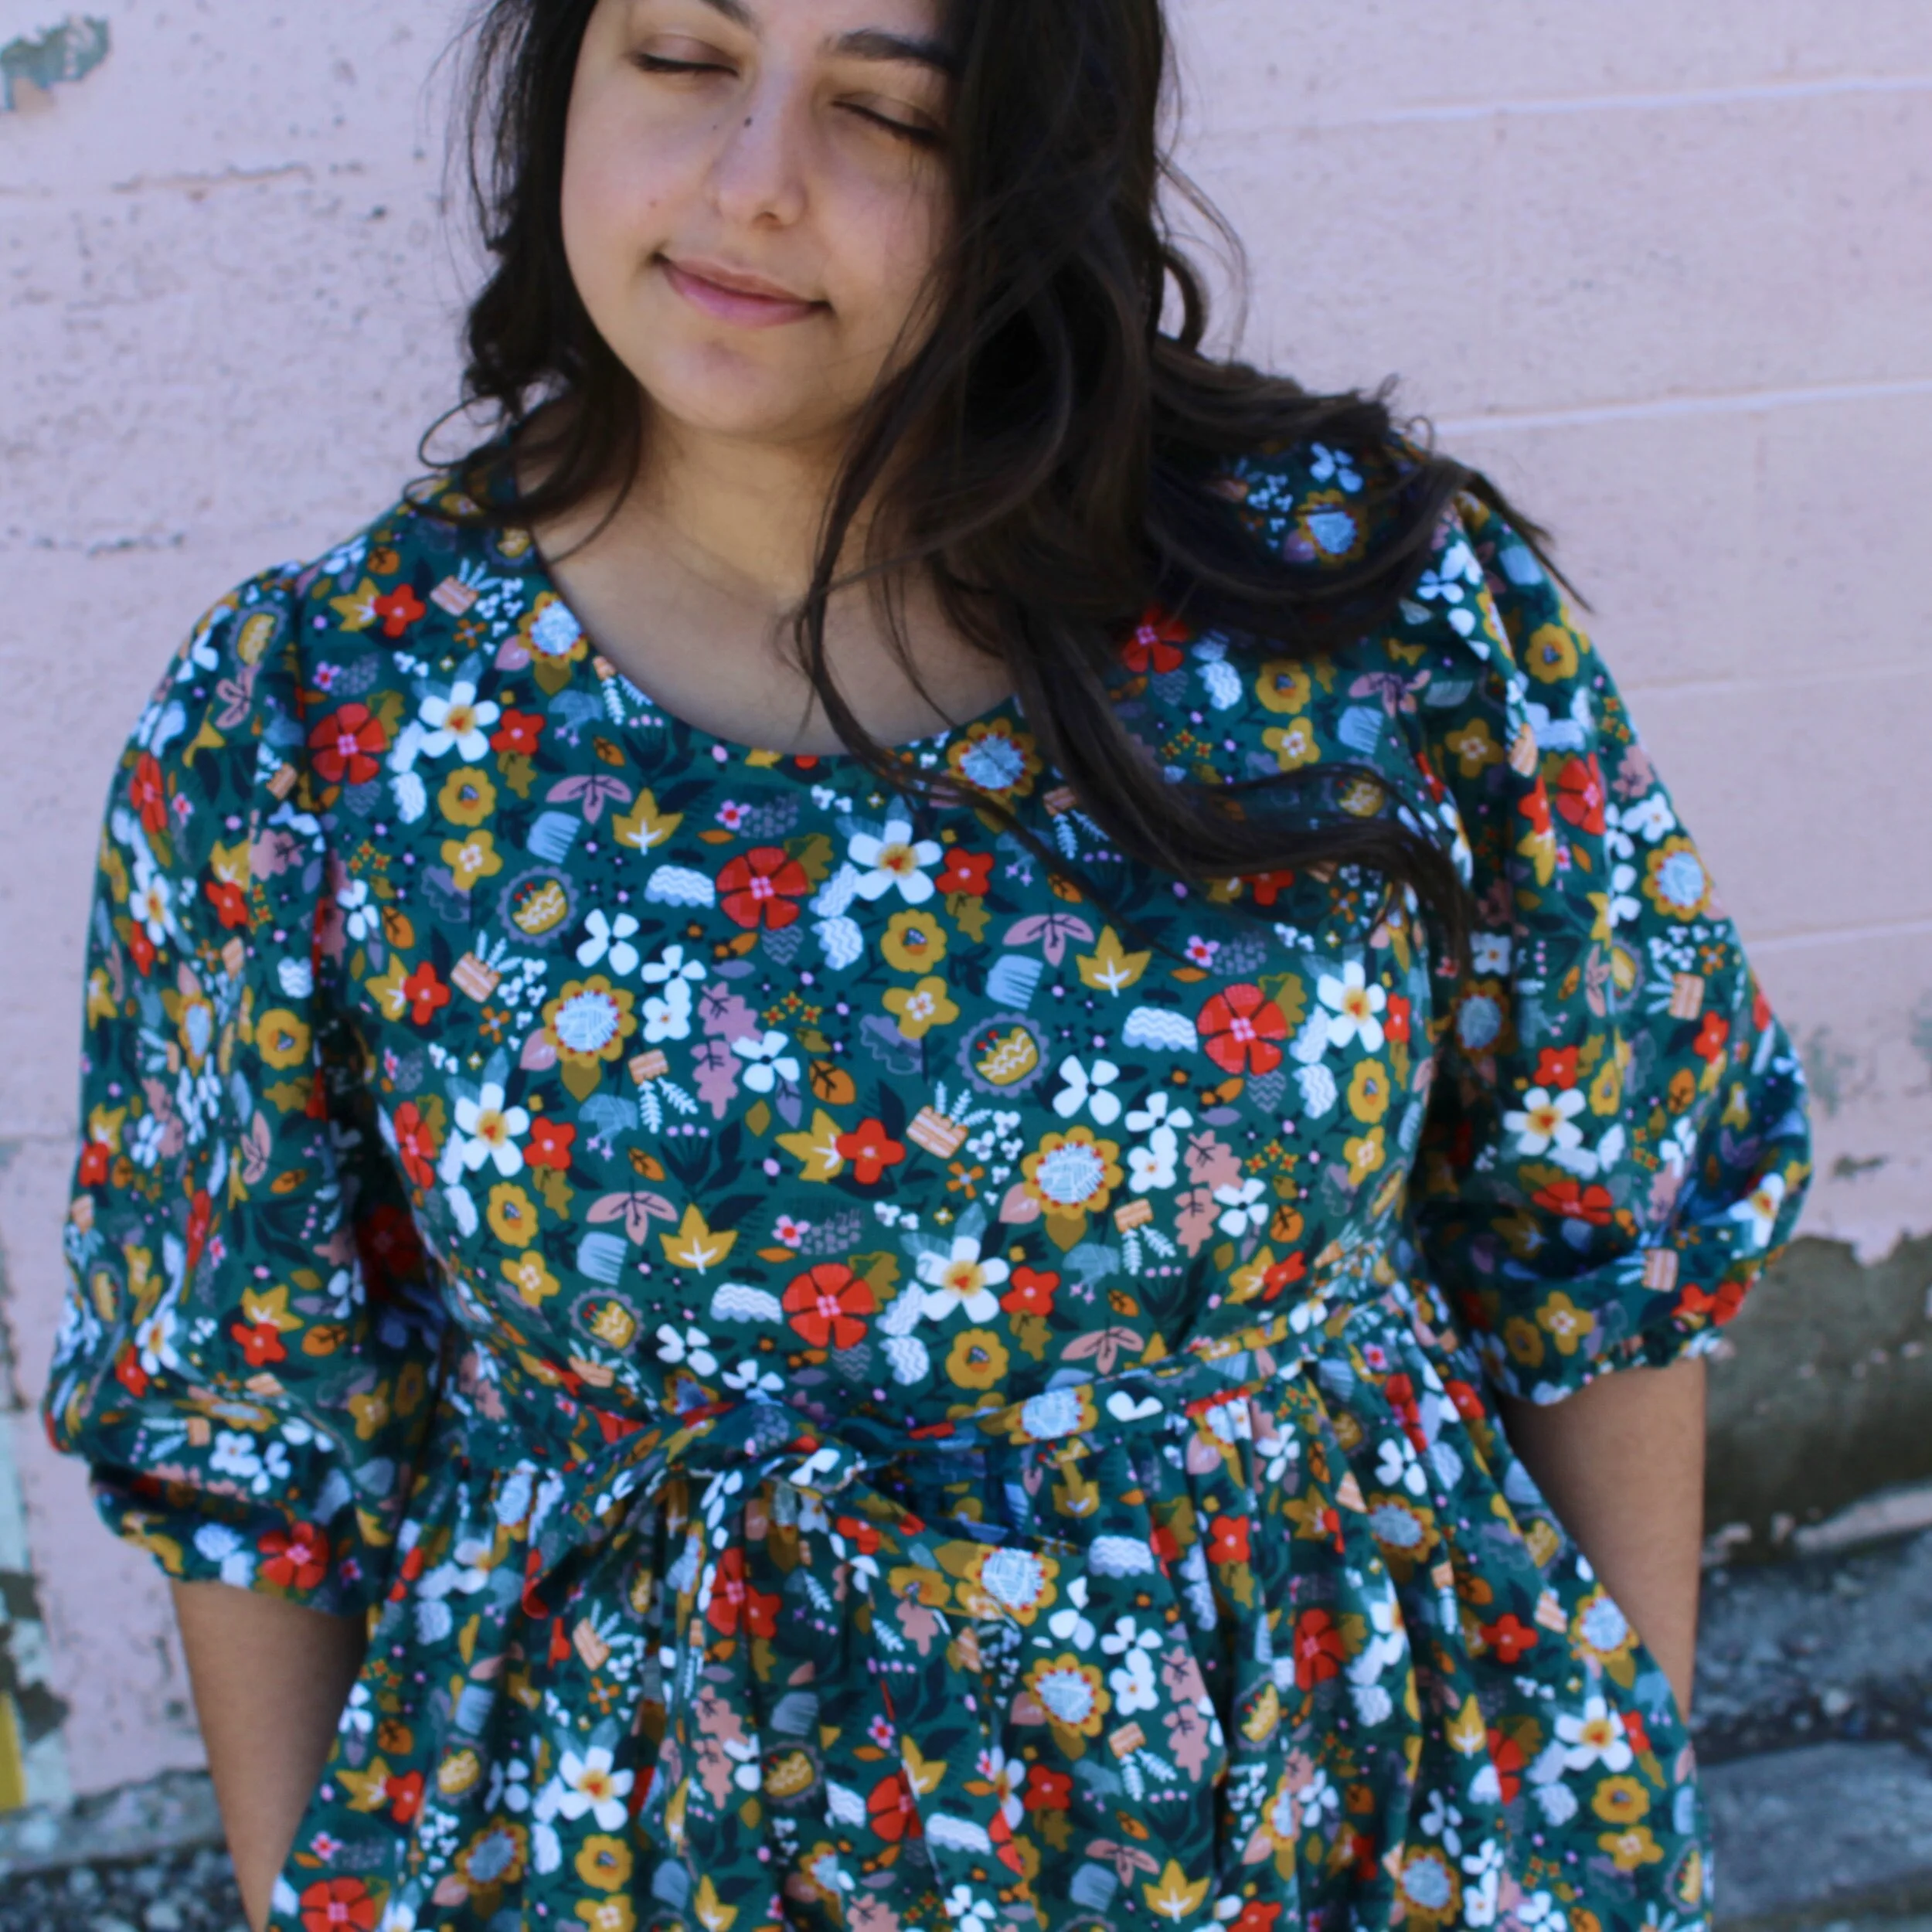
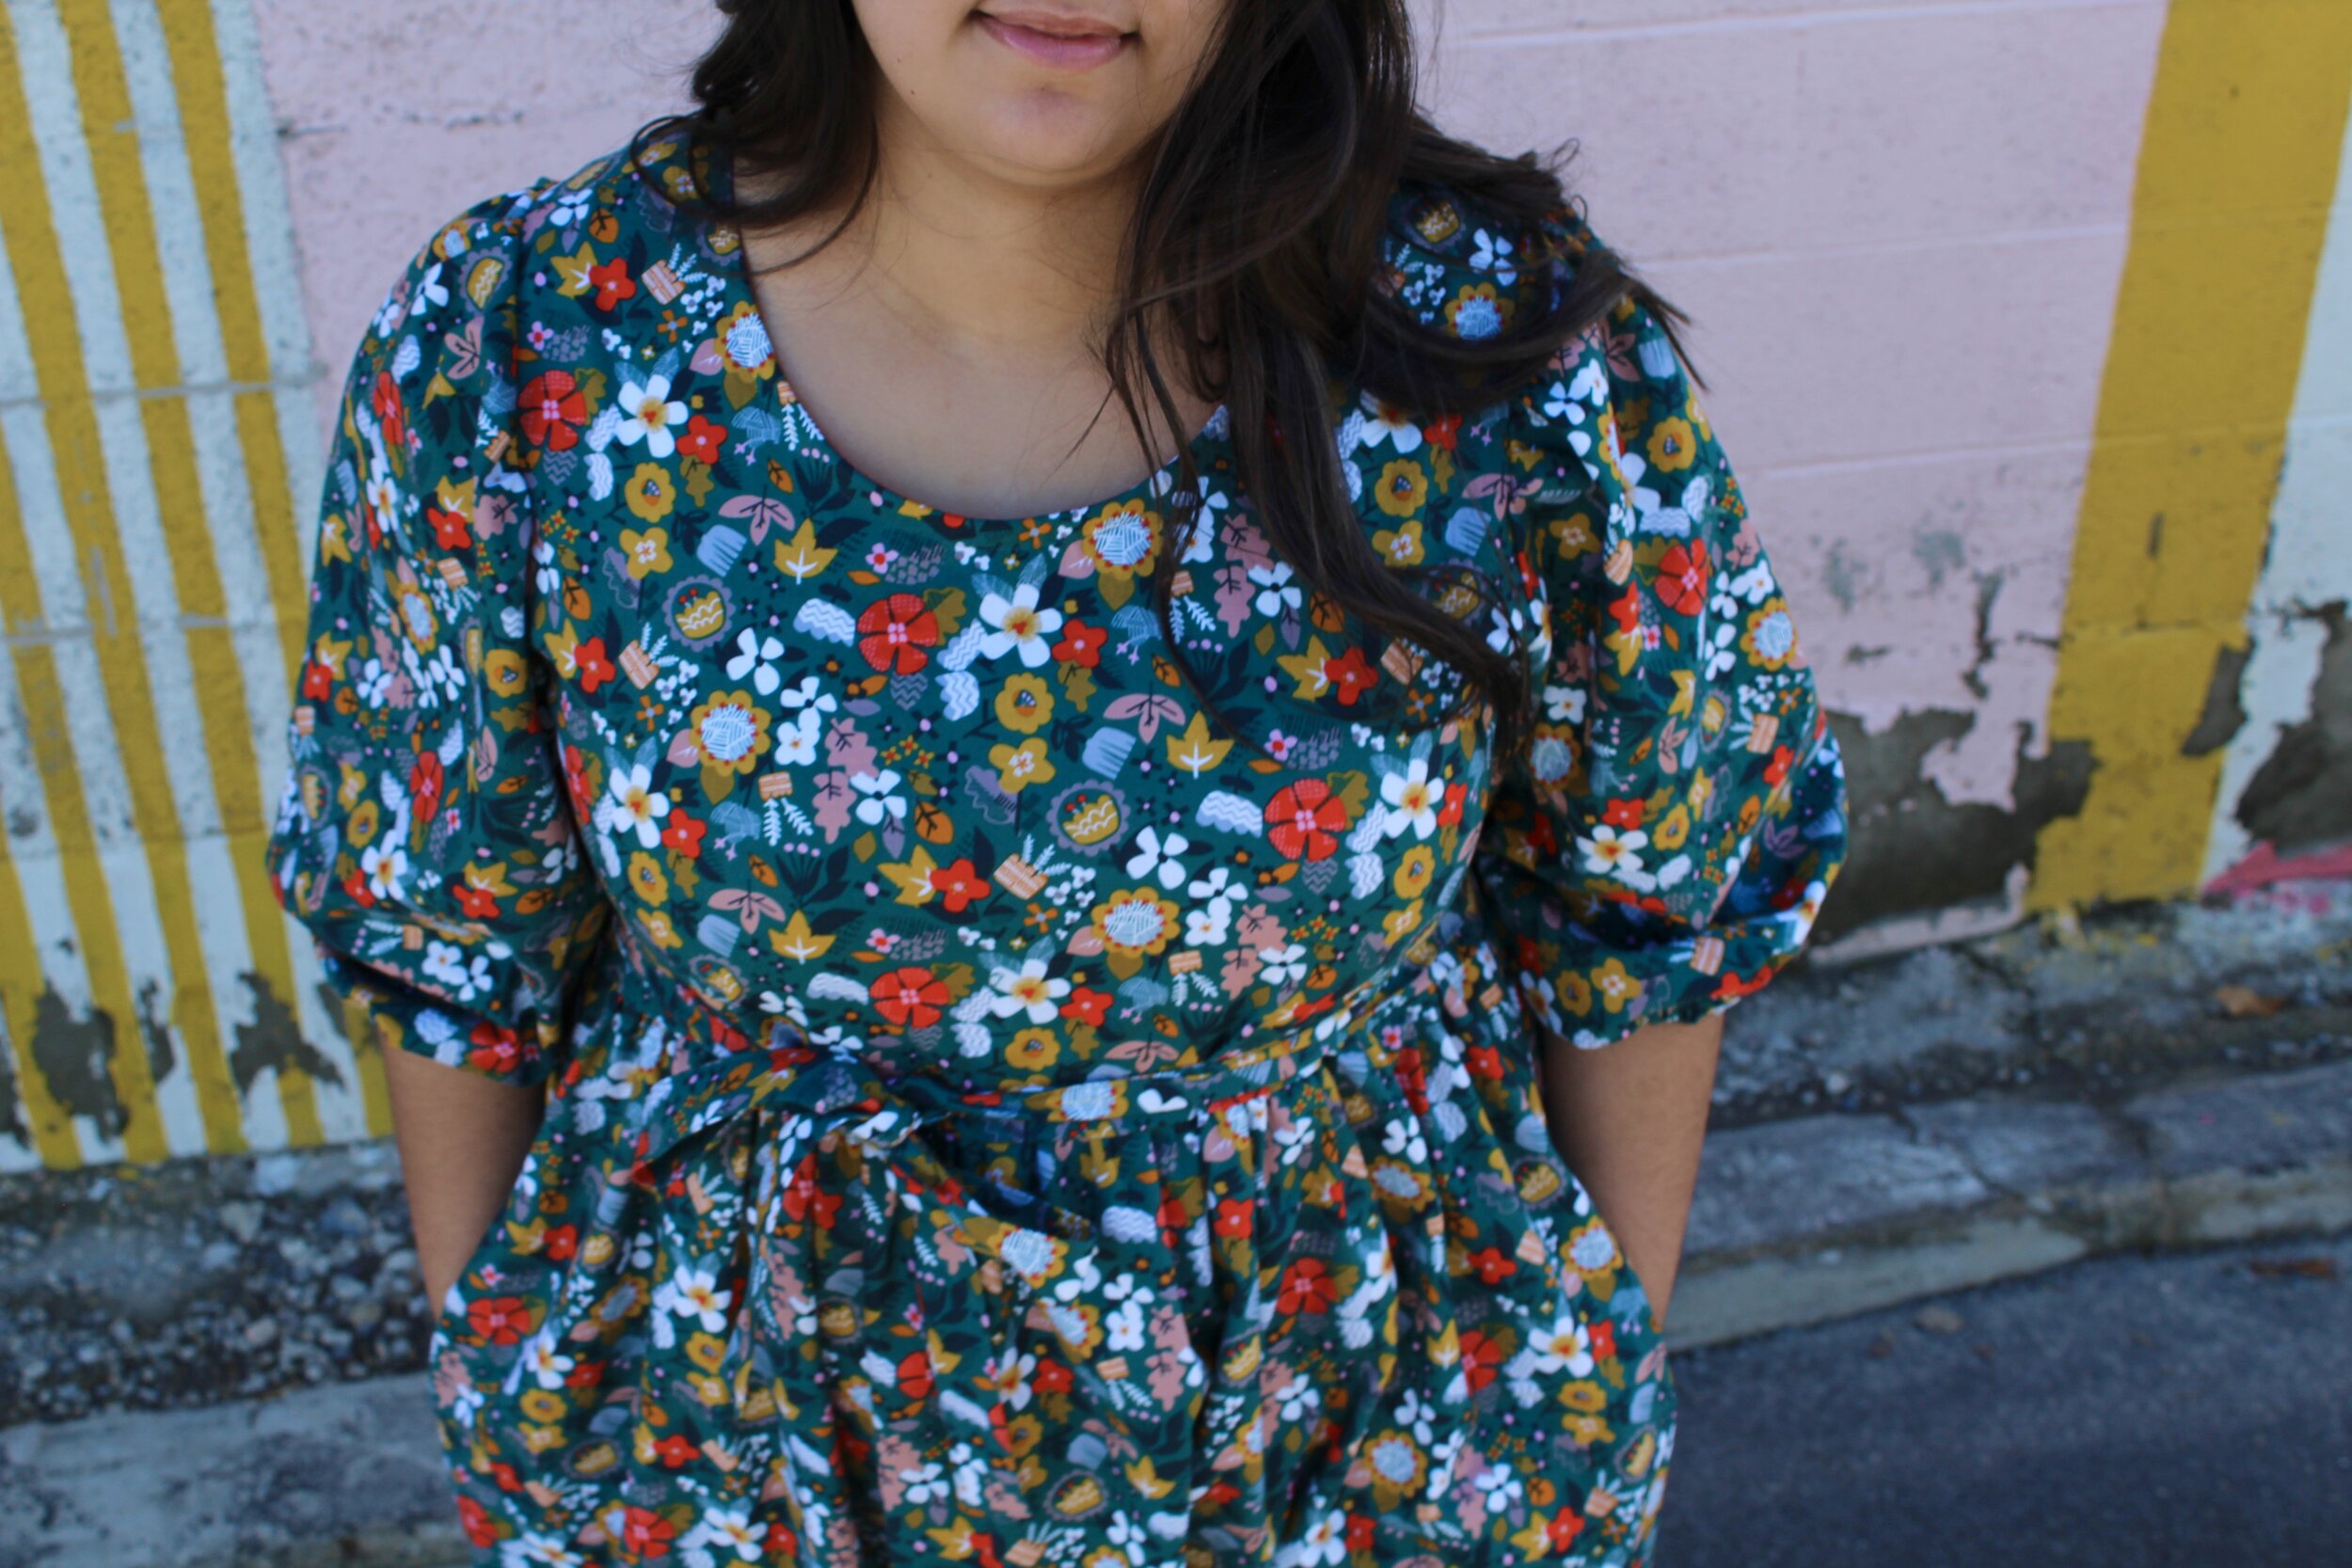
I knew exactly what I was going to make with this amazing cotton fabric. A magical dress of course! I am, afterall, dress obsessed. I wanted the dress to be effortless. So no zippers or buttons. A super easy grab and go kind of fit. I also wanted it to feel slightly fitted but not fitted at all. Those were my main features I was shooting for. After going through my stash of patterns I finalised my course of action. I was going to do a hinterland dress hack from Sew Liberated. First, I omitted the button down front, along with removing the dart. I did this by tracing my pattern pieces after I pinned the dart in place on the original pattern piece and then straightened out the sides. I then cut the bodice front on the fold like the back. Oh and I raised the neckline by an inch too. Once the bodice front was adjusted I moved on to the sleeve hack. I used the slash and spread method to add the volume I wanted. About 1.5” in between. I went big! I also added 3 inches on the length of the sleeves. To bring it in at the sleeve cuff I used ½” elastic. That was all the changes I made.
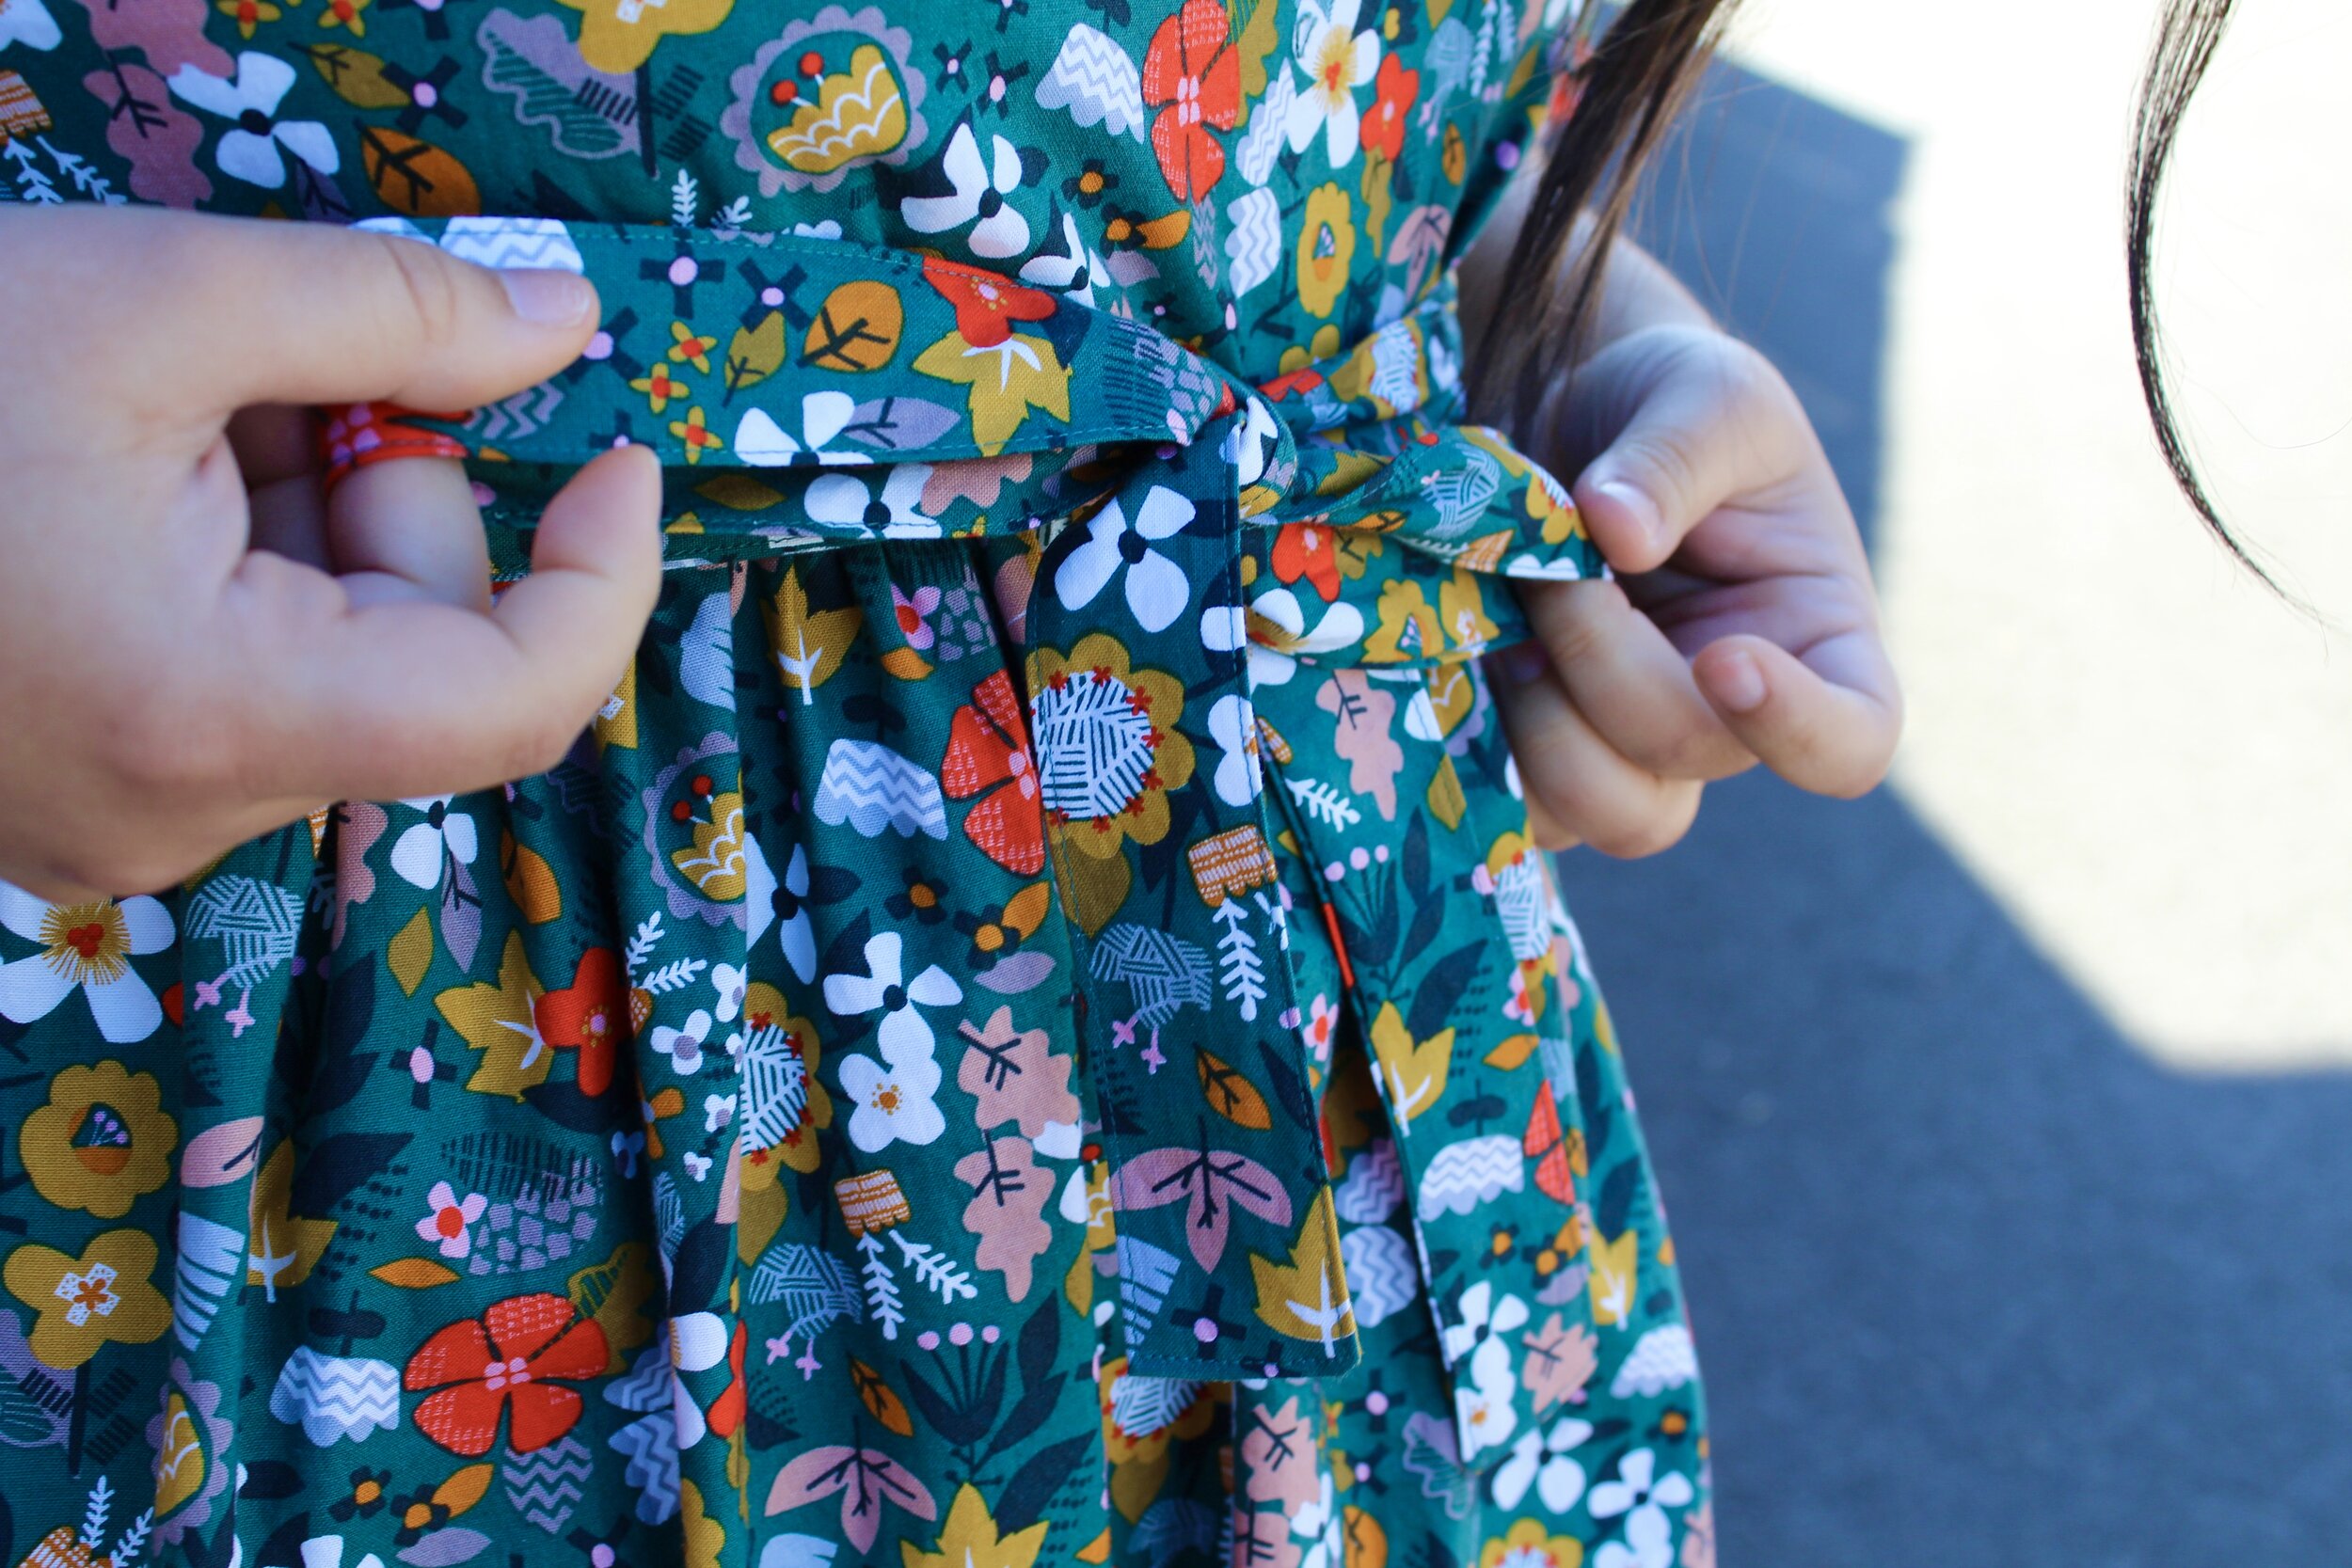
The rest of the pattern pieces were as is. The ties, the back bodice and the skirt with pockets. I added a little more volume to the skirt by cutting the width of the fabric as opposed to the width of the pattern piece. It was like a 2 inch difference if I remember right. The sew up itself was super easy. I followed the instructions as written; just didn’t need to do a button placket and I used bias to finish the neckline. I also ironed the sleeve to the wrong side by ¼” inch and then again by ¾” and edgestitched. That created my casing for my elastic sleeve hem.
Overall it sounds like I did a lot of changes but they were all small and totally worth it. The dress ended up being a super easy sew and came together in one night! I call that a win! Not to mention I hit my targets of fitted but not too fitted and an easy throw on dress. My husband and kids love it and so do i! I cannot wait to wear this out on the town one day when we’re not in the middle of a pandemic!