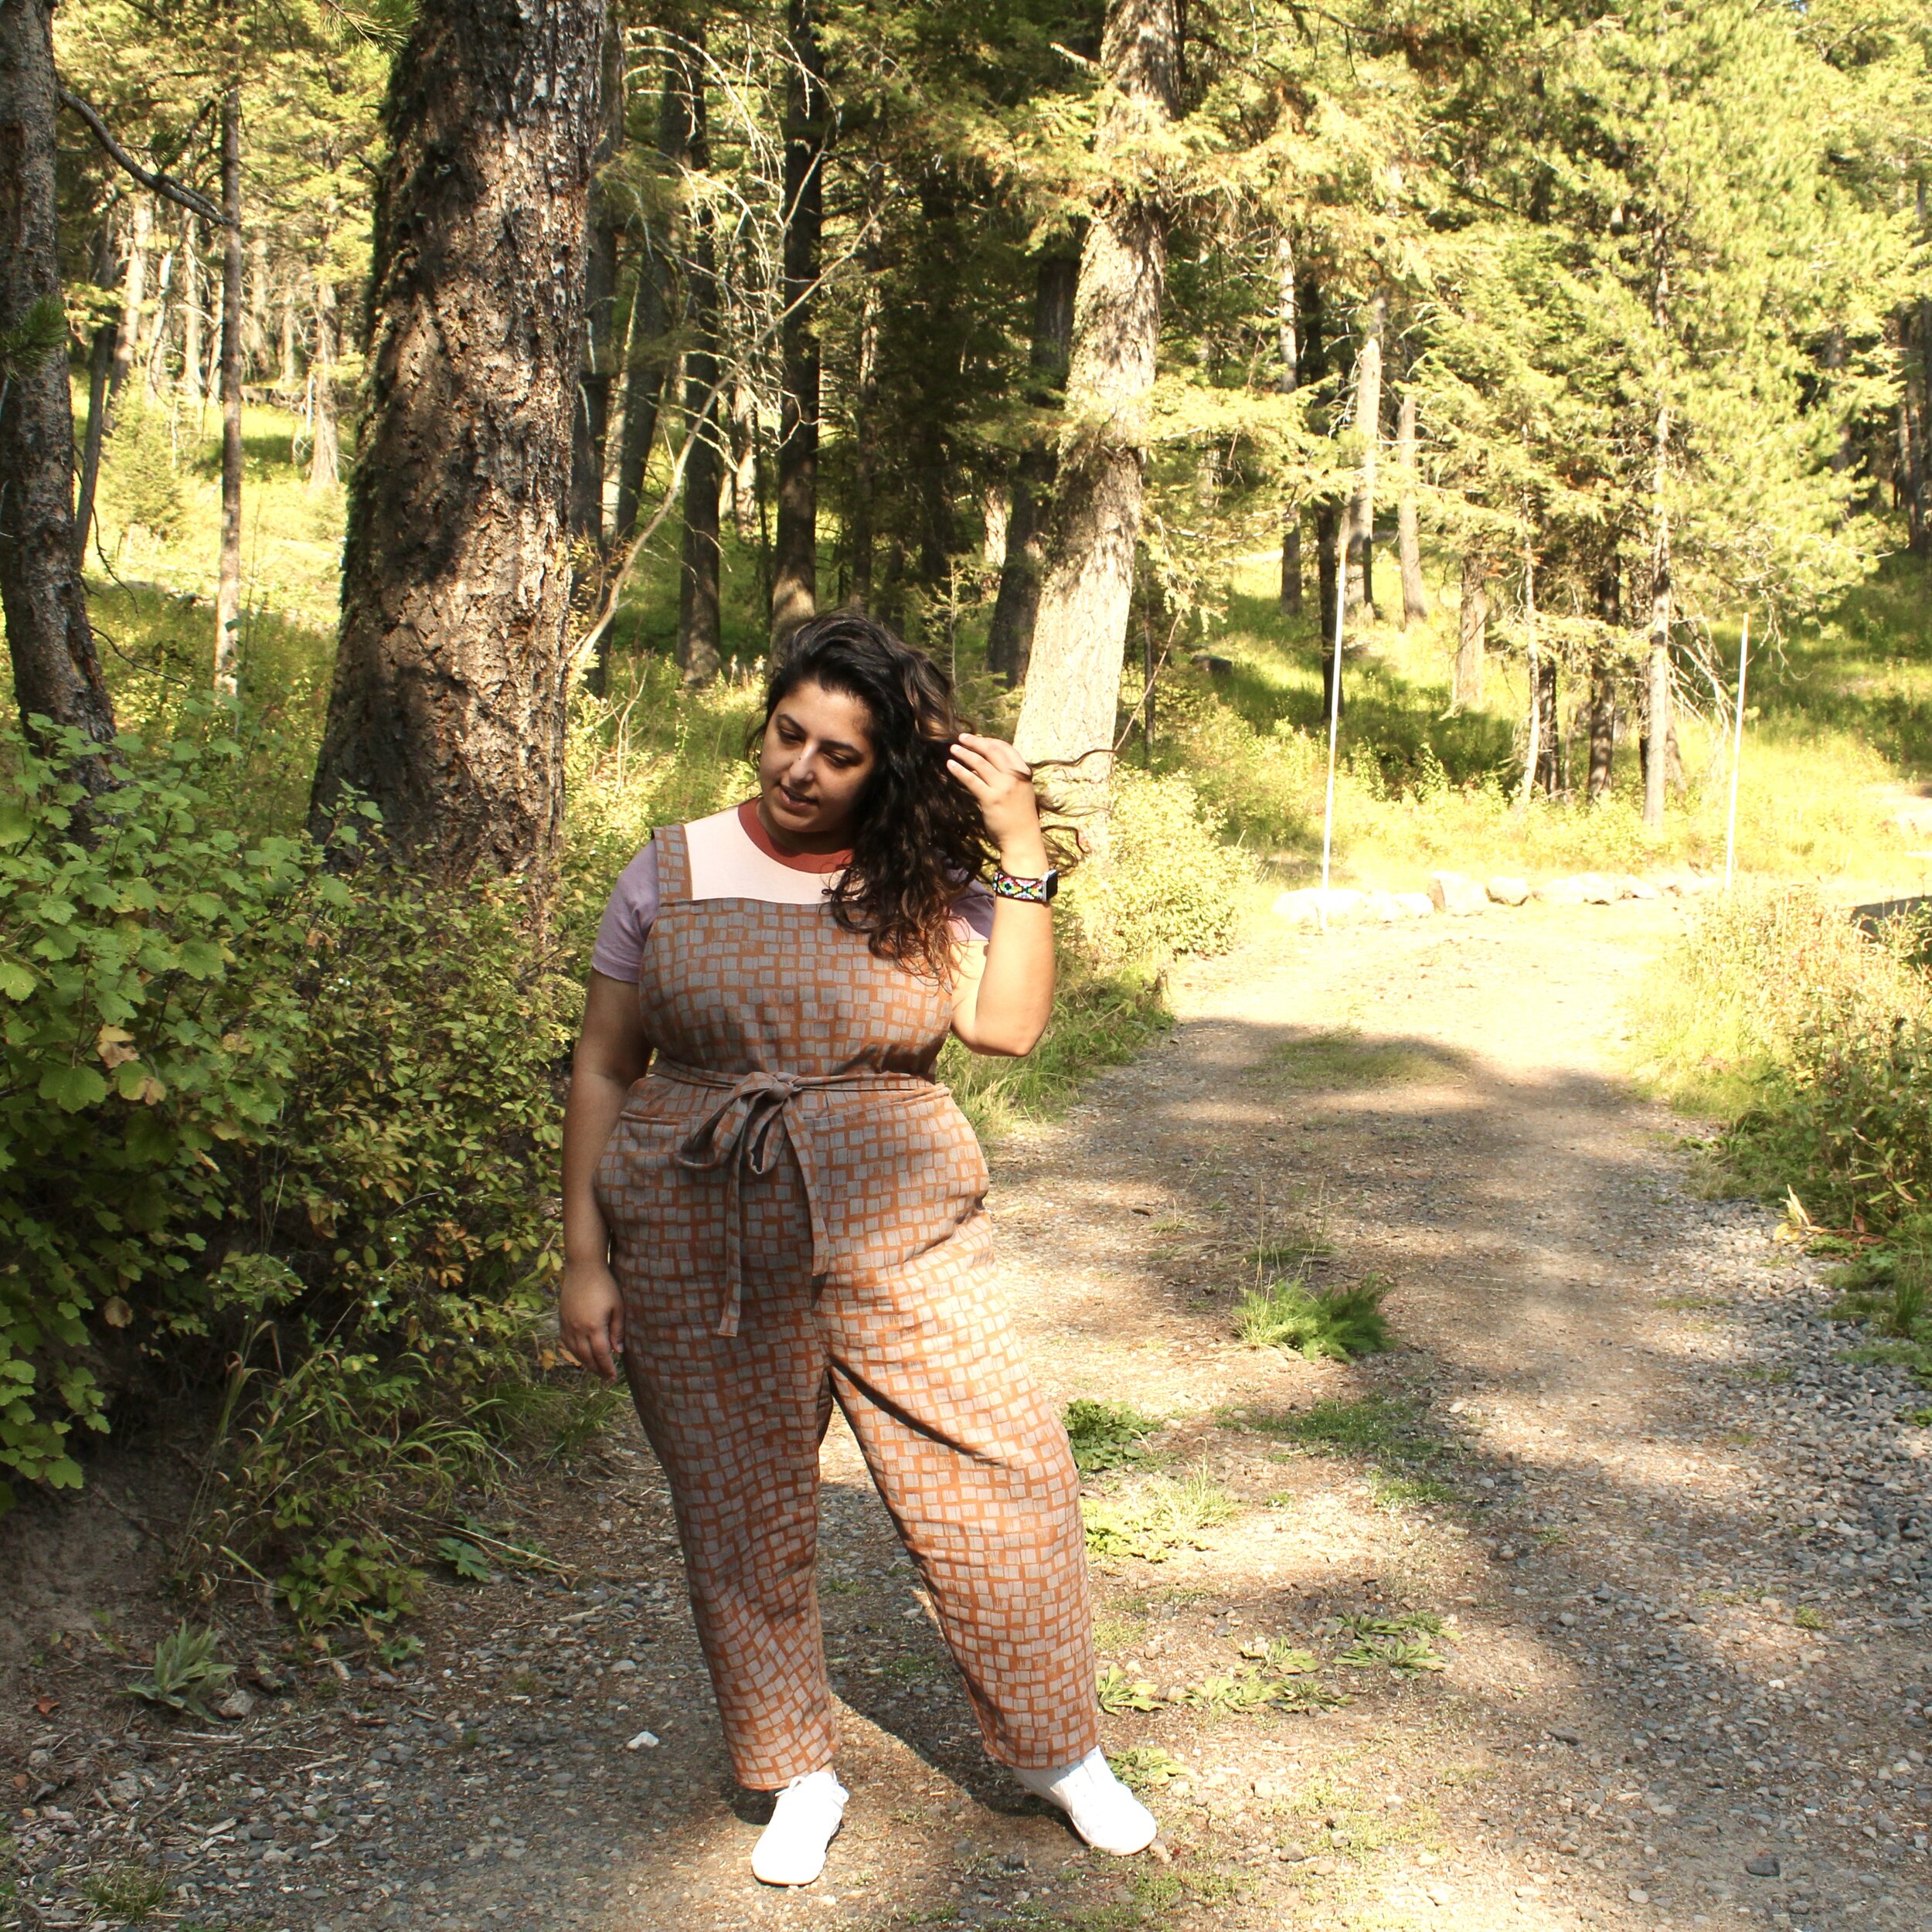
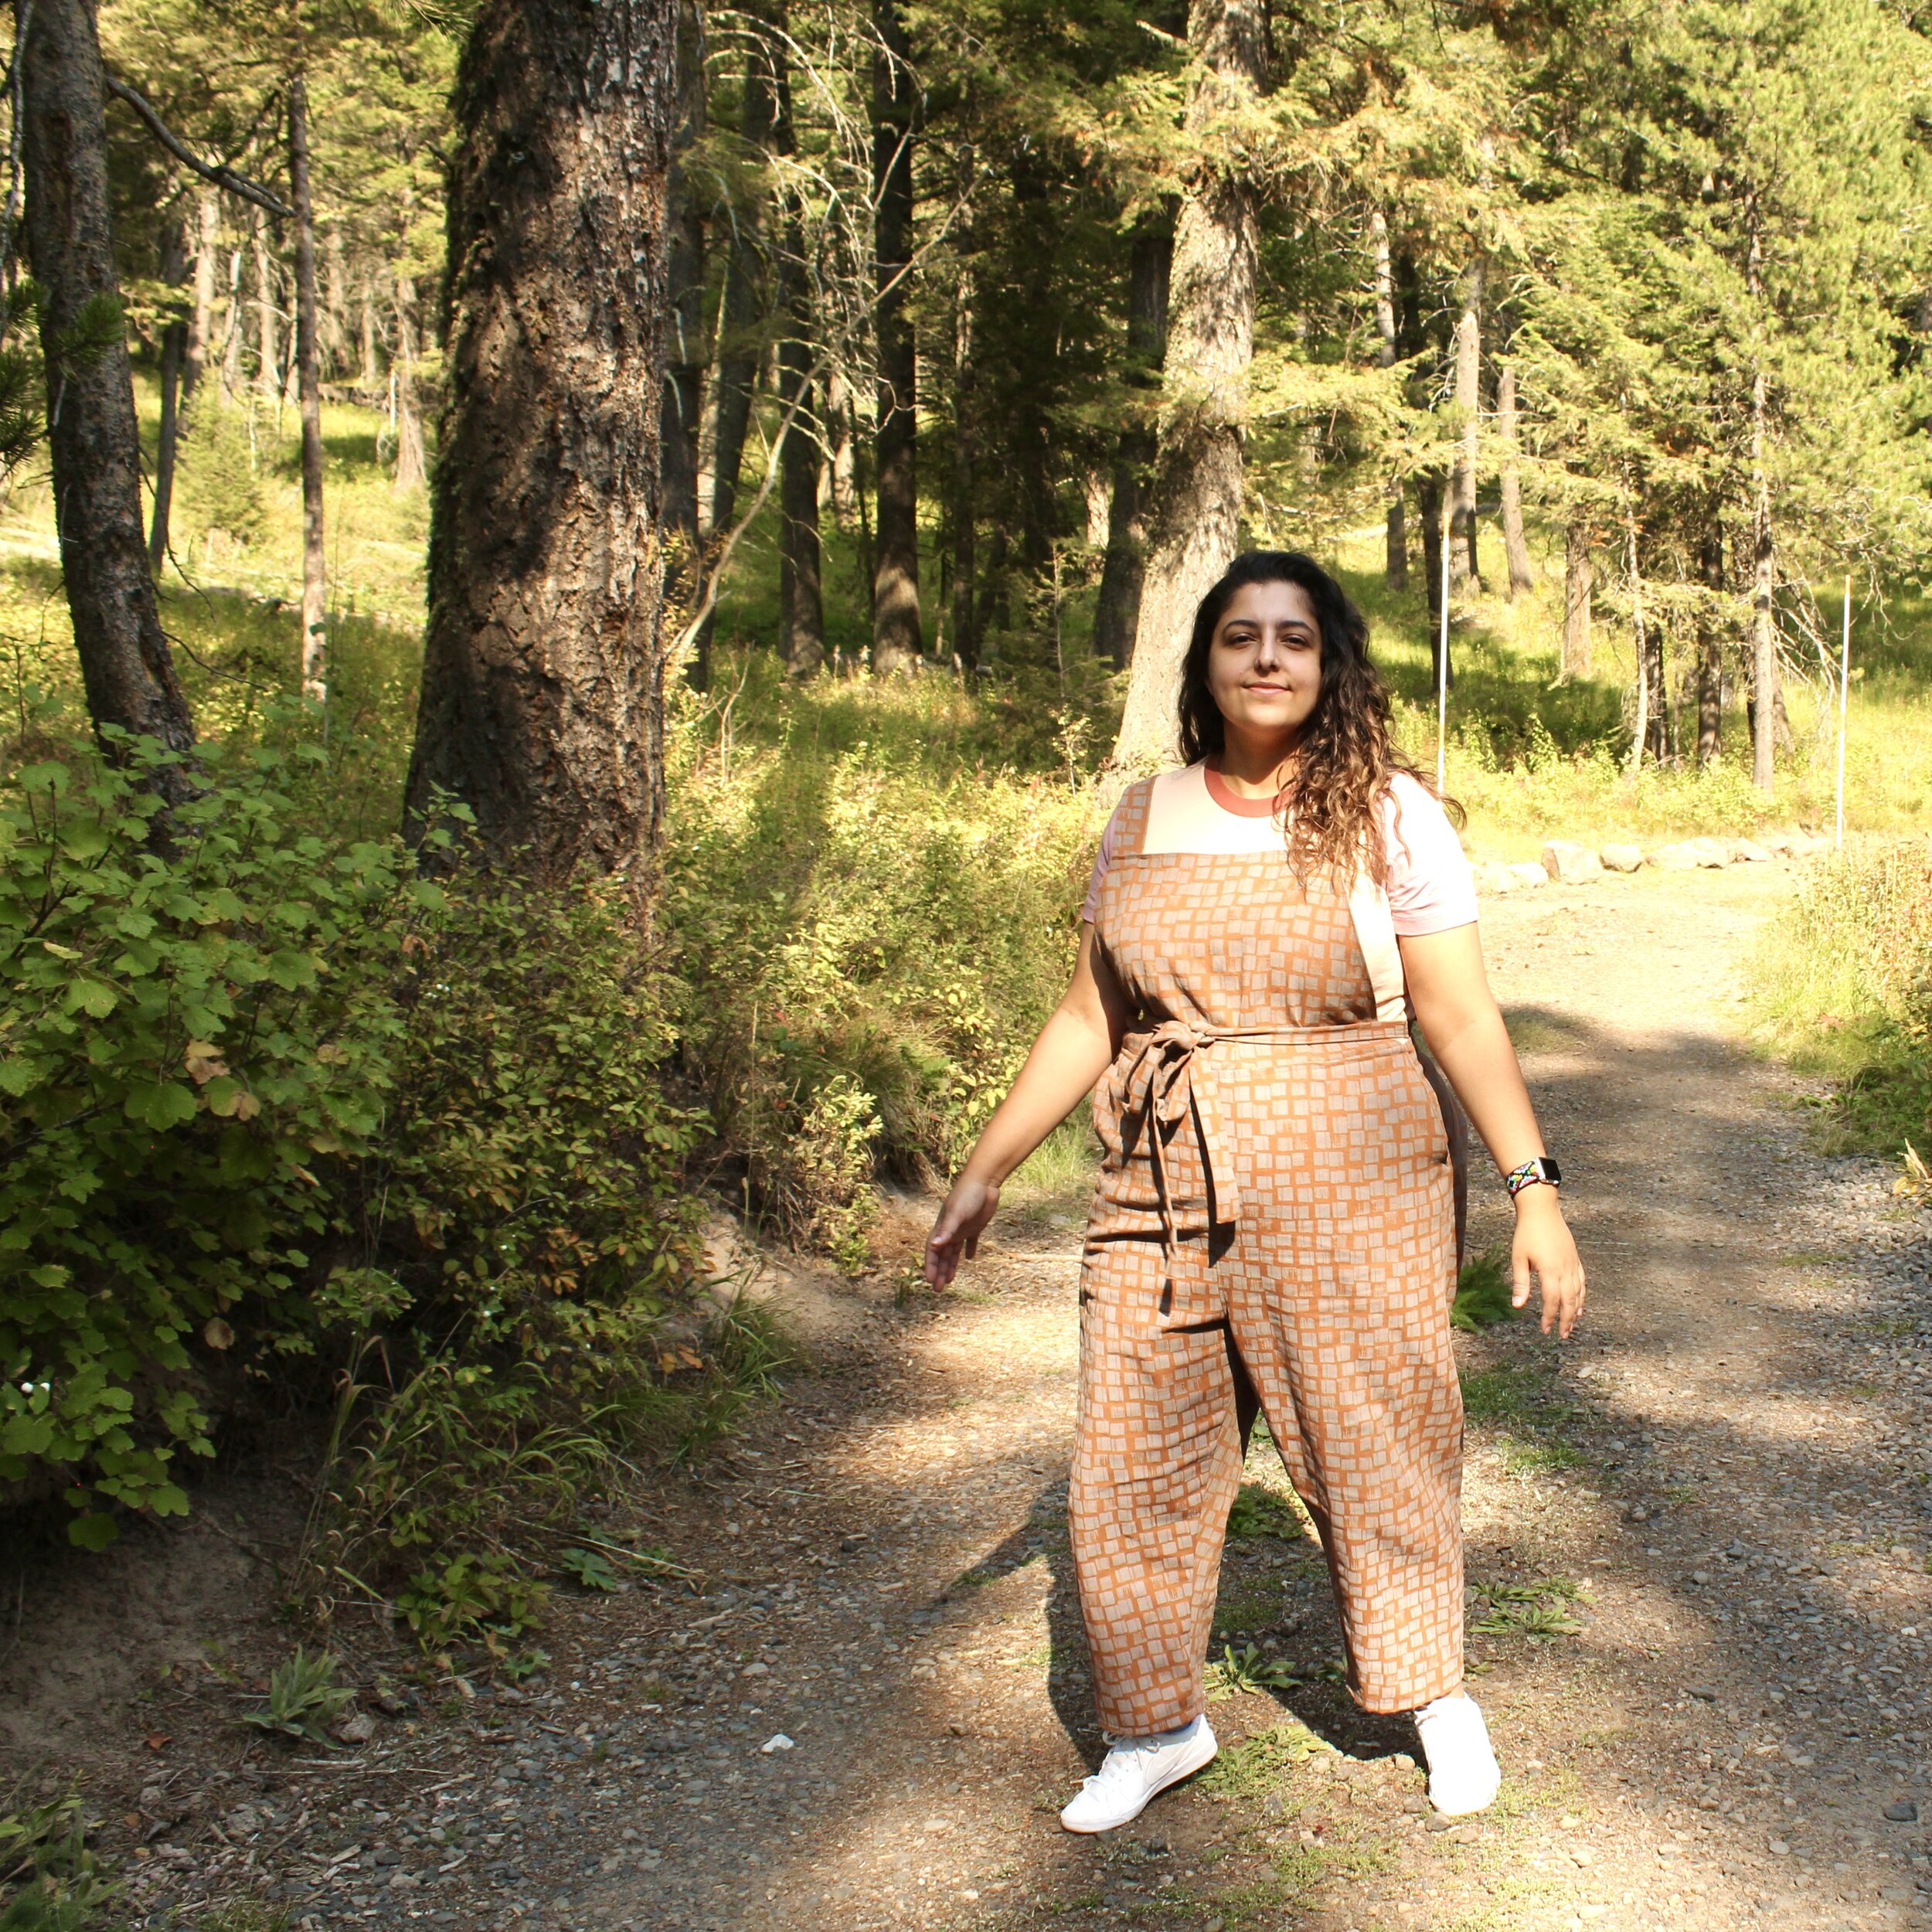
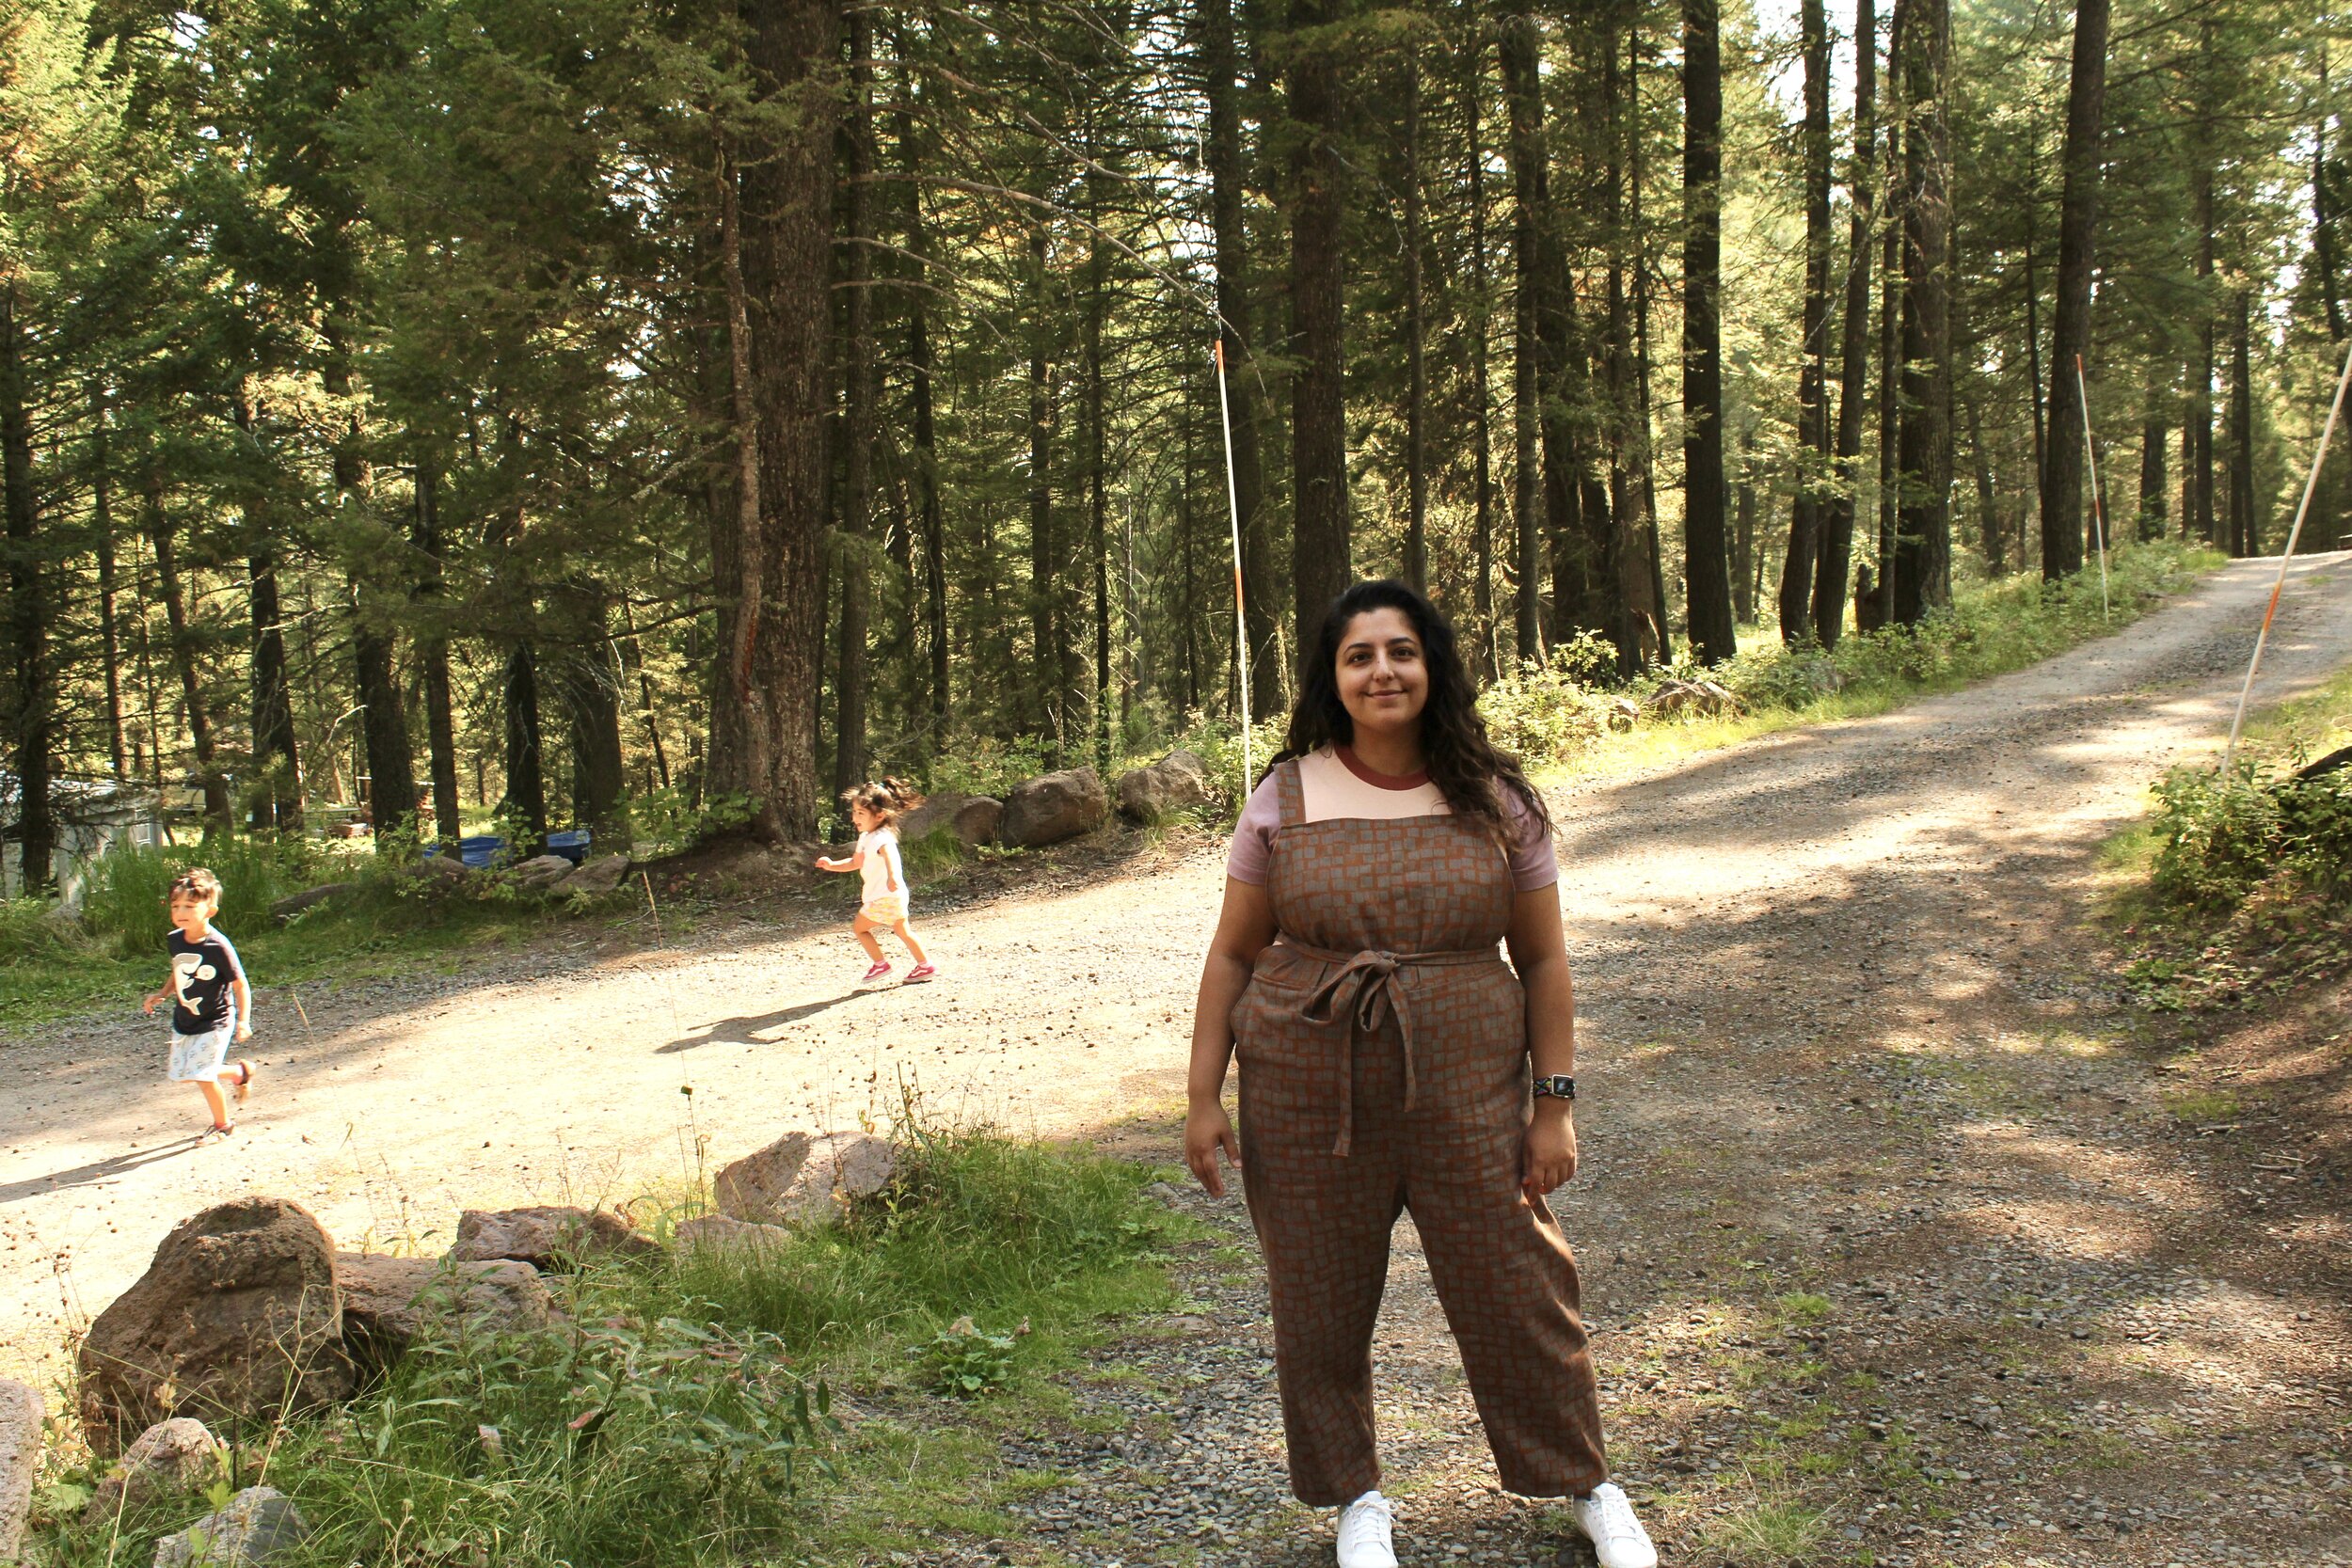
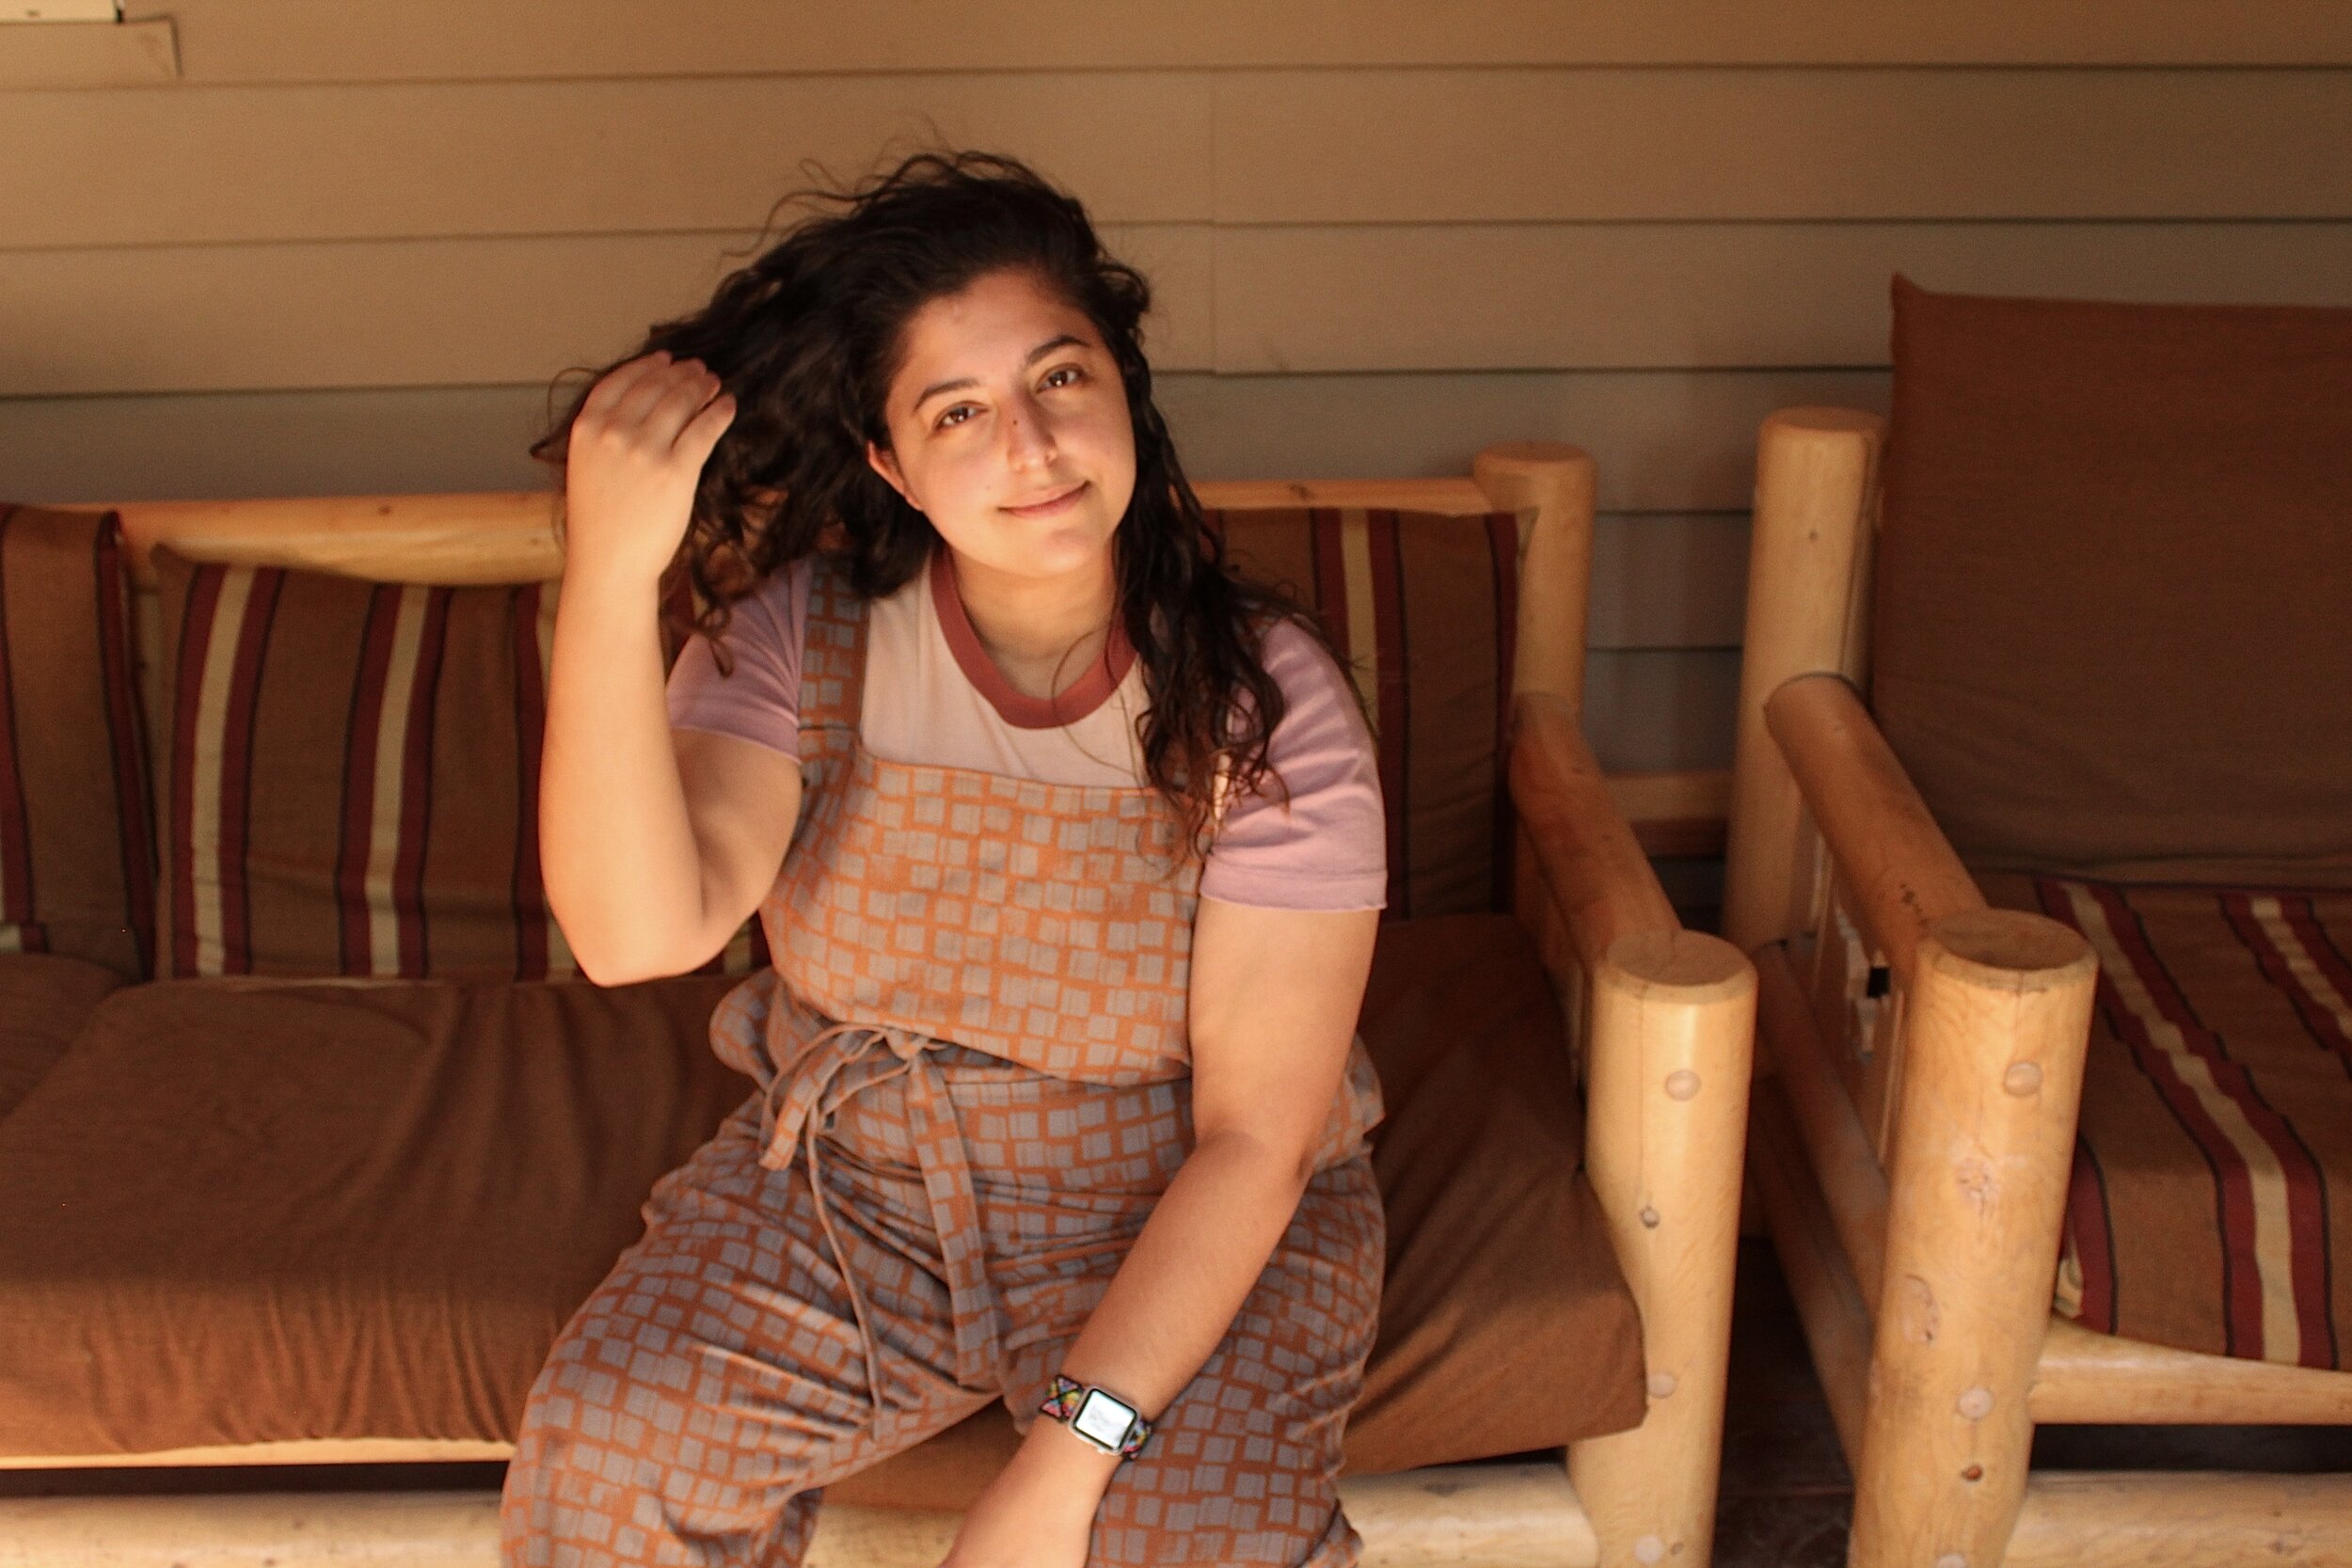
The Greta Dungarees by Made My Wardrobe
The weather is changing and that means it’s jumpsuit season. I absolutely love jumpsuits. If I had to choose one piece of clothing to wear for the rest of my life it would be jumpsuits. They’re versatile and transeasonal. You can easily wear a T-shirt or opt for a turtle neck. I’m almost always in a white tee but when we start getting into Autumn, I love taking out my various colours of long sleeves to spruce it up.
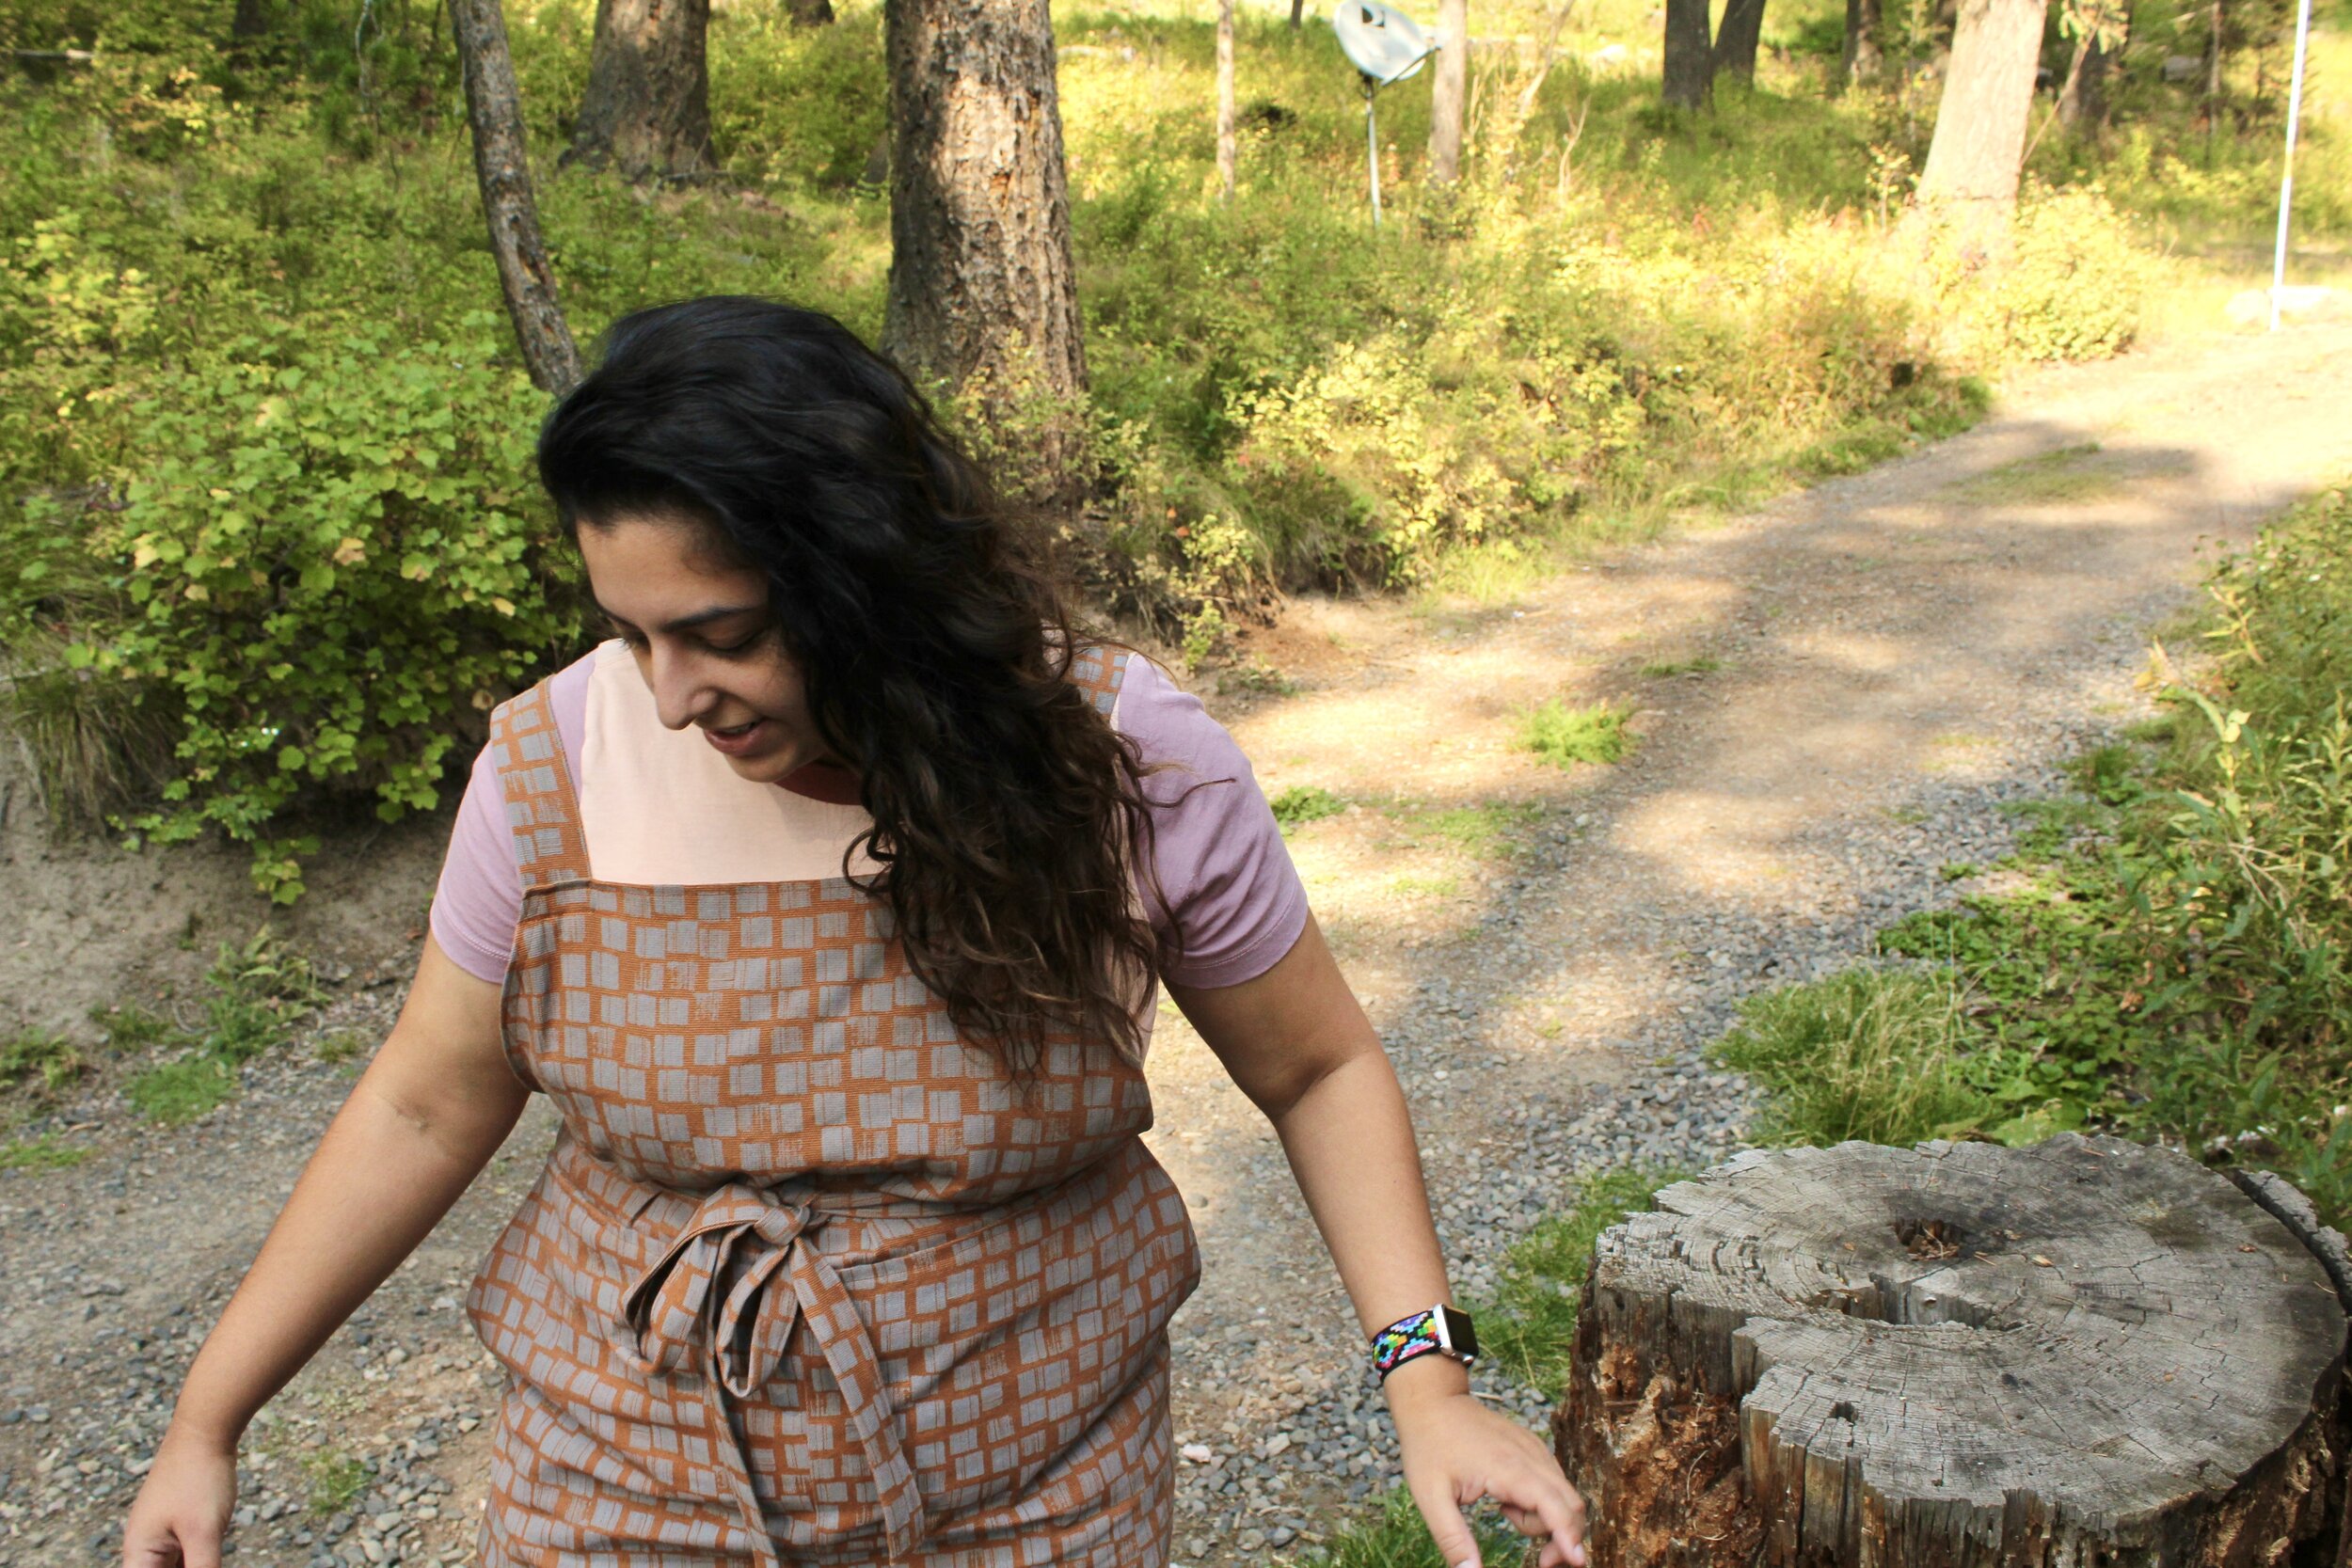
When I was looking through Pinterest inspiration I was itching to make a jumpsuit that was a little more fluid. Historically I make jumpsuits that you just pull on and that’s it. What do I mean by fluid in a jumpsuit? Well recently I wanted to make something with a little more to it, like a fun closure of some sort. I settled on the Greta Dungarees from Made My Wardrobe. I had not known about this brand before and found them when I found this great pattern. It’s really simple in concept but has that added pizzazz with the inbuilt waist ties. Now that I had the pattern set I needed to find the perfect fabric to bring my creation to life! I really wanted a street wear vibe that was also a total everyday mum vibe.
It didn’t take long. It was one of those moments again where I had searched high and low and then found the perfect fabric on Minerva, yet again. It’s from Rico Design, a company I had always wanted to try. It’s a bottom weight canvas, with an industrial design, well that’s what I think of it in my head. It’s two main colours are rust and grey, which is totally out of my bright colour palette. It really was just perfect for autumn and also so good with so many things in my wardrobe so I knew it was a necessary basic for me, even though it’s far from basic. The fabric itself is really nice. It’s got a great feel for canvas. It’s got a little more fluidity to it than your usual bottom weight canvas so it doesn’t feel super starchy.
I had read a lot about the Greta Dungarees after I had purchased it and honestly I was nervous. So many said it was a sack at the back (lots of extra fabric pooling), the pockets insertion was complicated and the hips could be too tight fitting. Amongst all that I was genuinely not sure about length for straps and length for the jumpsuit itself. The sew up itself was pretty fun. I’d not made one with the techniques used in this pattern. There is a lot of bulk when doing the front section and I was so thankful that I had my new Pfaff. It went through the pockets, the front facing and front waist section, in canvas, perfectly. Can we all take a moment to celebrate that win? This would have been a situation where I would have broken 6 needles for this one section of stitching. That being said I was slightly confused with the pockets and had to re-read the instructions to make sure I was getting it right. The best way I can describe it is by saying there’s a lot of process steps that don’t make sense until a later step. I’m sure for seasoned sewers it would all make sense but for me I had to second guess what I was doing was correct the whole time!
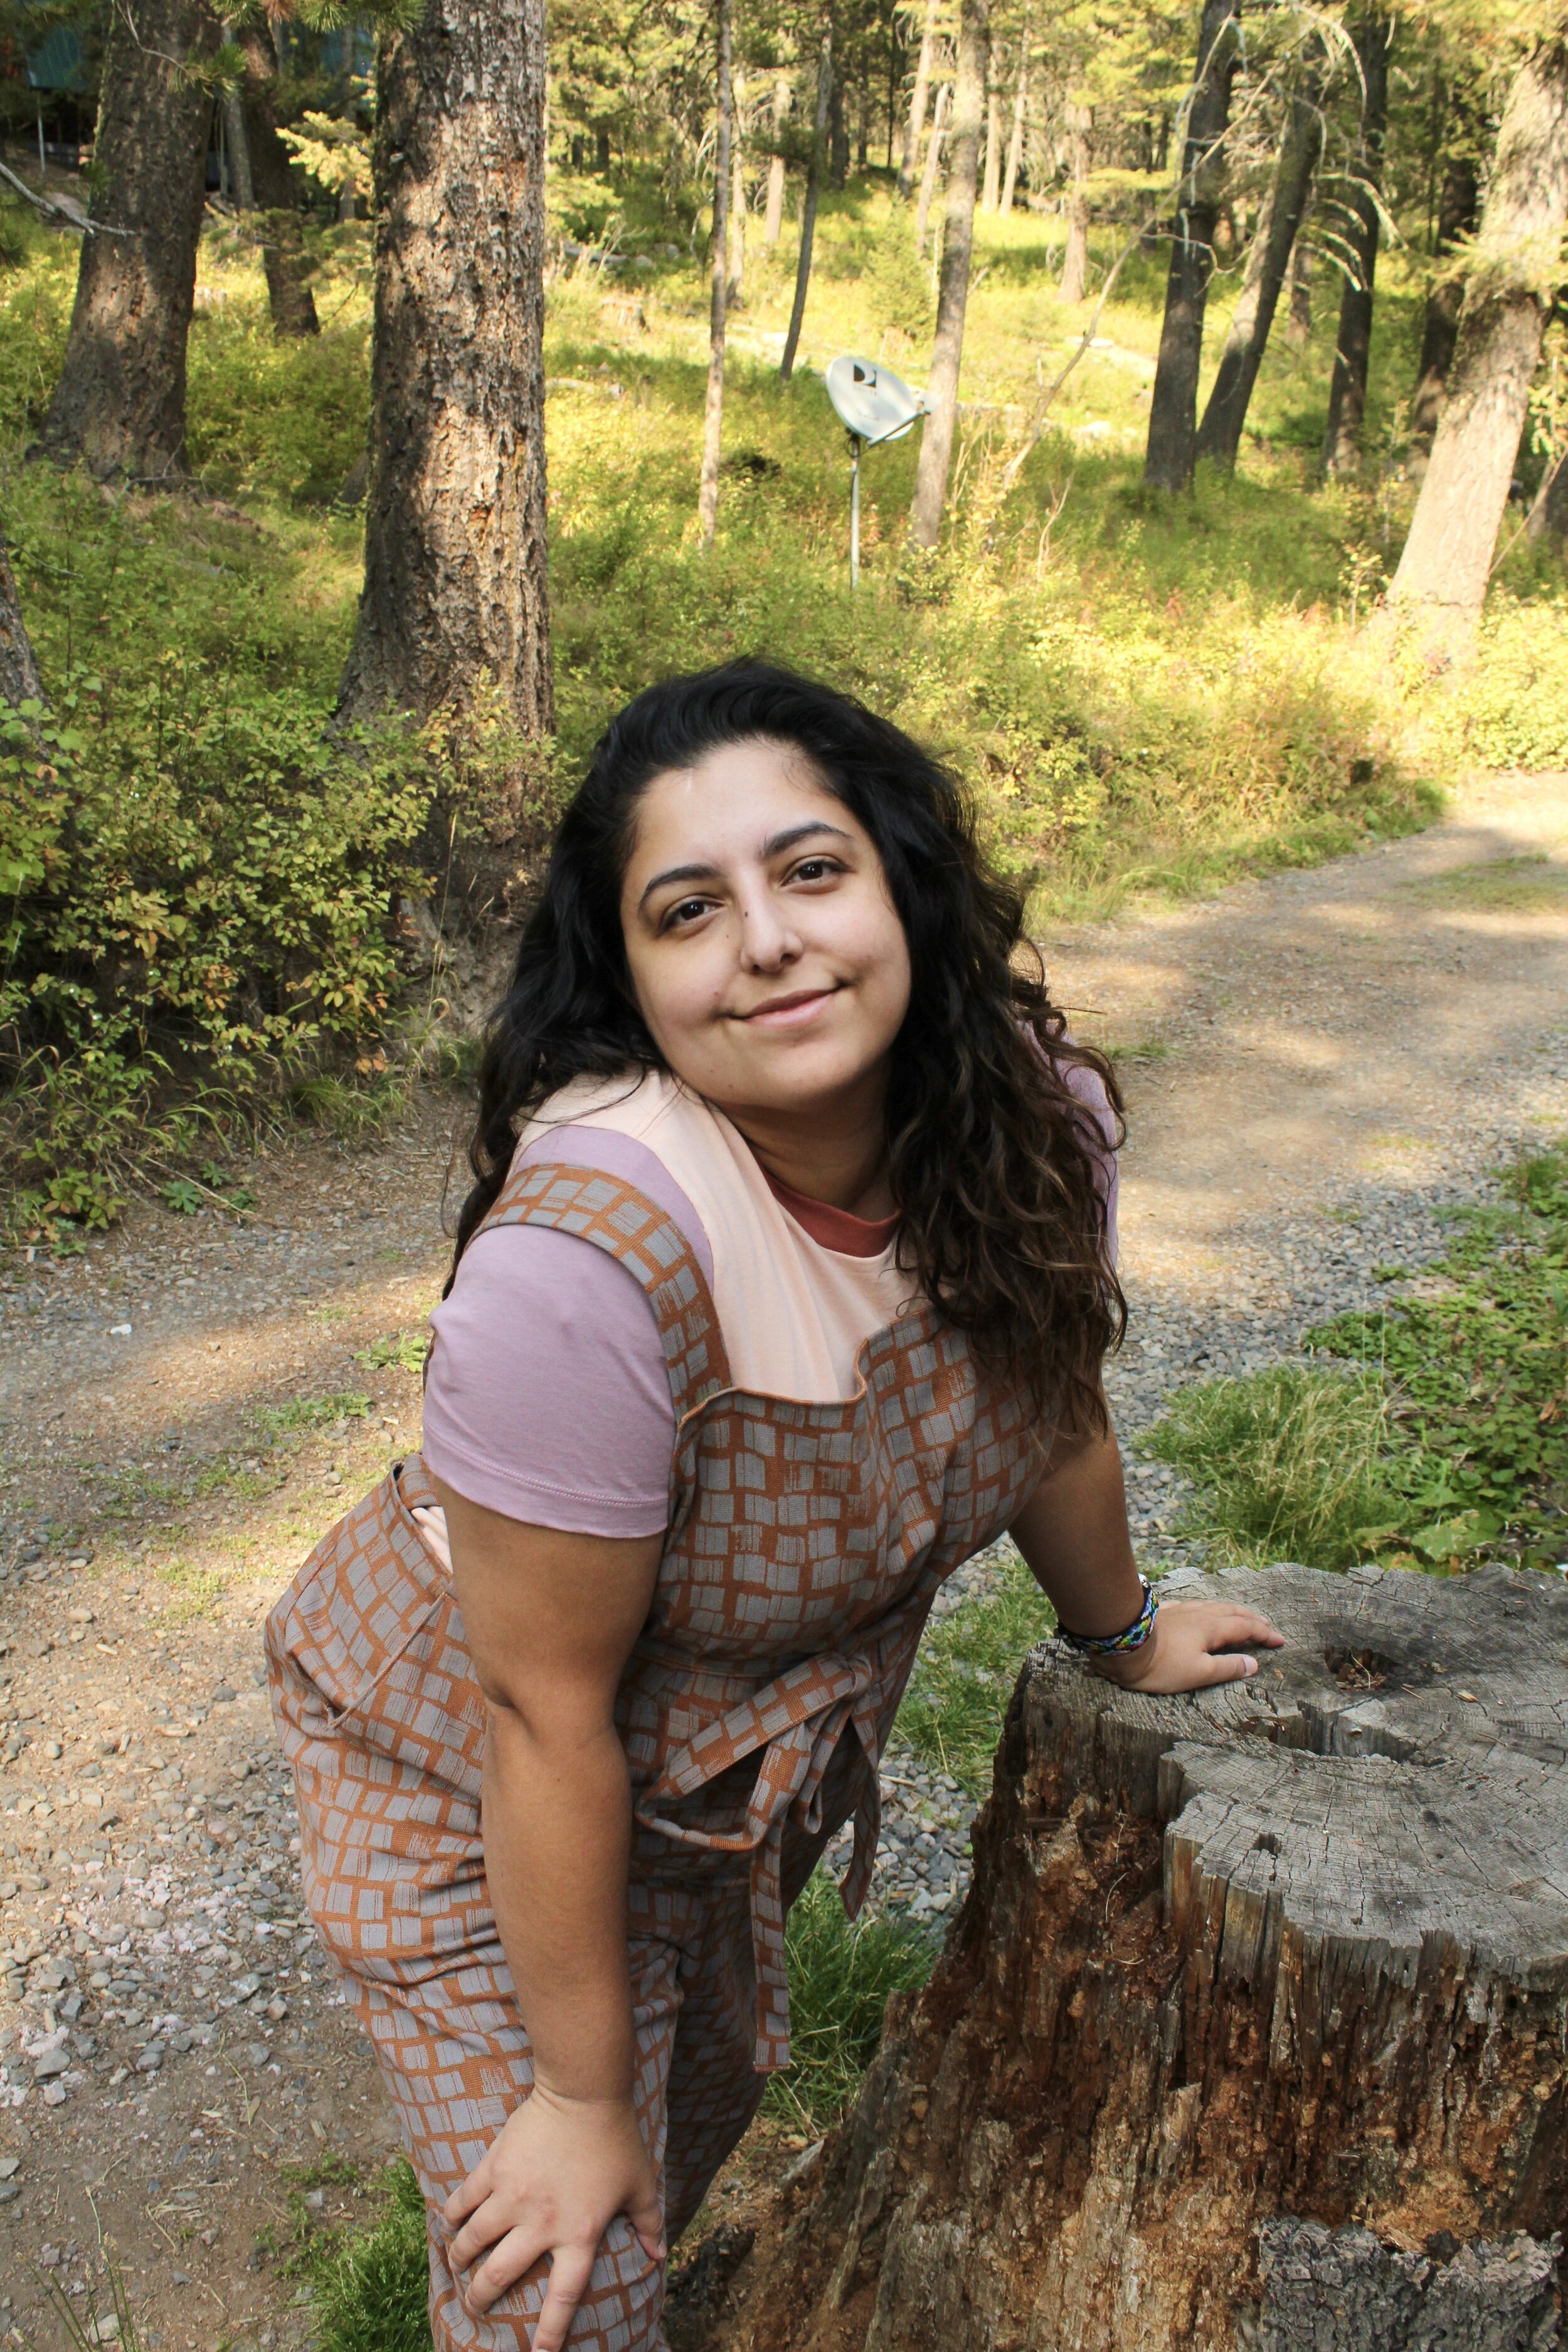
In terms of changes, I shortened the hem by 4.5 inches. Yes a lot. And my shoulder straps ended up being 15 inches in length from the back to the front stitch line. I am considering changing the front bib to fit more to my form but that’s just me being picky. If I was to make the change it would be to make it more narrow. It feels slightly too wide across the bust section but I also kind of like it that way for a more slouchy feel. So the jury is still out.
Overall I love how this turned out. I’ve worn it a lot of times considering it’s a recent make. I also took it on vacation to Yellowstone because it’s got a great utility feel and use. That’s actually where these pictures were taken. So not only a fav make but one that will be worn to death!
